Region: Unique. This level can only be accessed via the  Event Dangerous Mission: Grinchlin Assault!. Event Dangerous Mission: Grinchlin Assault!.
Level: Summit
Depth: 20 or 25 (Depends on rank)
|
Monsters
|
|
Notes
Take advantage of nooks and crannies and the dash.
|
|
The path of danger takes you further up this perilous mountain. For now you will pass on the cache of Grinchlin treasures stored here for a chance at an even greater haul further up the mountain.
Be warned! Should you be overcome by the challenges ahead before reaching the next shelter, you will forfeit all treasures!
|
|
|
|
The path to Haven allows you to escape this perilous mountain and collect a haul of Grinchlin treasures along the way!
However, should you decide to pass on it now and continue up the mountain, even greater treasures await...
|
|
|
Gallery
|
|
|

|
Map of Summit.
|
|
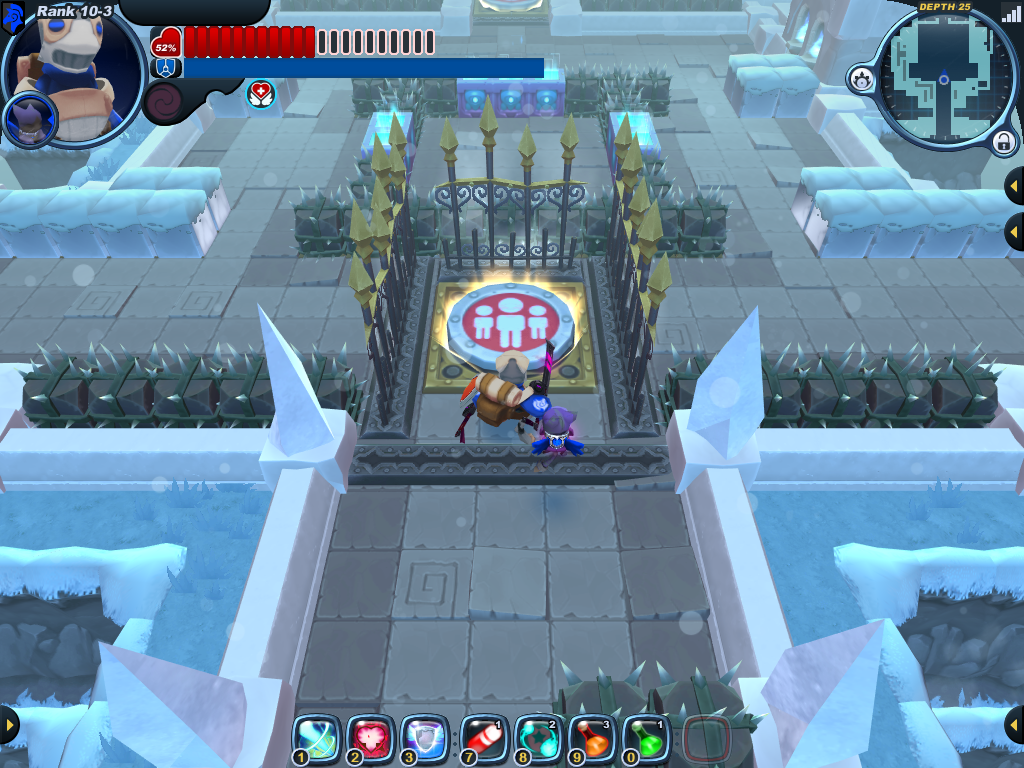
Positioning for each wave is key for this room. Do not break ghost blocks until the end of the first wave. Charge up a shadow weapon, get on the party button, and immediately head to the bottom left or right corner. Either corner is fine, just decide as a team. Aim for any nearby gremlins, then use the Maskeraith's 3rd ability or a bomb to find stalkers. If in a team, make sure everyone doesn't use their Maskeraith's 3rd ability at the same time, go one after another. Retreat to the top if needed. After everything else is defeated, let the mender out. Do not defeat it until the center ring of blocks respawns, and defeat it at the top of the room. Defeat the two rocket puppies that spawn and stay in the upper right or left corners. Only go to the other side by dashing. This tactic prevents the Trojan from breaking ghost blocks (because it slams into the corner of the ring instead of the ghost blocks), and allows the Snow Drops to be dealt with in a controlled manner.
|
3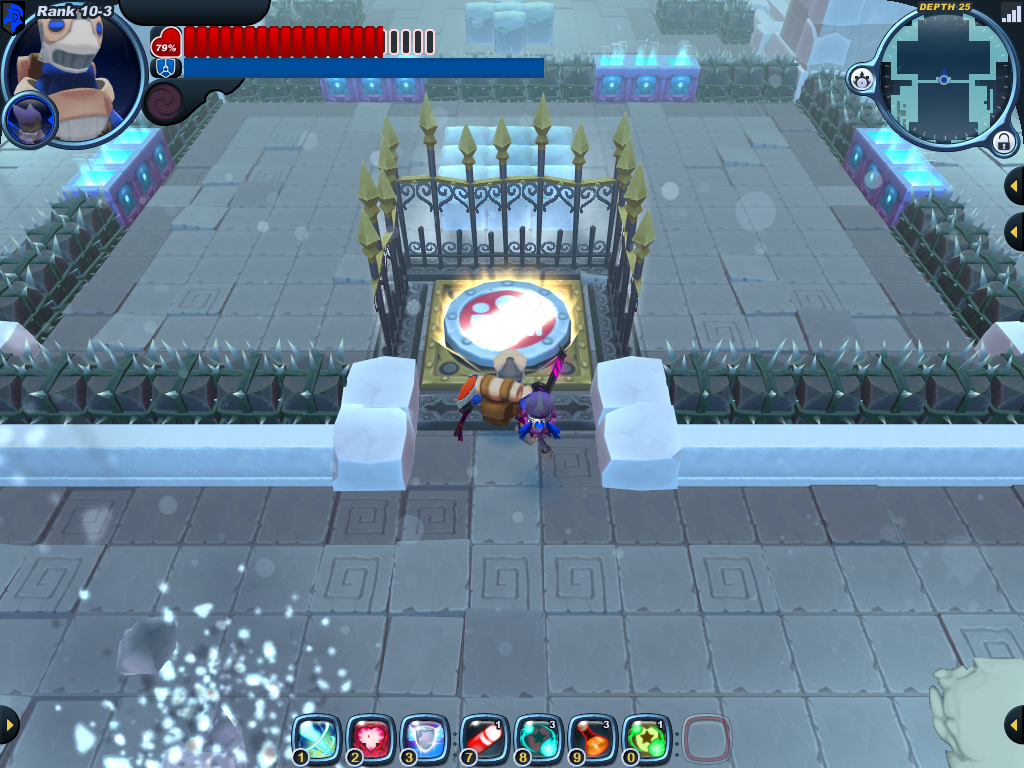
|
Decide which side to fight first. The spawn waves are relatively predictable, with a few important notes: a wave of scorchers and demos will spawn when both Slush Puppies are defeated, so agree which one to leave undefeated if in a team. After the last Sleetrode is defeated, two Rocket Puppies and a giant lichen colony will spawn in the upper section. Stay low to avoid getting their attention, or attack them right away. For this fight, it is prudent to go after any menders immediately, unlike the previous room. It is also a good choice to wait for blocks to respawn if only a few enemies are left because most monsters will spawn behind the barriers.
|
2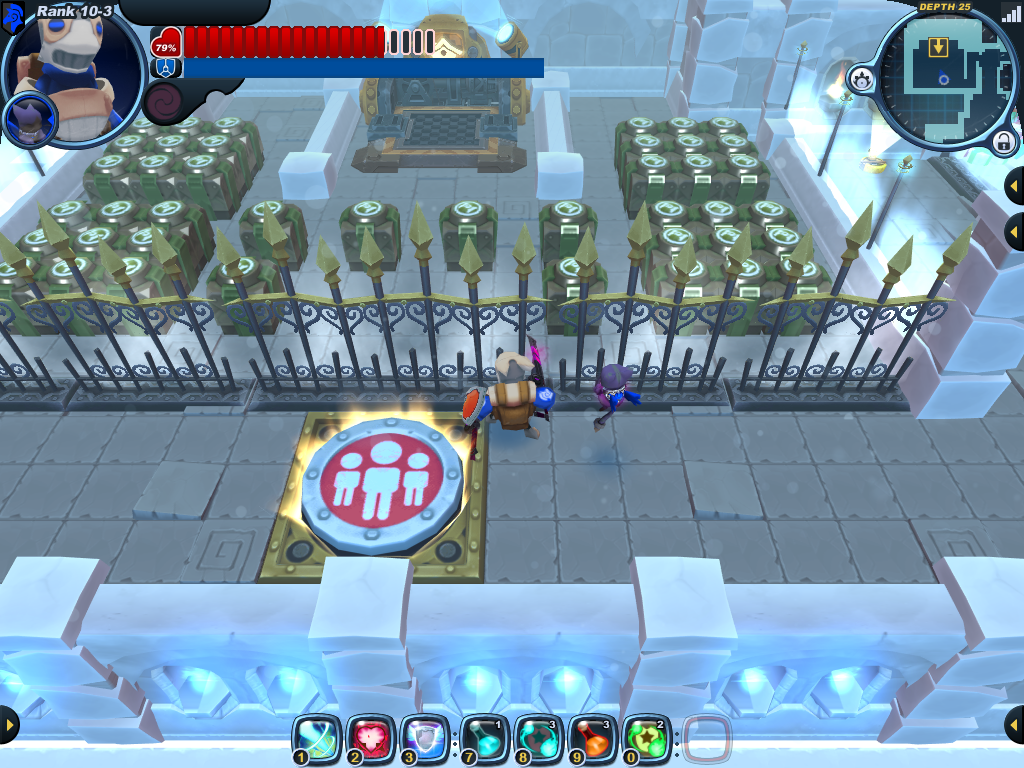
|
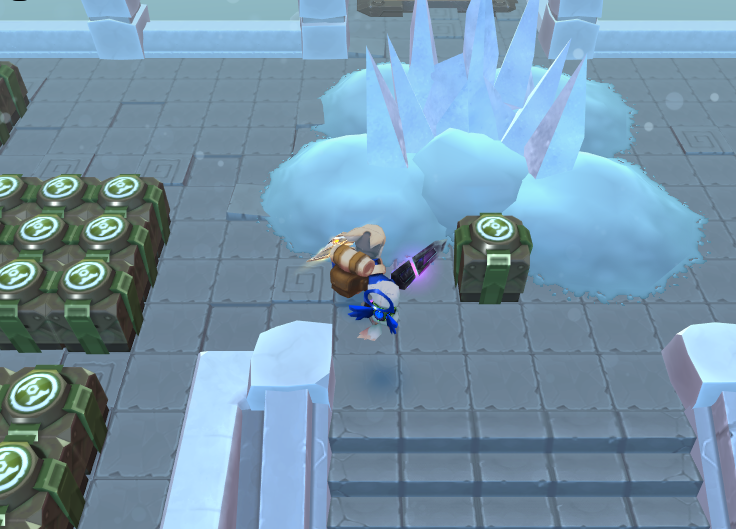
There are 42 boxes in the first cache. Choose it or continue.
|
4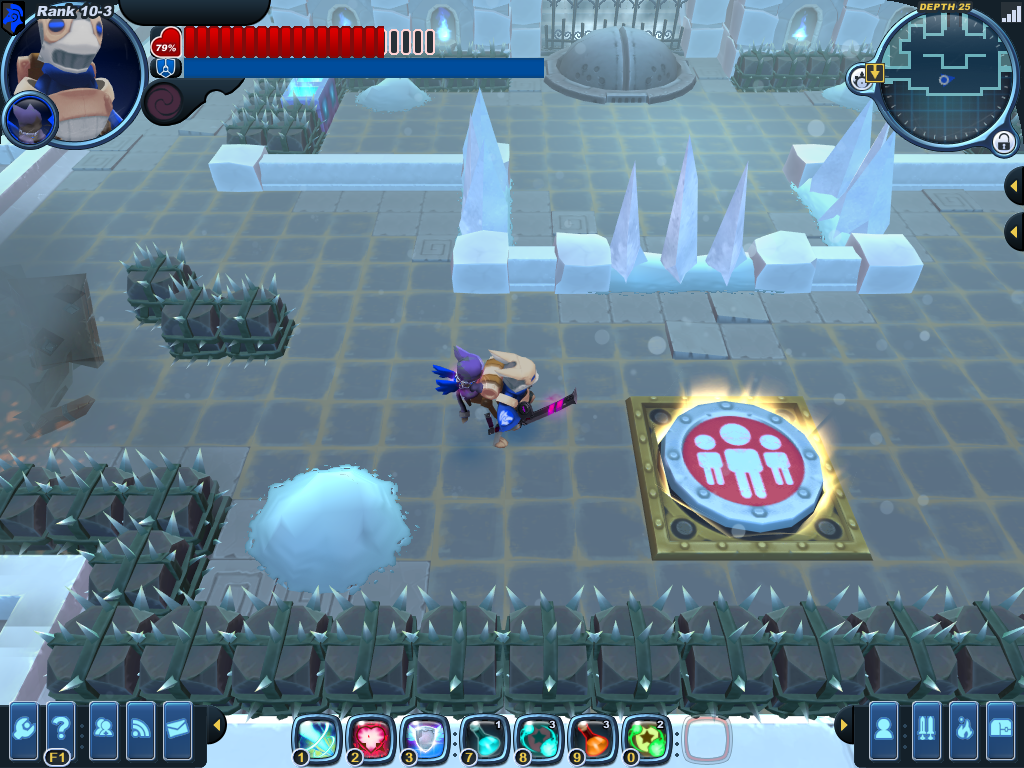
|
The final fight area. The white spiky ice walls block players, but monsters can pass through them freely.
The large battlepod is invincible until it repels. It will be vulnerable for several moments after the repel, then close its mouth again. This cycle repeats until the pod is defeated.
|
5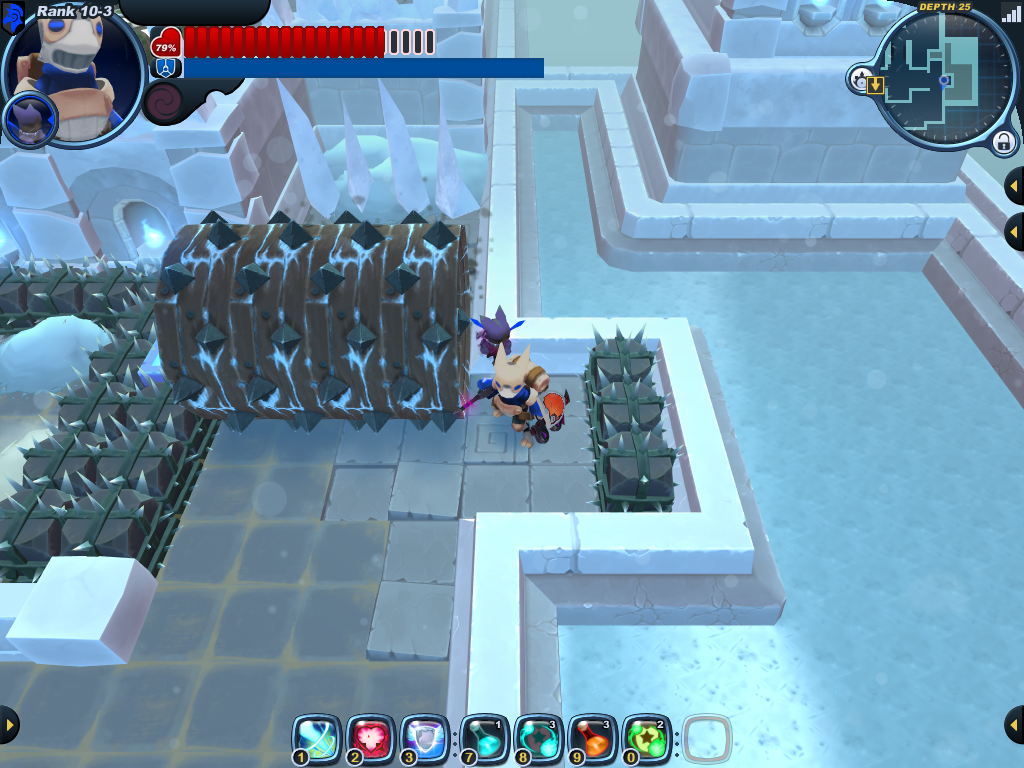
|
This spot is relatively safe during the final fight. The wheels will push down most of the enemies who get too close. Wait here for the Battlepod to repel, then go in and attack with as much firepower as possible. Usage of the Deadly Shadow Cloak and charge weapons such as the Blitz Needle or Grim Repeater help this tactic. Return to this safe spot and repeat as needed. If the party executes this properly, the battlepod will go down with the first attempt.
|
|
There are 91 boxes in the final cache - this lone box might drop 4* trinket components for the Grand Solstice Ring.
|
|
|


.png)