|
|
| Line 1: |
Line 1: |
| − | {{update|The page isn't complete}}
| |
| | {{MissionInfo | | {{MissionInfo |
| | |name = Built to Destroy! | | |name = Built to Destroy! |
| Line 31: |
Line 30: |
| | | | |
| | ===Second Floor=== | | ===Second Floor=== |
| − | {{Floor | + | {{:Abandoned Assembly }} |
| − | |name = Abandoned Assembly
| + | |
| − | |icon 1 = Ironclaw Munitions Factory
| + | |
| − | |depth = 15
| + | |
| − | |monsters =
| + | |
| − | *{{Monster|Gun Puppy}}
| + | |
| − | *{{Monster|Retrode}}
| + | |
| − | *{{Monster|Scuttlebot}}
| + | |
| − | *{{Monster|Volt Knight}}
| + | |
| − | *{{Monster|Voltrode}}
| + | |
| − | *{{Monster|Surgebot}}
| + | |
| − | *{{Monster|Ironclaw Thwacker}}
| + | |
| − | *{{Monster|Ironclaw Mender}}
| + | |
| − | *{{Monster|Quicksilver}}
| + | |
| − | |exploration =
| + | |
| − | *Unused Rocket
| + | |
| − | *Empty Rocket
| + | |
| − | *Missile Launcher
| + | |
| − | *Button (Missile)
| + | |
| − | *Switch (Munitions)
| + | |
| − | *Shock Grate
| + | |
| − | *Floor Spikes
| + | |
| − | | + | |
| − | |floor notes = Goal: Get to the elevator.
| + | |
| − | | + | |
| − | |gallery=
| + | |
| − | <gallery widths=200px heights=150px>
| + | |
| − | File:Map-Ironclaw Munitions Factory-Abandoned Assembly.png|Map of "Abandoned Assembly".
| + | |
| − | File:Ironclaw_Munitions_Factory.jpg|A glimpse into Ironclaw.
| + | |
| − | </gallery>
| + | |
| − | }} | + | |
| | | | |
| | ===Third Floor=== | | ===Third Floor=== |
| − | {{Floor | + | {{:Warfare Workshop}} |
| − | |name = Warfare Workshop
| + | |
| − | |icon 1 = Ironclaw Munitions Factory
| + | |
| − | |depth = 16
| + | |
| − | |monsters =
| + | |
| − | *{{Monster|Gun Puppy}}
| + | |
| − | *{{Monster|Mecha Knight}}
| + | |
| − | *{{Monster|Scuttlebot}}
| + | |
| − | *{{Monster|Sparky}}
| + | |
| − | *{{Monster|Volt Knight}}
| + | |
| − | *{{Monster|Voltrode}}
| + | |
| − | *{{Monster|Surgebot}}
| + | |
| − | *{{Monster|Ironclaw Thwacker}}
| + | |
| − | *{{Monster|Ironclaw Mender}}
| + | |
| − | *{{Monster|Quicksilver}}
| + | |
| − | | + | |
| − | |exploration =
| + | |
| − | *{{???}}.
| + | |
| − | |floor notes = Goal: Get to the elevator.
| + | |
| − | | + | |
| − | |gallery=
| + | |
| − | <gallery widths=200px heights=150px>
| + | |
| − | File:Map-Ironclaw_Munitions_Factory-Warfare_Workshop.png|Map of "Warfare Workshop".
| + | |
| − | File:Ironclaw_Munitions_Missile_Wave.jpg|Knights traversing the trap-filled factory.
| + | |
| − | File:Ironclaw_Munitions_Lasers.jpg|Also Lasers.
| + | |
| − | </gallery>
| + | |
| − | }} | + | |
| | | | |
| | ===Fourth Floor=== | | ===Fourth Floor=== |
| − | {{Floor | + | {{:The Roarmulus Twins}} |
| − | |name = The Roarmulus Twins
| + | |
| − | |icon 1 = The Roarmulus Twins
| + | |
| − | |depth = 17
| + | |
| − | |monsters =
| + | |
| − | *{{Monster|Surgebot}}
| + | |
| − | *{{Monster|Roarmulus Twins}}
| + | |
| − | | + | |
| − | |exploration =
| + | |
| − | *Switch (Munitions)
| + | |
| − | *[[Recon Module]] (Left by [[Rulen]])
| + | |
| − | | + | |
| − | |floor notes = Goal: Defeat the Roarmulus Twins and get to the elevator.
| + | |
| − | | + | |
| − | The recon module only needs to be collected once, after that, it is accessible via the artifact tab of the player's [[arsenal]].
| + | |
| − | | + | |
| − | {{:Monstrous Codex: Roarmulus Twins}}
| + | |
| − | | + | |
| − | {{:Recon Module: Ironclaw Munitions Factory}}
| + | |
| − | | + | |
| − | |gallery=
| + | |
| − | <gallery widths=200px heights=150px>
| + | |
| − | File:Map-Ironclaw Munitions Factory-The Roarmulus Twins.png|Map of "The Roarmulus Twins".
| + | |
| − | File:Roarmulus Twins emerging.jpg|The Roarmulus Twins emerging before the battle starts.
| + | |
| − | </gallery>
| + | |
| − | }} | + | |
| | | | |
| | == See also == | | == See also == |
| | {{mission see also}} | | {{mission see also}} |
Revision as of 07:08, 16 December 2015
Built to Destroy! is a 6-2 rank mission.
Overview
Description:
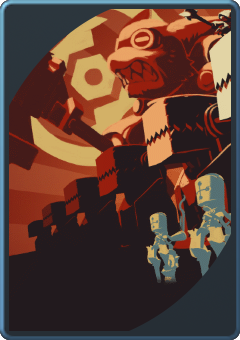
Once known to Spiral HQ as 'Project R', the Roarmulus Twins have been identified as a gremlin-engineered weapon of tremendous power built with the sole purpose of destroying Have. Stored deep within the heart of the Ironclaw Munitions Factory, this weapon is not only protected by hordes of shock-powered constructs and gremlins, but the factory is a highly dangerous, explosive hazard itself!
In addition to shutting down the roarmulus Twins, Spiral HQ would like you to recover the Alpha Squad recon module that is believed to be located somewhere within the factory.
It is highly recommended that you form a full squad before deploying.
Objective:
Dismantle the Roarmulus Twins in the heart of the Ironclaw Munitions Factory.
Notes
This set of floors is played often in order to obtain  Bark Modules to exchange with Brinks for related gear.
History
Runthrough
First Floor
Second Floor
Region: Ironclaw Munitions Factory
Level: Abandoned Assembly
Depth: 15
|
|
|
Notes
Both the right and left sides must be completed in order to progress. They can be done in any order.
The 6-2  Mission: Built to Destroy! always has this level as the first combat floor. Mission: Built to Destroy! always has this level as the first combat floor.
|
Gallery
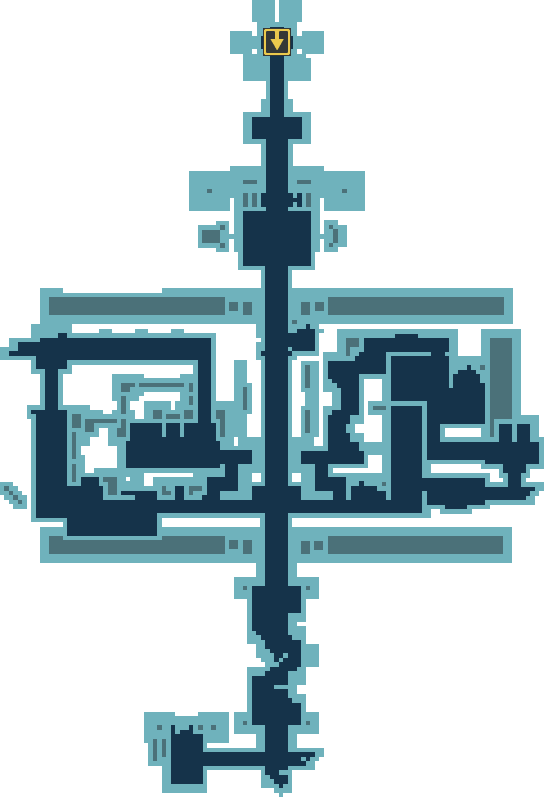
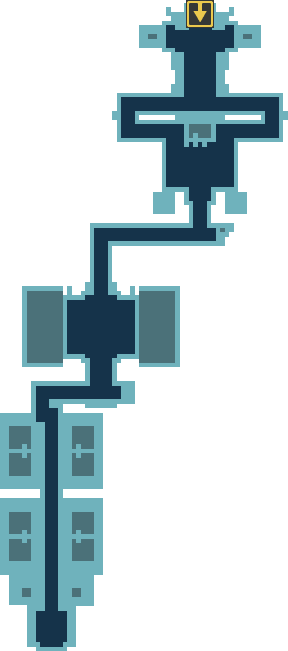
Map of Abandoned Assembly.
|
|
Third Floor
Region: Ironclaw Munitions Factory
Level: Warfare Workshop
Depth: 16
|
|
|
Notes
Goal: Get to the elevator.
The 6-2  Mission: Built to Destroy! always has this level as the second combat floor. Mission: Built to Destroy! always has this level as the second combat floor.
|
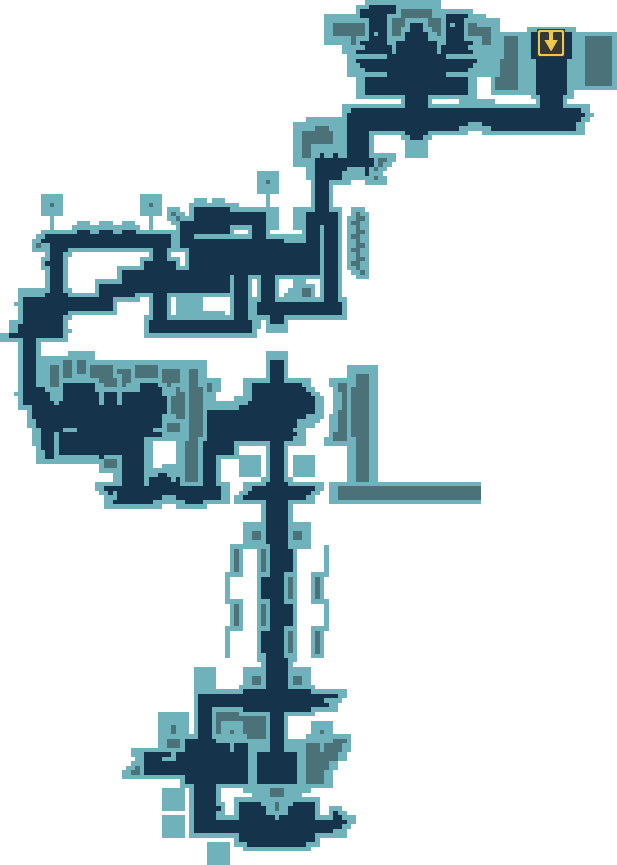
Gallery
|
|
Fourth Floor
Region: Ironclaw Munitions Factory
Level: The Roarmulus Twins
Depth: 17
|
|
|
Notes
Goal: Defeat the Roarmulus Twins and get to the elevator.
The 6-2  Mission: Built to Destroy! always has this level as the third and final combat floor. Mission: Built to Destroy! always has this level as the third and final combat floor.
The recon module only needs to be collected once, after that, it is accessible via the artifact tab of the player's arsenal.
With release 2014-05-21, this level's treasure room was reworked.
 Monstrous Codex: Roarmulus Twins
|
|
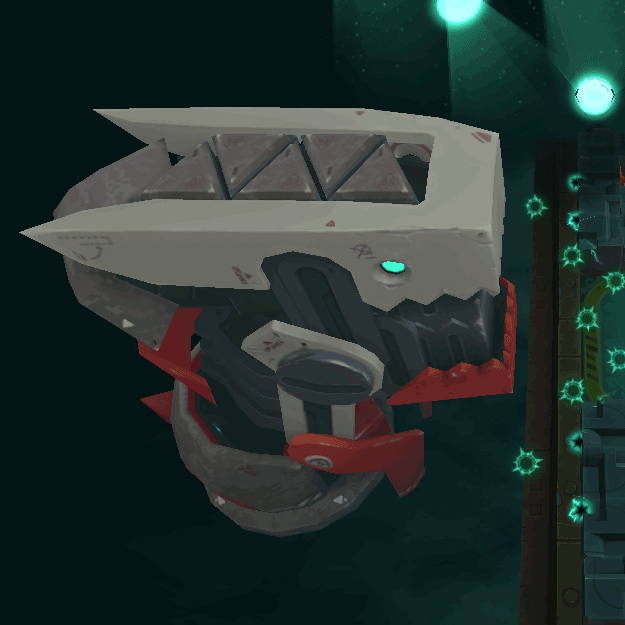
Roarmulus Twins
These giant gun puppies showcase impenetrable armor and high powered munitions. Their skin is so thick they are only vulnerable to fraternal firepower.
|
|
 Recon Module: Ironclaw Munitions Factory
A recording from Rulen, Alpha Squad Technician:
- We narrowly evaded a gremlin trap today. Ambushed on a platform above a pit of molten slag, we had to hold our ground against a horde of the snarling beasts as we dodged incoming rocket fire from above. Fun stuff.
Grantz took the full blast of a rocket twice, reacting only with a stagger as if he had discovered a stone in his boot. Sometimes I think that beneath his iron suit is a body of equally heavy iron. It wouldn't surprise me.
Parma has been hard on herself, saying that she should have scouted the trap. But how can you scout a world that is ever in flux? How can you be sure that the path ahead is still safe if you can never be sure it's still even there?
This is a world designed to confuse its travellers. It wants to trap and destroy them. I'm starting to think it's like a cat, toying with its prey before delivering the final blow.
I hate cats. |
Gallery
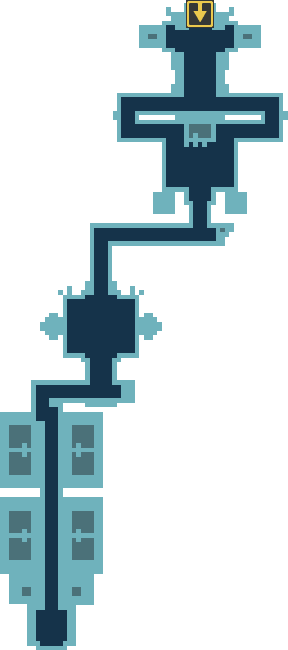
Map of this level before the twins rise.
Map of this level after the twins rise.
|
|
See also
![]() Bark Modules to exchange with Brinks for related gear.
Bark Modules to exchange with Brinks for related gear.
