Difference between revisions of "User:Magnus"
From SpiralKnights
| Line 293: | Line 293: | ||
* The [[Swiftstrike Buckler]] gives Speed Increase: High to all weapons, not just swords. It makes an excellent shield early on for Swordmasters and Gunslingers alike, but Bombers find no use for it. However, it is only 3* and can only take one hit normally before breaking, so forces users to dodge primarily. | * The [[Swiftstrike Buckler]] gives Speed Increase: High to all weapons, not just swords. It makes an excellent shield early on for Swordmasters and Gunslingers alike, but Bombers find no use for it. However, it is only 3* and can only take one hit normally before breaking, so forces users to dodge primarily. | ||
| − | + | The only thing other shields do is block, and if you've already gotten Barbarous Thorn Shield, all else you'd ever need is [[Grey Owlite Shield]] and [[Crest of Almire]] if you ever find a place where dodging is too hard. | |
===Monsters=== | ===Monsters=== | ||
Revision as of 04:25, 20 February 2012
| ||||||||||
| ||||||||||
Just another player from beta with stories to tell.
About Me
I play Spiral Knights because the game is fun, even through all the mayhem Three Rings has caused in their own game over the first year. Even after the year, though, almost anyone would get bored of any game. And I won't deny that I have. I've vanished a few times around Summer Camp and The Great Gift Pile sales on Steam, and when Dark Souls and Skyrim came out. Being an avid gamer, I was really just drawn to them instead. But why I keep coming back?
When I first started, I had a chance encounter with Biznasty and Decrous. And I joined Guild. And I've had nothing but fun playing with all the friends I've made, and I'll always come back for more of those good times... Until Three Rings kills their own game, which I believe we all hope they won't do.
Achievements
- Second in Command of Guild, lead by the most charismatic player of Spiral Knights, Biznasty.
- Helped Guild become great by publishing videos, while Biznasty would write on balance issues on the forums.
- First player to get Fang of Vog with two others, Biznasty and Decrous, during the Preview Event.
- First of four players to kill Vanaduke after release (with Biznasty, Aeca, and Otrapas).
- First player to get full Vog Cub after release.
- First player to get Fang of Vog after release.
- Heralded as the strongest player in all of Spiral Knights since Preview.
- 450,000+ hits on Youtube.
- Number one ranked in Lockdown for the first two days after release.
- Lead Guild to the number one rank in Lockdown for the first day after release.
- Lead Guild to a thirty-eight win streak. Team did not lose afterwards, merely quit from boredom.
- Among the first group of players, with Biznasty, Meida, and Miranthinas, to reach the first Sanctuary.
- First of two players to first equip a full Snarbolax Armor Set, the other being (of course) Biznasty.
- Helped Biznasty obtain the first Arcane Salamander Set in the game.
- First to complete Ultimate GW, RJP, IMF, and FSC with Biznasty.
- The first, with Biznasty, to collect all four Echo Stones.
- With a lot of help, first to get the Twilight Aura, and the only one with it for a month or two.
Arsenal
 Barbarous Thorn Blade
  Attack Speed Increased: Medium
 Divine Avenger
  Attack Speed Increased: Very High
 Fang of Vog
 Laverna's Flourish
  Attack Speed Increased: Very High
 Gran Faust
  Attack Speed Increased: Medium
 Leviathan Blade
  Attack Speed Increased: Medium
 Sudaruska
  Attack Speed Increased: Medium
 Triglav
  Attack Speed Increased: Medium
 Voltedge
  Attack Speed Increased: Medium
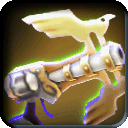 Argent Peacemaker
  Attack Speed Increased: Low
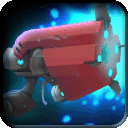 Hollafamer's Callahan
  Attack Speed Increased: Very High
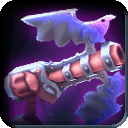 Sentenza
  Attack Speed Increased: Low
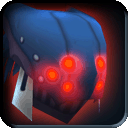
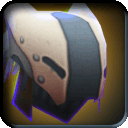 Skolver Cap
  Increased Piercing Defense: Maximum!
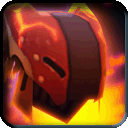
 Snarbolax Cap
  Increased Shadow Defense: Maximum!
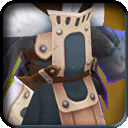
 Vog Cub Cap
  Increased Elemental Defense: Maximum!
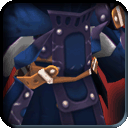
 Skolver Coat
  Increased Piercing Defense: Maximum!
 Snarbolax Coat
  Increased Shadow Defense: Maximum!
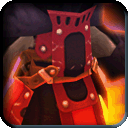
 Vog Cub Coat
  Increased Elemental Defense: Maximum!
 Authentic Frankenzom Mask
 Authentic Phantom Mask
 Authentic Spookat Mask
 Chapeau of the Black Rose
 Chapeau of the Blue Rose
 Biznasty's Chapeau of the Coral Rose
 Chapeau of the Gold Rose
 Chapeau of the Green Rose
 Chapeau of the Red Rose
 Apologetic's Chapeau of the Violet Rose
 Chapeau of the White Rose
 Cool Stranger Hat
 Divine Stranger Hat
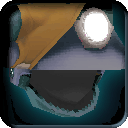 Dusky Stranger Hat
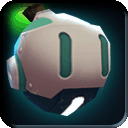 Emerald Bombhead Mask
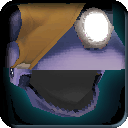 Fancy Stranger Hat
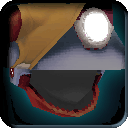 Heavy Stranger Hat
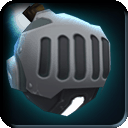 Iron Bombhead Mask
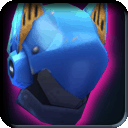 Metal Sonic Mask
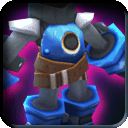 Metal Sonic Suit
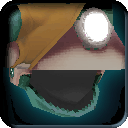 Military Stranger Hat
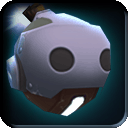 Onyx Bombhead Mask
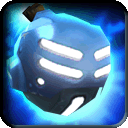 Plasmatech Bombhead Mask
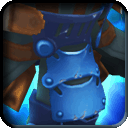 Plasmatech Demo Suit
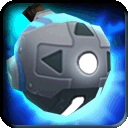 Prime Bombhead Mask
 Regal Stranger Hat
 Silver Bombhead Mask
 Sniped Stranger Hat
 Spiral Bombhead Mask
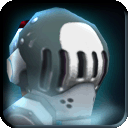 Steam Knight Mask
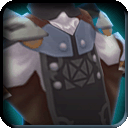 Tabard of the Black Rose
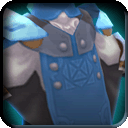 Tabard of the Blue Rose
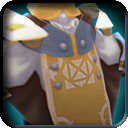 Tabard of the Gold Rose
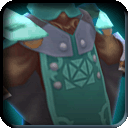 Tabard of the Green Rose
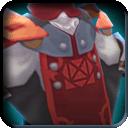 Tabard of the Red Rose
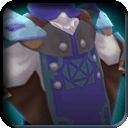 Apologetic's Tabard of the Violet Rose
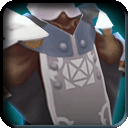 Tabard of the White Rose
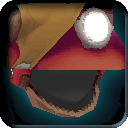 Toasty Stranger Hat
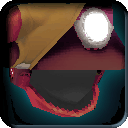 Volcanic Stranger Hat
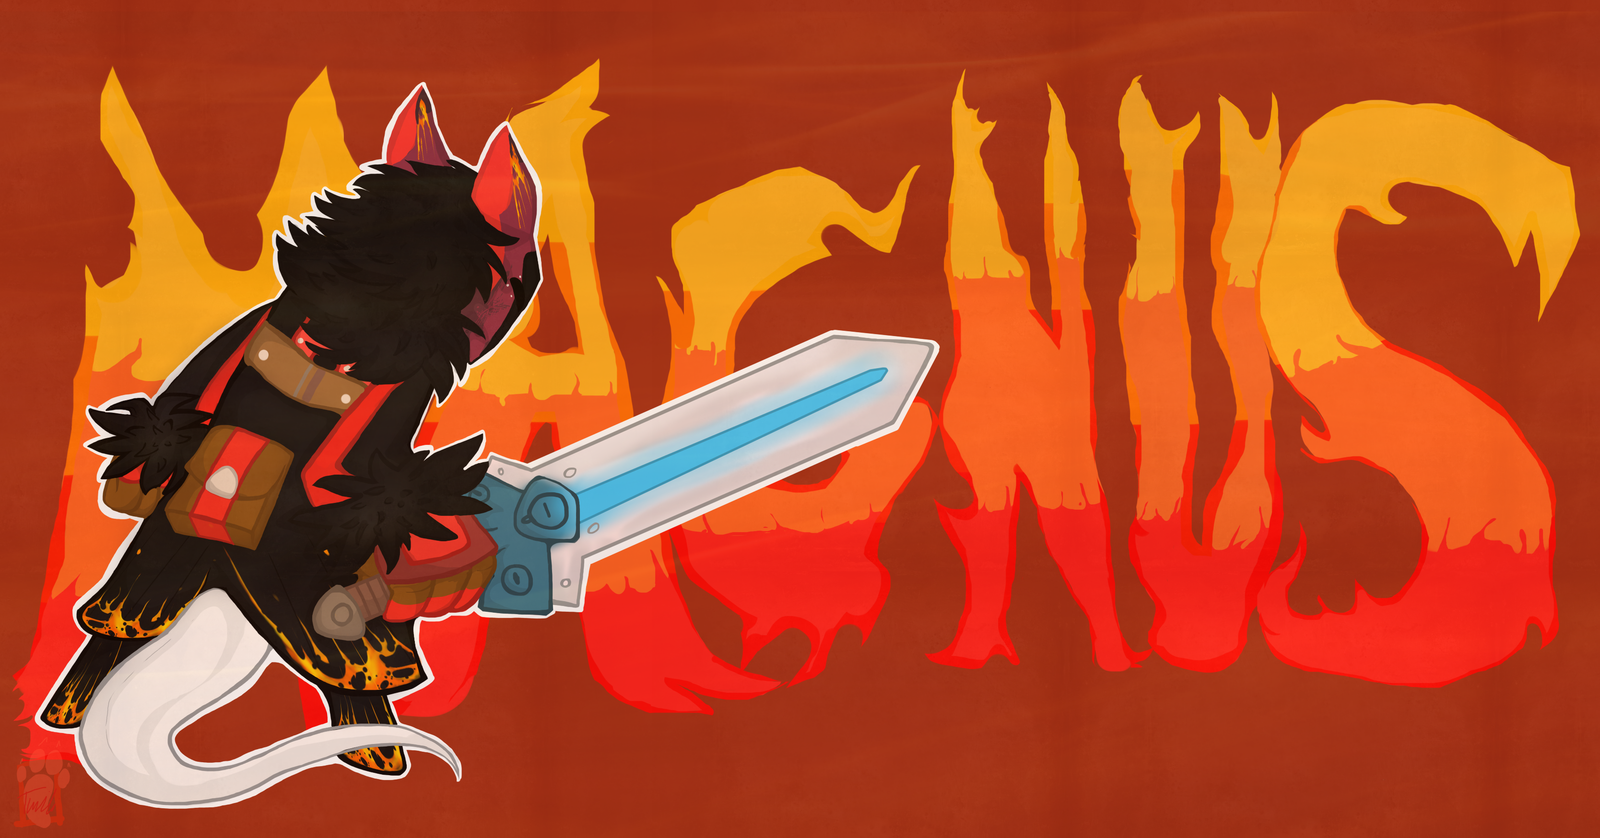
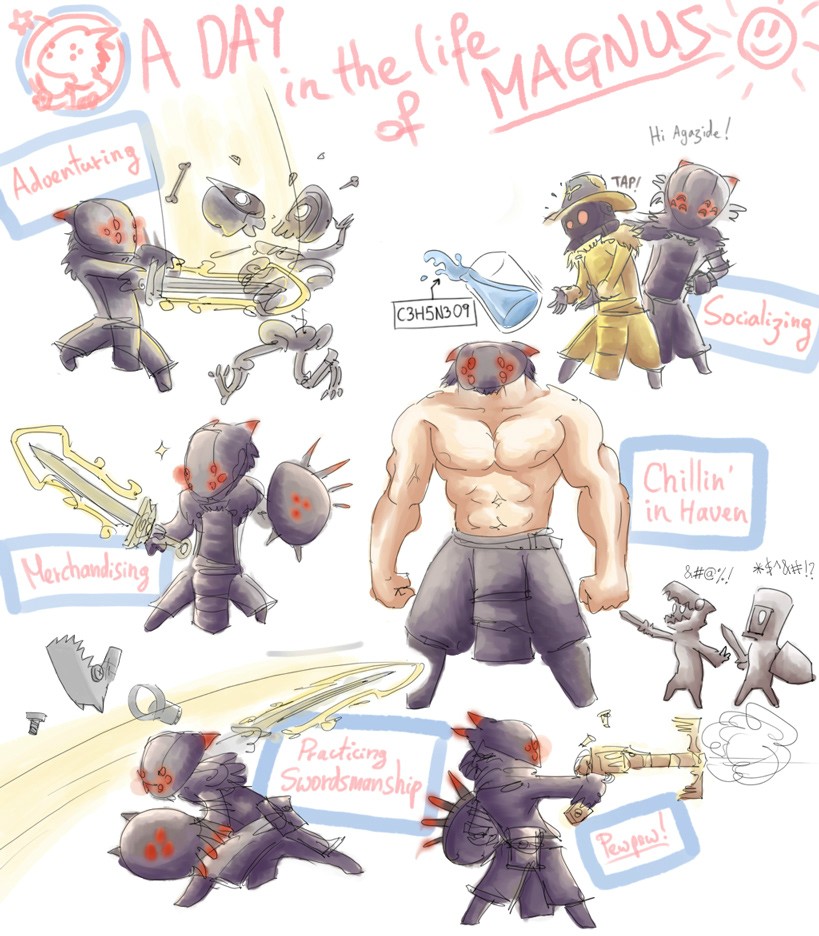
Fanart
- MagnusSnarboalx.png
A Guide to Playing Spiral Knights
The game has several depths to explore, and I don't mean the levels. A proper guide would be composed of everything, but I've never seen one, only parts. After a lot of discussions, I find that many people don't even know why everyone gets Wolver line armor, or why Argent Peacemaker is a better general gun than Valiance, and most surprisingly of all, some peole don't know teammates can revive you without the use of energy.
In this guide, I'll be covering basic controls, armors, weapons, enemies, bosses, their lairs, and ultimate versions. I'll break down each into what strategies apply to them. I aim to boil everything down to a point it would be impossible to argue any of these points.
While this is being written, feel free to head over to the Swordmaster Guide, Gunslinger Guide, Bombing Guide, and Shieldbearer Guide to fill in any holes.
How To Play
Playing the game may seem like a simple task, but it isn't. Many players still use Default controls, don't know how to read Gate Maps, and how begging makes people not like you. Oh, and general combat tips.
Controls
Default uses the mouse to move and attack, and X to block. Not everyone has the sense to change these, even though they limit your ability to move and aim to the pointer, and forces you to use the Strafe button when it could all be done much more easily.
Advanced is the control scheme to use and is as follows:
- WASD as Move North/West/South/East (Not to be confused with Move Fwd/Left/Back/Right.)
- Action as Left Mouse
- Defend as Right Mouse
- Prev Weapon as Wheel Up
- Next Weapon as Wheel Down
- Auto Target as Left Shift
- Auto Target is UNCHECKED (Found at the bottom of the Controls Tab.)
This control scheme allows players to move freely while aiming, be it sword or gun, and provides a much easier method of alternating between attacking and blocking, as well as completely removes the need for the Strafe button entirely. PC gamers will find they agree completely with these controls, or had one point come up with them on their own. People new to PC gaming while find this to be the most comfortable possible.
Some people will prefer controllers with Dual Analogue controls, but this can cost up to $60 for a good controller, and Keyboard/Mouse is generally what people already have, and if not, mice are very cheap.
Gate Maps
When you walk up to a Gate, a screen labeled Adventure Board pops up, and to its right, the Gate Map. As you can see on the right side of the Gate Map, there is a Scroll Bar. You can move this Scroll Bar down to see deeper tiers, and what exactly is there. You can even mouse over the little icons in the Gate Map to see the name of the area. Generic level names will hint at the Status, and then the Enemy types. Non-generic levels will be something like Aurora Isles - The Low Gardens.
Boss Stratums, one of the most asked about stratums, are the easiest to find, as they are the only depths that are consecutively a single level per depth and are colored uniquely.
(Note: I will never understand why people ask 'where is royal jelly' when Hot Pink icons are so easy to spot in a Gate Map.)
General Gameplay Tips
Did you know...
- You can move vials around in their slots to keep Pills and Remedies to a familiar first two slots?
- You can hold Attack to Charge your weapon?
- You can hold Defend, and then Attack, and when you let go of Defend, you will be charging your weapon without swinging/shooting first?
- Pushing Defend after Attacking will let you Shield Cancel the last part of the animation?
- Shield Cancelling can only be done the same number of times as the weapon can swing/shoot naturally?
- Defending next to an enemy will Repel them?
- Repel is stronger the higher star rating your shield is?
- You can revive defeated players by standing over them and pushing Action when prompted, and give them half of your health?
- Health revives give you 30% of the revived player's heat?
- There are areas in the game that allow you or others to repeatedly revive/die to get/give heat, and heat equipment at much higher rates? (That's Firestorm Citadel, by the way. End of last two depths with the Healpads.)
Armor
There are, in fact, only three useful armor lines in the game. Why this is exactly, no one can say for sure as Three Rings does not like to comment on it. These armor lines are Wolver, Demo, and Gunslinger. Now you might ask why this is, or even say you don't care and would rather get some armor that is unique so you can be an individual and a hipster. For now, let me tell you that that is the worse possible way to approach equipment. Equipment is mainstream for a reason.
Wolver
This is the armor for players who focus on using swords. Wolver upgrades to Vog Cub, Skolver, and Snarbolax armors. Vog Cub boosts Sword Speed, and Skolver and Snarbolax boost Sword Damage. If you equip trinkets of the opposite bonus, you're already granted Sword Attack Speed and Damage Very High. Adding to that is the Barbarous Thorn Shield, which gives Sword Damage Medium. And finally, swords with the Unique Variant of Attack Speed Increased: Medium are not rare at all, and aren't extremely expensive.
In other words, the Wolver line of armor and some accessories will bring you up to Sword Damage and Speed Maximum. If you primarily use swords, then why not double your damage output? And as an added bonus, Sword Speed doubles as a defense. The faster you swing, the faster you can shield/shield cancel, allowing you to deal with much larger groups of enemies or awkward situations with ease.
As a tip, the best to get first would be Vog Cub, that way you can do FSC much more easily to save up for the shield and trinkets and other armors.
Demo
This is for those brave and noble souls who can actually bomb. (It seems easy but it's really a pain and often severely underpowered.) Demo armor buffs bombs, so if you use bombs primarily. I'm however not an expert in this field, but will say that Volcanic Demo seems to be the best to get first, as then you can grind FSC and get trinkets and the other armor types.
Gunslinger
It buffs guns.
Subpar Armors
The previous armors all buff specific weapon types. These buffs can double your damage output with enough, and the more dead something is, the less it can hurt you, Howlitzers excluded. And the more things are dead, the more a credit you are to your team.
All other armors give the illusion of having a lot more defense, but in reality, it's not a major change from specialized armor. So why do less damage for virtually identical defense?
Weapons
Here I will break down why I have what weapons I do, why they're good, and why I don't have certain other weapons, and why you shouldn't.
Swords
What To Use
What To Avoid
Cutter Line
Spur Line
Guns
What To Use
Argent Peacemaker
This gun is the one gun you will ever need. It is the strongest general use gun, as its two damage values allow it to be effective on any monster, and its rapid fire allows you to take advantage of many scenarios.
Argent has both Piercing and Elemental damage. Most people will say it having piercing makes it a very weak gun. What these people fail to realize is that it's not just piercing. Every monster is weak to one damage type, and strong to another, and only neutral to the other two. Take, for example, Constructs: while they are indeed strong to piercing, they are also weak to elemental. The two damage types balance each other out, and end up doing as much as Valiance, but with three more shots. Be warned, though, the numbers will flash gray anyway, but that's because the gun is rapid fire. Soloing, it only takes two magazines to bring down a Rocket Puppy with the Argent.
Argent is also a very strategic weapon. It does not inflict knockback, making it an ultimate support weapon. Why is no knockback fantastic, though? A Slag is stuck far out in a spike trap, and hitting it with your sword or another knockback weapon pushes it away, further out of your reach. With Argent, you don't have to push it far away. You can chip away at its health as it comes back, and when it is back, push it to an area that won't be dangerous to attack it in, and unleash whatever other higher damage weapons you may have on it.
Having no knockback makes Argent a fantastic way to support Swordmasters without interrupting their combos. But its rapid fire also makes for excellent support. As you may or may not know, when a Trojan's shield is hit, he recoils a little, no matter what. It's not actually knockback, but it does indeed push him back. Moving and rapidly shooting a Trojan's shield can completely immobilize him, as well as absorb all of the aggro. Team members will find it much easier to kill a trojan when it's always focused on just one person.
Finally, the Argent has the power of mobility. You can still move and shoot at the same time, which is a tremendous benefit towards efforts to stay alive. This mobility made the Argent the original go-to weapon for Vanaduke. While it doesn't do massive burst damage, its mobility grants the ability to perform a constant DPS while greatly increasing survivability. While Blitz users run around while charging their gun, unable to shield on a whim, and become frozen in place when they use the charge, Argent users will be moving freely, able to stop shooting to pick up a little speed to dodge, or to just plain block. This can be applied to all situations as well, not just Vanaduke.
What To Avoid
Supernova / Polaris
These two weapons are known to be the worst guns for teamplay. One person using either can really damage a team.
Hypothetically, you are a gunner, and you're on a team with a swordmaster. You have a Polaris, and both of you are fighting Slags. You take out your Polaris and start shooting it. The massive knockback from the gun starts flinging Slags in all directions. Slags are suddenly stuck out into floor traps beyond the Swordmaster's reach. Each time the swordmaster swings at a Slag not lost to distance, the knockback from more Polaris shots pushes the Slags away from his sword's reach. But when Polaris inflicts shock, suddenly he can't knock the Slag away from him, and he gets hit by it.
Do everyone you know a favor, and avoid these at all costs.
Bombs
What To Use
What To Avoid
Shivermist Buster
Shields
There's not much to cover in regard to shields. There are only three shields in the game that provide a bonus, and only two of them are useful bonuses.
- The Barbarous Thorn Shield, the must have shield for Swordmasters, gives Sword Damage Increase: Medium, and is an essential part to getting Sword Damage and Speed Increase Maximum, thus making it the best shield in the game for the majority.
- The Swiftstrike Buckler gives Speed Increase: High to all weapons, not just swords. It makes an excellent shield early on for Swordmasters and Gunslingers alike, but Bombers find no use for it. However, it is only 3* and can only take one hit normally before breaking, so forces users to dodge primarily.
The only thing other shields do is block, and if you've already gotten Barbarous Thorn Shield, all else you'd ever need is Grey Owlite Shield and Crest of Almire if you ever find a place where dodging is too hard.
