Category:Area images
From SpiralKnights
This page is a category page. Please do not try to edit it to add entries. The correct way to add things to the page is to use a category tag. Please see the style guide for the appropriate category tags and how to use them. Some templates automatically add categories for you.
|
These are images of areas in the game.
Media in category "Area images"
The following 200 files are in this category, out of 499 total.
(previous page) (next page) 2012-05-17 00001.jpg 1,280 × 768; 265 KB
 Advanced Training Hall-entrance.png 661 × 487; 538 KB
 Arcade-Krogmo.png 372 × 269; 199 KB
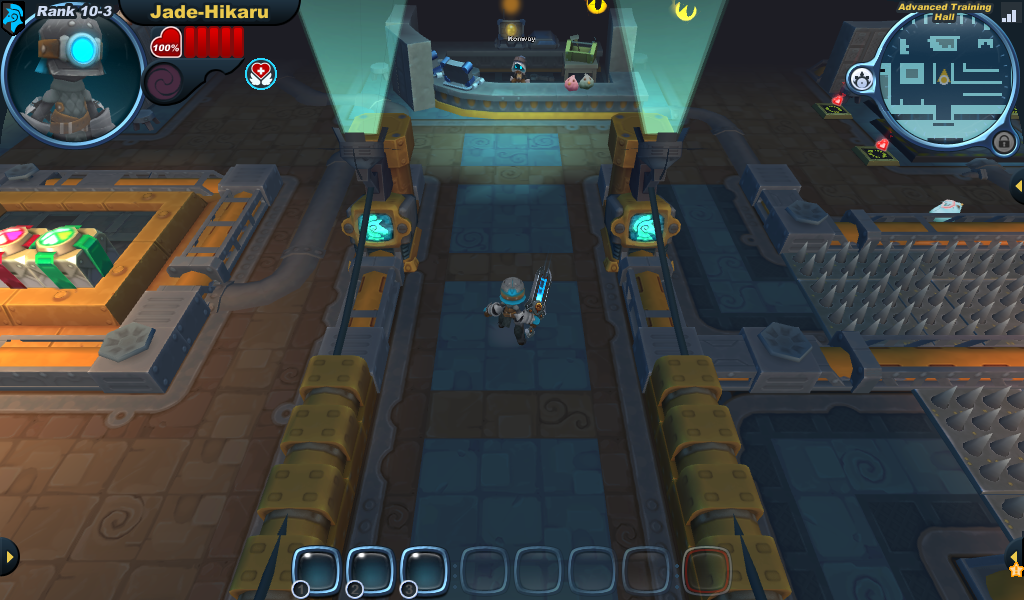
 Area-Advanced Training Hall-Arsenal Station.png 1,024 × 600; 753 KB
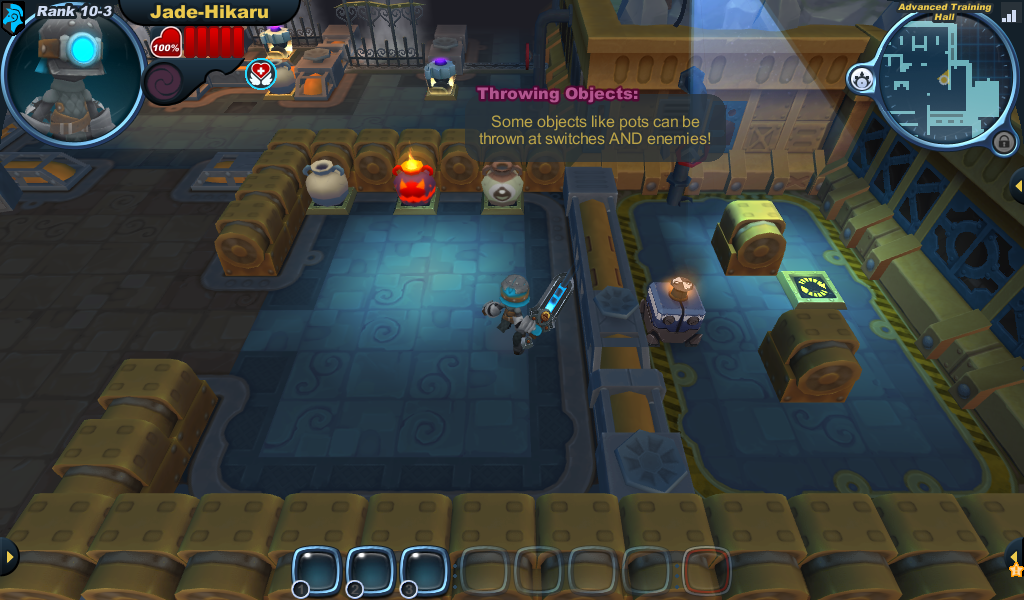 Area-Advanced Training Hall-East Wing-Pots.png 1,024 × 600; 836 KB
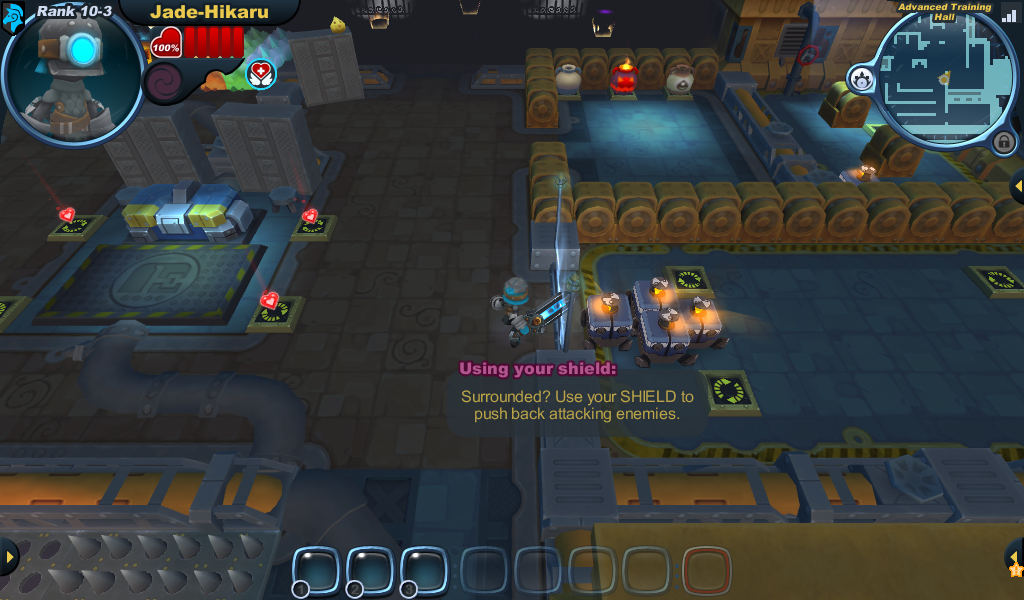 Area-Advanced Training Hall-East Wing-Shufflebots.png 1,024 × 600; 749 KB
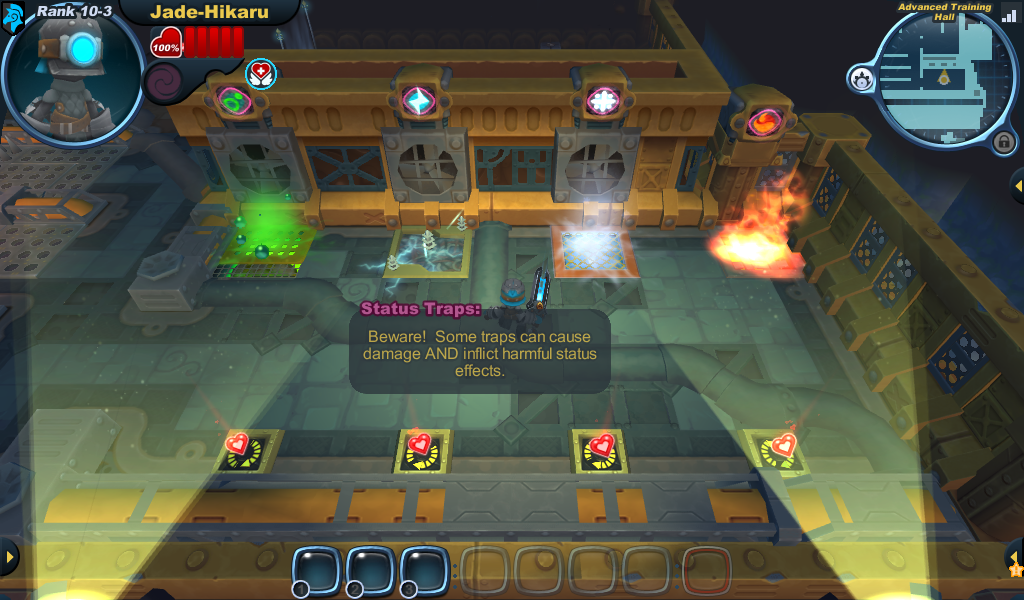 Area-Advanced Training Hall-East Wing-Status Traps.png 1,024 × 600; 1.02 MB
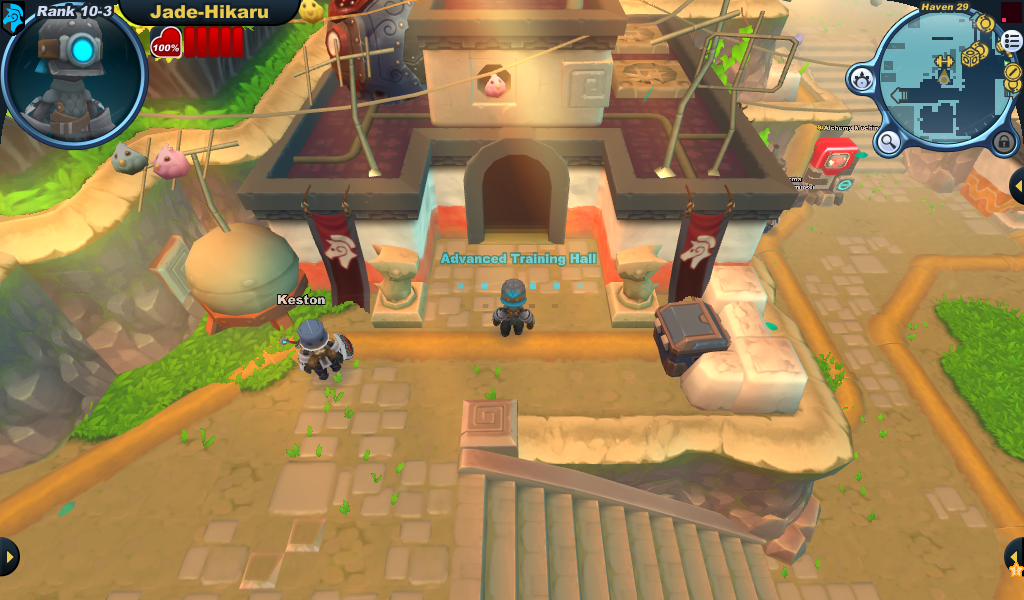 Area-Advanced Training Hall-Entrance-Haven.png 1,024 × 600; 1.13 MB
 Area-Advanced Training Hall-Entrance-Inside.png 1,024 × 600; 794 KB
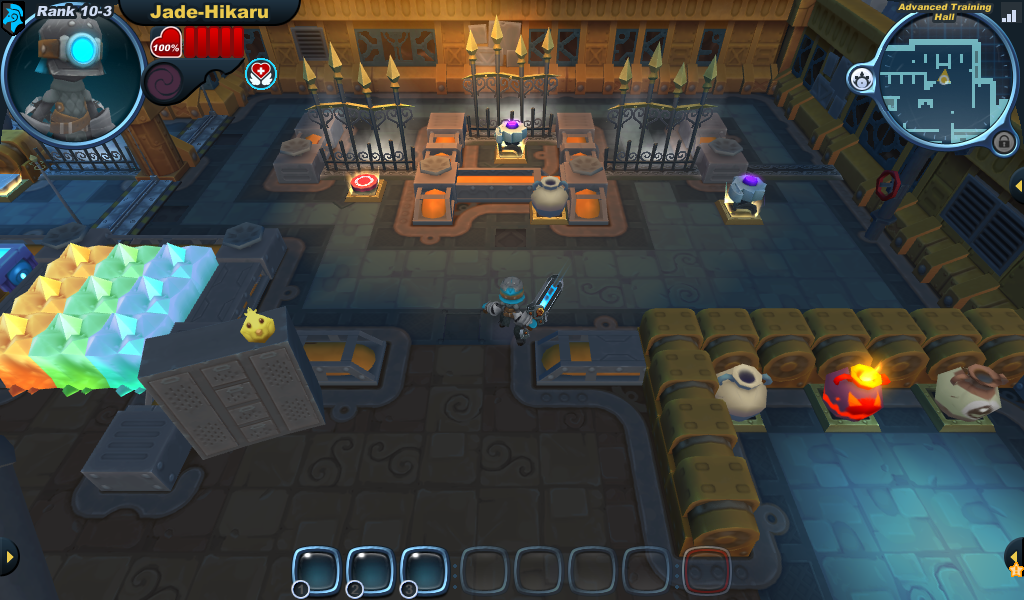
 Area-Advanced Training Hall-North Wing-Blocks and Statues.png 1,024 × 600; 782 KB
 Area-Advanced Training Hall-North Wing-Switches and Doors.png 1,024 × 600; 894 KB
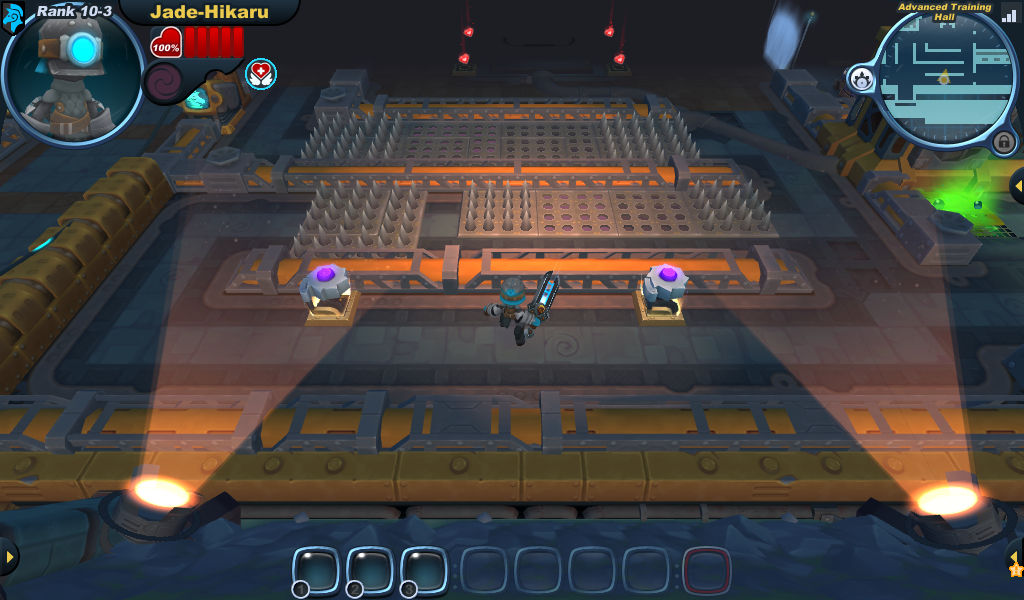 Area-Advanced Training Hall-South Wing-Spike Traps.png 1,024 × 600; 769 KB
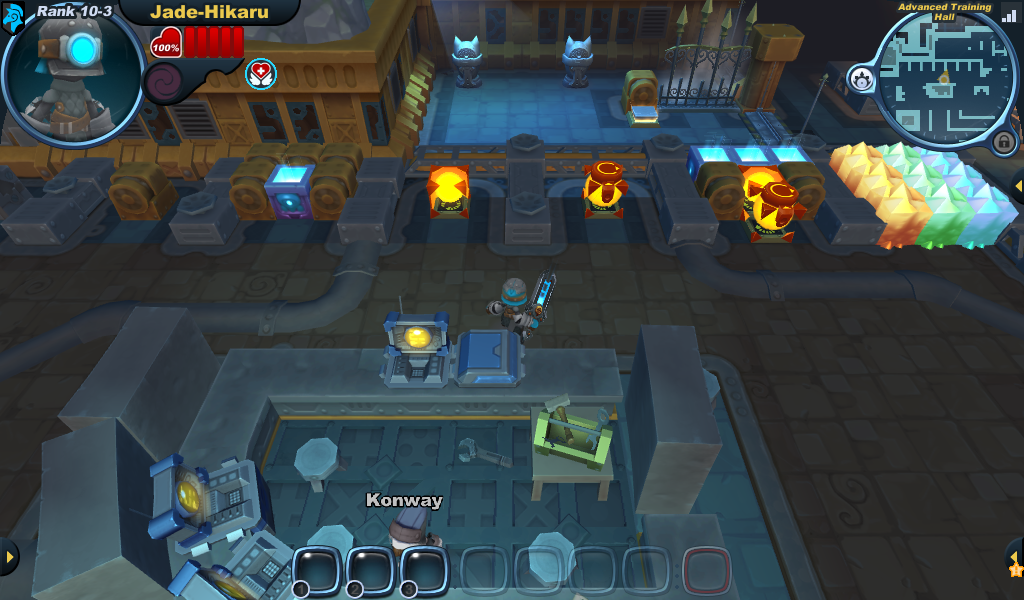
 Area-Advanced Training Hall-West Wing-Basics.png 1,024 × 600; 817 KB
 Area-Advanced Training Hall-West Wing-Vials.png 1,024 × 600; 799 KB
 Area-A Gremlin in Knead-Moonstone Mixup-2.png 1,024 × 768; 718 KB
 Area-A Gremlin in Knead-Moonstone Mixup.png 1,024 × 768; 833 KB
 Area-Alien Ooze-Field Research Site.png 1,024 × 768; 827 KB
 Area-An Eternal Bond-The Lab.png 1,024 × 768; 655 KB
 Area-A New Threat-Haven.png 1,024 × 768; 761 KB
 Area-A New Threat-The Lab.png 1,024 × 768; 746 KB
 Area-Angels from Antiquity-End of the Line-2.png 1,024 × 768; 912 KB
 Area-Angels from Antiquity-End of the Line-3.png 1,024 × 768; 931 KB
 Area-Angels from Antiquity-End of the Line.png 1,024 × 768; 873 KB
 Area-Angels from Antiquity-Restless Railroad-2.png 1,024 × 768; 777 KB
 Area-Angels from Antiquity-Restless Railroad-3.png 1,024 × 768; 704 KB
 Area-Angels from Antiquity-Restless Railroad.png 1,024 × 768; 751 KB
 Area-Angels from Antiquity-The Lab-2.png 1,024 × 768; 741 KB
 Area-Angels from Antiquity-The Lab.png 1,023 × 768; 637 KB
 Area-A Revelation in Flames-Frigid Passage-2.png 1,024 × 768; 926 KB
 Area-A Revelation in Flames-Frigid Passage-3.png 1,024 × 768; 885 KB
 Area-A Revelation in Flames-Frigid Passage.png 1,024 × 768; 842 KB
 Area-A Revelation in Flames-Sunset Steppes-2.png 1,024 × 768; 743 KB
 Area-A Revelation in Flames-Sunset Steppes-3.png 1,024 × 768; 829 KB
 Area-A Revelation in Flames-Sunset Steppes.png 1,024 × 768; 1,006 KB
 Area-A Revelation in Flames-The Lab-2.png 1,024 × 768; 741 KB
 Area-A Revelation in Flames-The Lab.png 1,024 × 768; 632 KB
 Area-Assault on Machine Shop 13-Munitions Storage-End1A.png 1,024 × 604; 705 KB
 Area-Assault on Machine Shop 13-Munitions Storage-I1A.png 1,024 × 600; 667 KB
 Area-Assault on Machine Shop 13-Munitions Storage-I1B.png 1,024 × 604; 680 KB
 Area-Assault on Machine Shop 13-Munitions Storage-I1C.png 1,024 × 600; 683 KB
 Area-Assault on Machine Shop 13-Munitions Storage-I2A.png 1,024 × 600; 594 KB
 Area-Assault on Machine Shop 13-Munitions Storage-I2B.png 1,024 × 600; 656 KB
 Area-Assault on Machine Shop 13-Munitions Storage-I2C.png 1,024 × 604; 626 KB
 Area-Assault on Machine Shop 13-Munitions Storage-I3A.png 1,600 × 837; 1.57 MB
 Area-Assault on Machine Shop 13-Munitions Storage-I3B.png 1,600 × 837; 1.76 MB
 Area-Assault on Machine Shop 13-Munitions Storage-I3C.png 1,600 × 837; 1.45 MB
 Area-Assault on Machine Shop 13-Munitions Storage-I3D.png 1,024 × 600; 705 KB
 Area-Assault on Machine Shop 13-Munitions Storage-I3E.png 1,600 × 837; 1.44 MB
 Area-Assault on Machine Shop 13-Munitions Storage-I3F.png 1,600 × 837; 1.41 MB
 Area-Assault on Machine Shop 13-Munitions Storage-Start1A.png 1,024 × 604; 676 KB
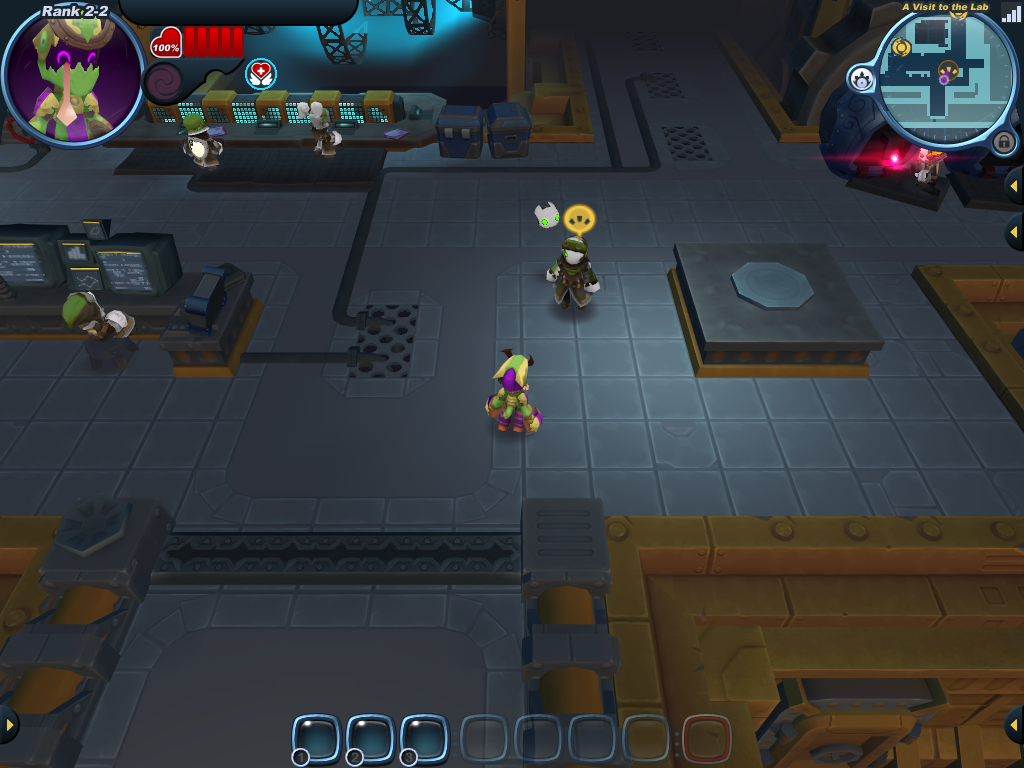 Area-A Visit to the Lab-The Lab.png 1,024 × 768; 615 KB
 Area-Bad Luck and Brimstone-Kat Nest-1A.png 1,024 × 768; 696 KB
 Area-Battle Arena-2.png 1,024 × 768; 839 KB
 Area-Battle Arena-3.png 1,024 × 768; 841 KB
 Area-Battle Arena-Fiendish Fray-1B-2.png 1,024 × 768; 825 KB
 Area-Battle Arena-Fiendish Fray-1B-3.png 1,025 × 768; 878 KB
 Area-Battle Arena-Fiendish Fray-1B.png 1,024 × 768; 896 KB
 Area-Battle Arena (mission)-The Bitter Battle-1.png 1,024 × 600; 1.13 MB
 Area-Battle Arena (mission)-The Bitter Battle-2.png 1,024 × 600; 723 KB
 Area-Battle Arena (mission)-The Bitter Battle-3.png 1,024 × 600; 689 KB
 Area-Battle Arena (mission)-The Bitter Battle-4.png 1,024 × 600; 705 KB
 Area-Battle Arena.png 1,024 × 768; 802 KB
 Area-Breaking in the Recruits-Operation Greenhorn-2.png 1,024 × 600; 823 KB
 Area-Breaking in the Recruits-Operation Greenhorn-3.png 1,024 × 600; 719 KB
 Area-Breaking in the Recruits-Operation Greenhorn.png 1,024 × 600; 827 KB
 Area-Breaking in the Recruits-The Overworks-2.png 1,024 × 600; 557 KB
 Area-Breaking in the Recruits-The Overworks-3.png 1,024 × 600; 616 KB
 Area-Breaking in the Recruits-The Overworks-4.png 1,024 × 600; 617 KB
 Area-Breaking in the Recruits-The Overworks.png 1,024 × 600; 602 KB
 Area-Clockworks Tunnel-L-1A.png 1,260 × 788; 1.63 MB
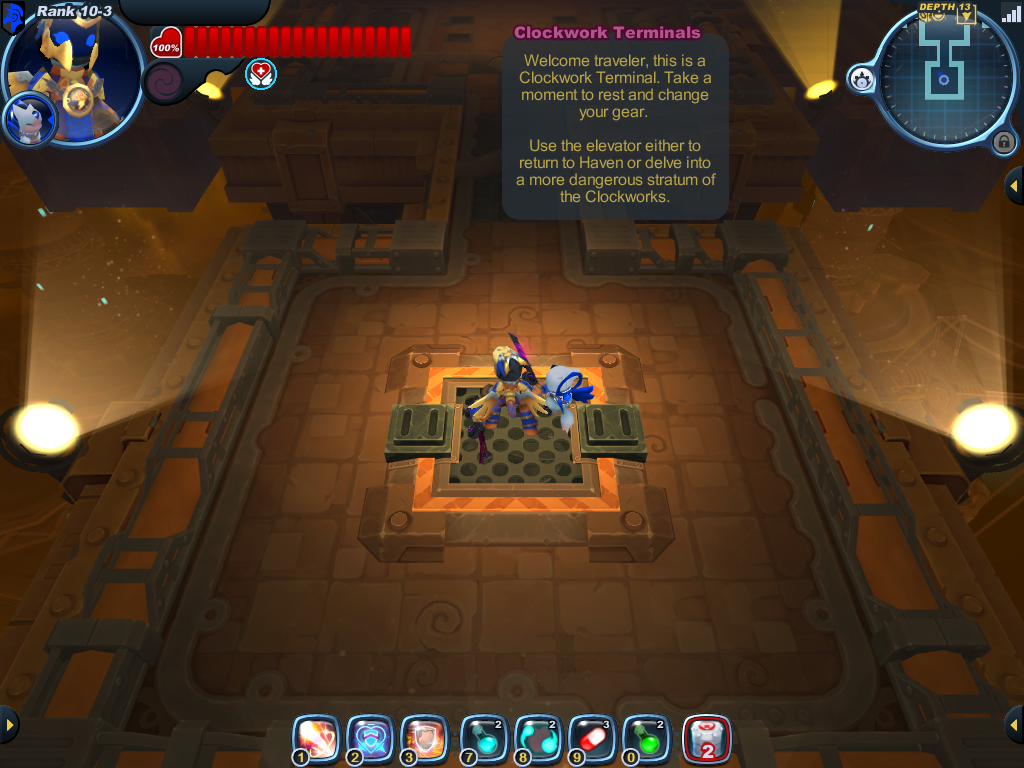 Area-Clockwork Terminal-The Crossroads of Adventure-D13-2.png 1,024 × 768; 739 KB
 Area-Clockwork Terminal-The Crossroads of Adventure-D13.png 1,024 × 768; 772 KB
 Area-Clockwork Terminal-The Crossroads of Adventure-D23-2.png 1,024 × 768; 657 KB
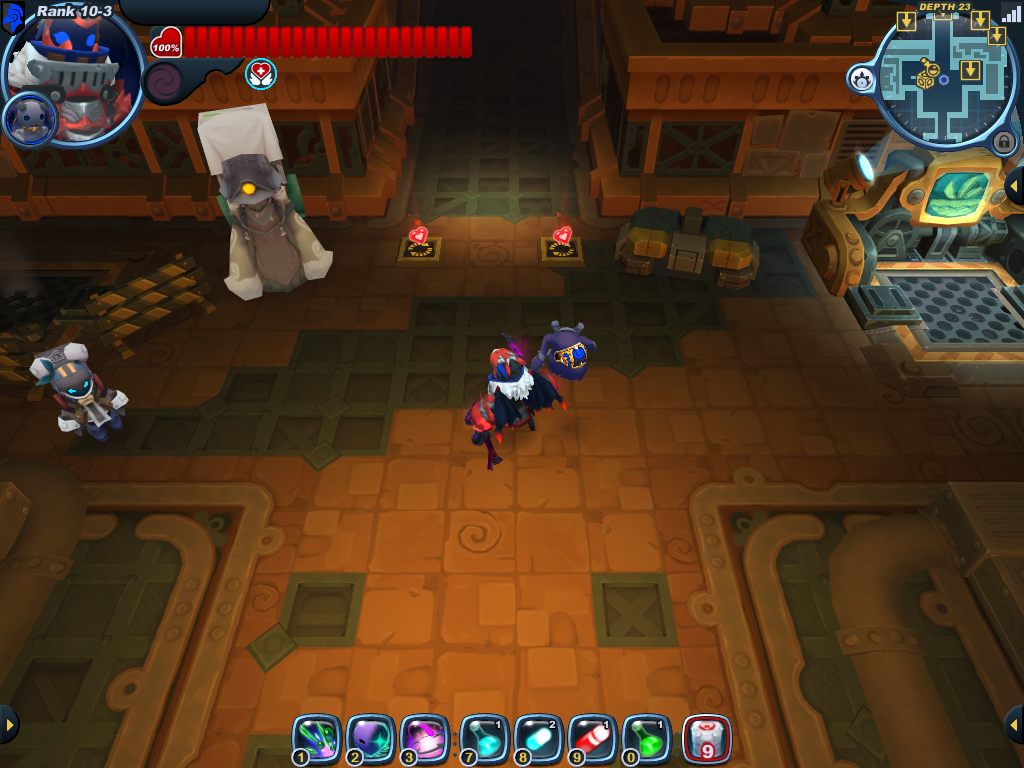 Area-Clockwork Terminal-The Crossroads of Adventure-D23.png 1,024 × 768; 762 KB
 Area-Clockwork Tunnels-Danger Room-Circular1A.png 1,024 × 600; 938 KB
 Area-Clockwork Tunnels-Danger Room-Entrance1A.png 1,024 × 604; 625 KB
 Area-Clockwork Tunnels-Danger Room-Irregular1A.png 1,024 × 605; 904 KB
 Area-Clockwork Tunnels-Danger Room-Irregular1B.png 1,024 × 600; 1,018 KB
 Area-Clockwork Tunnels-Danger Room-Rectangular (Eight Shape)1B.png 1,024 × 605; 538 KB
 Area-Clockwork Tunnels-Danger Room-Rectangular (Special)1A.png 1,024 × 600; 849 KB
 Area-Clockwork Tunnels-Danger Room-Square1B.png 1,024 × 600; 724 KB
 Area-Clockwork Tunnels-Danger Room-Square (Irregular)1B.png 1,024 × 605; 817 KB
 Area-Clockwork Tunnels-Danger Room-Square (Irregular)1C.png 1,024 × 605; 677 KB
 Area-Clockwork Tunnels-Golden Slime Casino1A.png 1,024 × 600; 883 KB
 Area-Clockwork Tunnels-Golden Slime Casino1B.png 1,024 × 768; 750 KB
 Area-Clockwork Tunnels-Golden Slime Casino2A.png 1,280 × 1,024; 1.46 MB
 Area-Clockwork Tunnels-Golden Slime Casino2B.png 1,280 × 1,024; 1.58 MB
 Area-Clockwork Tunnels-Golden Slime Casino2C.png 1,280 × 1,024; 1.75 MB
 Area-Clockwork Tunnels-Golden Slime Casino2D.png 1,320 × 798; 1.47 MB
 Area-Clockwork Tunnels-Golden Slime Casino3A.png 1,321 × 799; 1.44 MB
 Area-Clockwork Tunnels-Mysterious Room1A.png 1,024 × 768; 797 KB
 Area-Clockwork Tunnels-Mysterious Room1B.png 1,024 × 768; 945 KB
 Area-Clockwork Tunnels-Mysterious Room1C.png 1,024 × 768; 756 KB
 Area-Clockwork Tunnels-Mysterious Room1D.png 1,024 × 768; 827 KB
 Area-Clockwork Tunnels-Mysterious Room1E-2.png 1,024 × 768; 893 KB
 Area-Clockwork Tunnels-Mysterious Room1E-3.png 1,024 × 768; 886 KB
 Area-Clockwork Tunnels-Mysterious Room1E-4.png 1,024 × 768; 891 KB
 Area-Clockwork Tunnels-Mysterious Room1E.png 1,024 × 768; 933 KB
 Area-Clockwork Tunnels-Mysterious Room1F-2.png 1,024 × 768; 914 KB
 Area-Clockwork Tunnels-Mysterious Room1F-3.png 1,024 × 768; 923 KB
 Area-Clockwork Tunnels-Mysterious Room1F-4.png 1,024 × 768; 907 KB
 Area-Clockwork Tunnels-Mysterious Room1F.png 1,024 × 768; 918 KB
 Area-Clockwork Tunnels-Mysterious Room1G.png 1,024 × 768; 784 KB
 Area-Clockwork Tunnels-Mysterious Room1H.png 1,280 × 1,024; 1.3 MB
 Area-Clockwork Tunnels-Scenario Room16A.png 1,024 × 600; 851 KB
 Area-Compact Area-I-2A.png 1,024 × 768; 810 KB
 Area-Compact Area-I-2B.png 1,024 × 768; 755 KB
 Area-Compact Area-I-2C.png 1,024 × 768; 804 KB
 Area-Compound-Scenario Room2A.png 1,024 × 600; 745 KB
 Area-Concrete Jungle-Briar Bone Barrage-2.png 1,024 × 768; 732 KB
 Area-Concrete Jungle-Briar Bone Barrage-3.png 1,024 × 768; 796 KB
 Area-Concrete Jungle-Briar Bone Barrage.png 1,024 × 768; 873 KB
 Area-Crossing the Chasm-Haven 2.png 1,024 × 768; 656 KB
 Area-Crossing the Chasm-Haven.png 1,024 × 768; 1.04 MB
 Area-Crossing the Chasm-The Journey to Haven 2.png 1,024 × 768; 806 KB
 Area-Crossing the Chasm-The Journey to Haven.png 1,024 × 768; 1,000 KB
 Area-Devilish Drudgery-Scenario Room5A.png 1,024 × 768; 756 KB
 Area-Emberlight-2.png 1,024 × 600; 789 KB
 Area-Emberlight-3.png 1,024 × 600; 824 KB
 Area-Emberlight.png 1,024 × 600; 722 KB
 Area-Faith in Armor-The Trap Chamber-2.png 1,024 × 768; 775 KB
 Area-Graveyard-Scenario Room5A.png 1,024 × 600; 613 KB
 Area-Graveyard-Where Monsters Fear to Tread-2.png 1,024 × 600; 696 KB
 Area-Graveyard-Where Monsters Fear to Tread-3.png 1,024 × 600; 706 KB
 Area-Graveyard-Where Monsters Fear to Tread.png 1,024 × 600; 700 KB
 Area-Grinchlin Assault!-Ascent-2.png 1,024 × 768; 915 KB
 Area-Grinchlin Assault!-Ascent-3.png 1,024 × 768; 1.1 MB
 Area-Grinchlin Assault!-Ascent-4.png 1,024 × 768; 930 KB
 Area-Grinchlin Assault!-Ascent-5.png 1,024 × 768; 866 KB
 Area-Grinchlin Assault!-Ascent-6.png 1,024 × 768; 874 KB
 Area-Grinchlin Assault!-Ascent.png 1,024 × 768; 1.03 MB
 Area-Grinchlin Assault!-Base Camp.png 1,024 × 768; 890 KB
 Area-Grinchlin Assault!-Summit-2.png 1,024 × 768; 926 KB
 Area-Grinchlin Assault!-Summit-3.png 1,024 × 768; 900 KB
 Area-Grinchlin Assault!-Summit-4.png 1,024 × 768; 851 KB
 Area-Grinchlin Assault!-Summit-5.png 1,024 × 768; 853 KB
 Area-Grinchlin Assault!-Summit.png 1,024 × 768; 918 KB
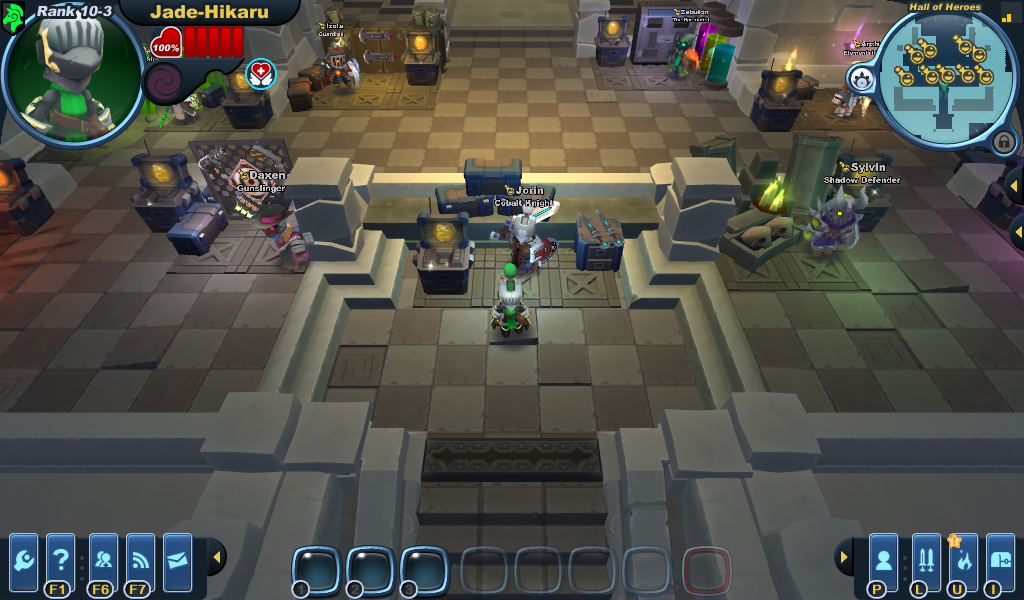 Area-Hall of Heroes 1.png 1,024 × 600; 813 KB
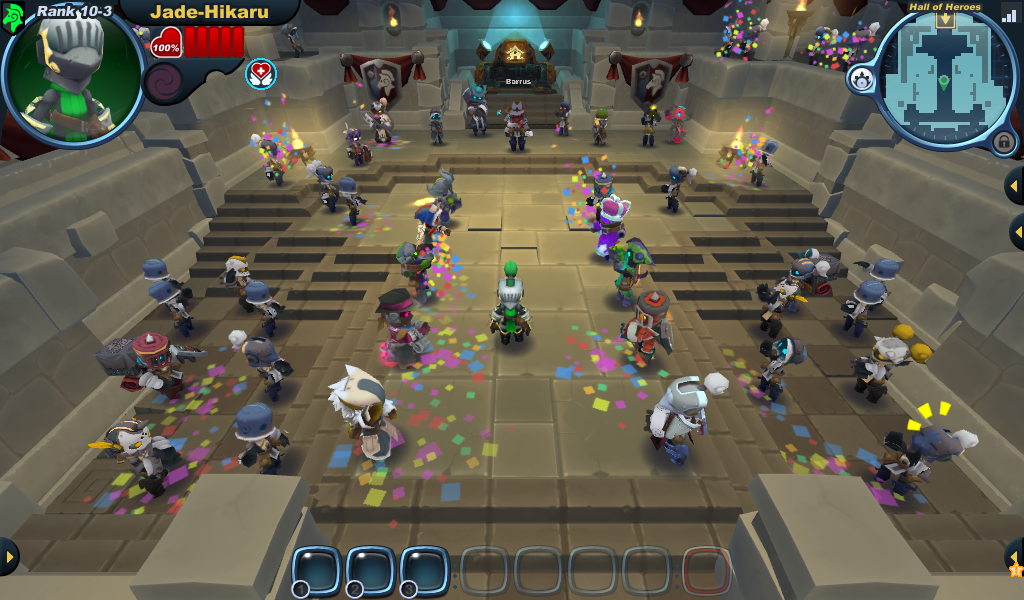 Area-Hall of Heroes 2.png 1,024 × 600; 906 KB
 Area-Hazardous Heist-Construction Site.png 1,024 × 600; 973 KB
 Area-Heart of Ice-Everfrost Tower-2.png 1,024 × 768; 774 KB
 Area-Heart of Ice-Everfrost Tower.png 1,024 × 768; 884 KB
 Area-In Cold Blood-Lizard Lounge-1.png 1,024 × 768; 853 KB
 Area-In Cold Blood-Lizard Lounge-2.png 1,024 × 768; 941 KB
 Area-In Cold Blood-Lizard Lounge-3.png 1,024 × 768; 958 KB
 Area-In Cold Blood-Lizard Lounge.png 1,024 × 768; 850 KB
 Area-It Came From Below-Into the Maw-2.png 1,024 × 768; 758 KB
 Area-It Came From Below-Into the Maw-3.png 1,024 × 768; 780 KB
 Area-It Came From Below-Into the Maw.png 1,024 × 768; 809 KB
 Area-Legion of Almire-Inner Sanctum-7.png 1,024 × 768; 814 KB
 Area-Legion of Almire-Mission Lobby-1A 2.png 663 × 601; 411 KB
 Area-Lichenous Lair-Scenario Room2A.png 1,920 × 1,200; 1.78 MB
 Area-Lobby-DangerDaily-2.png 1,024 × 768; 711 KB
 Area-Lobby-DangerDaily.png 408 × 511; 245 KB
 Area-Lobby-Standard.png 1,024 × 768; 765 KB
 Area-Lobby-Starter.png 1,024 × 768; 354 KB
 Area-March of the Tortodrones-Ancient Grove.png 1,280 × 796; 1.09 MB
 Area-March of the Tortodrones-Call of the Colossi-1A.png 1,024 × 768; 853 KB
 Area-March of the Tortodrones-Call of the Colossi-1B.png 1,024 × 768; 939 KB
 Area-Moorcroft Manor-2.png 1,024 × 600; 503 KB
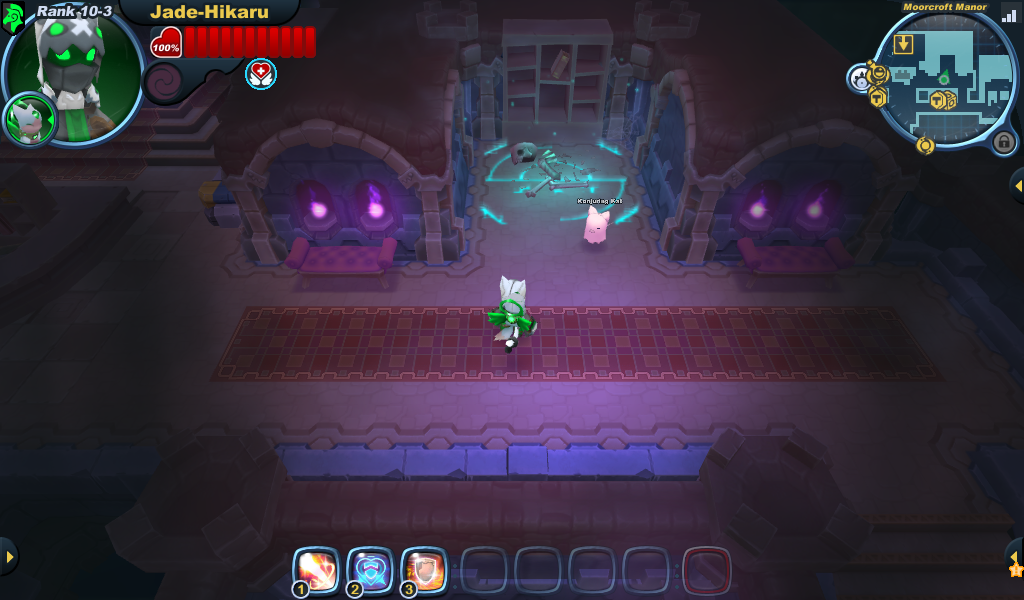 Area-Moorcroft Manor-3.png 1,024 × 600; 575 KB
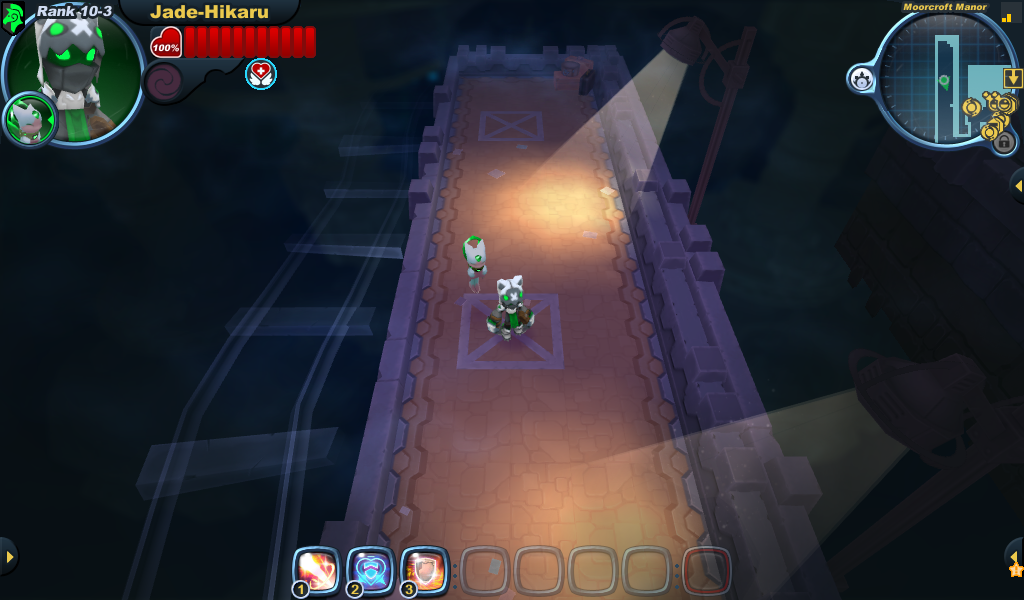 Area-Moorcroft Manor-4.png 1,024 × 600; 485 KB
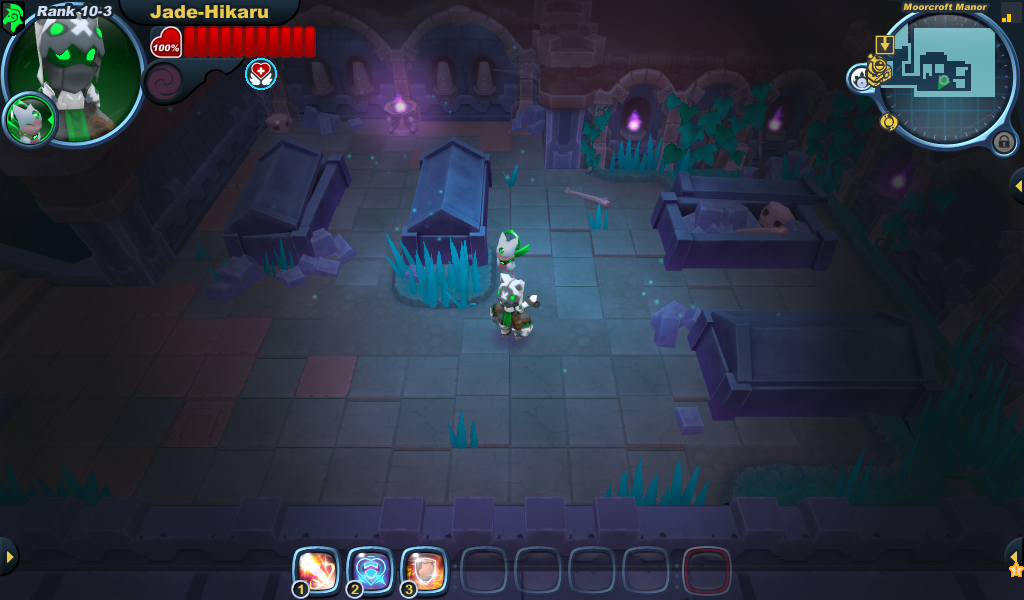 Area-Moorcroft Manor-5.png 1,024 × 600; 564 KB
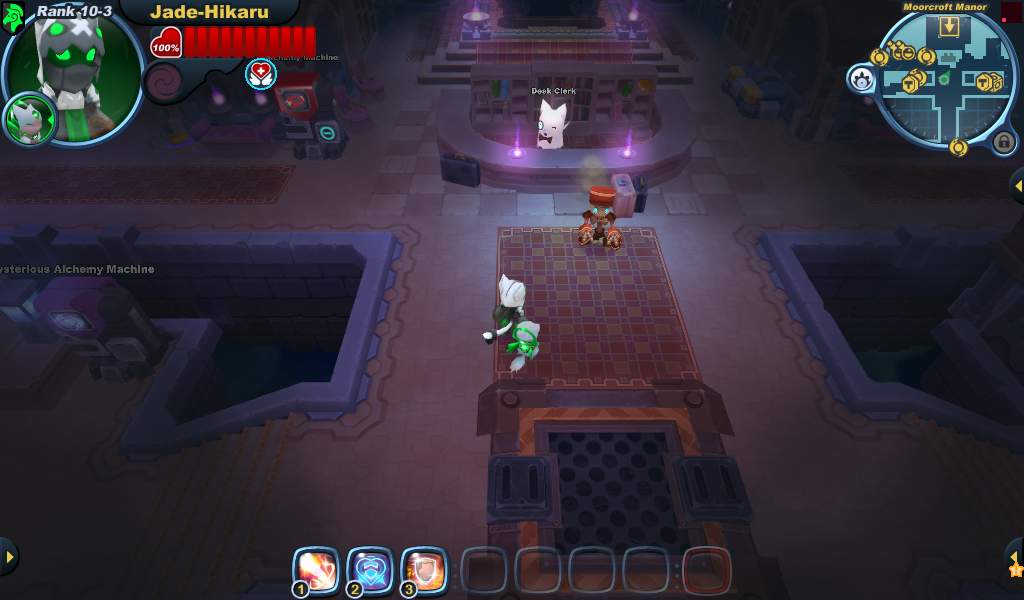 Area-Moorcroft Manor.png 1,024 × 600; 596 KB
 Area-Nature of the Beast-Howlers Habitat-2.png 1,024 × 768; 1 MB
 Area-Nature of the Beast-Howlers Habitat.png 1,024 × 768; 1.02 MB
 Area-Plan of Attack-Power Grid-2.png 1,024 × 600; 741 KB
 Area-Plan of Attack-Power Grid.png 1,024 × 768; 899 KB
 Area-Purr Terror-Kat Nest-1A.png 1,024 × 768; 714 KB
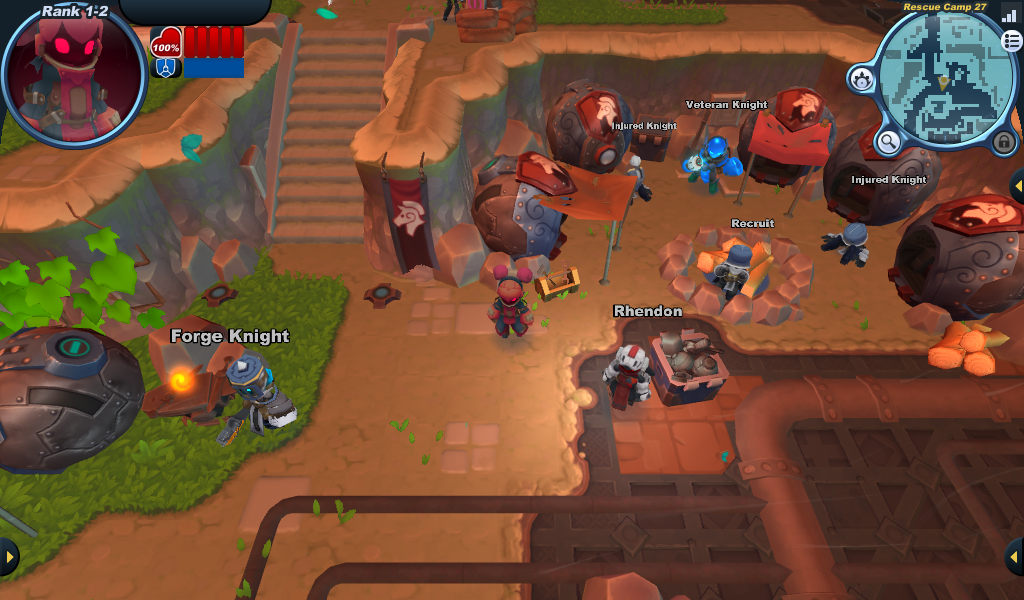 Area-Rescue Camp-Evening.png 1,024 × 600; 1.14 MB
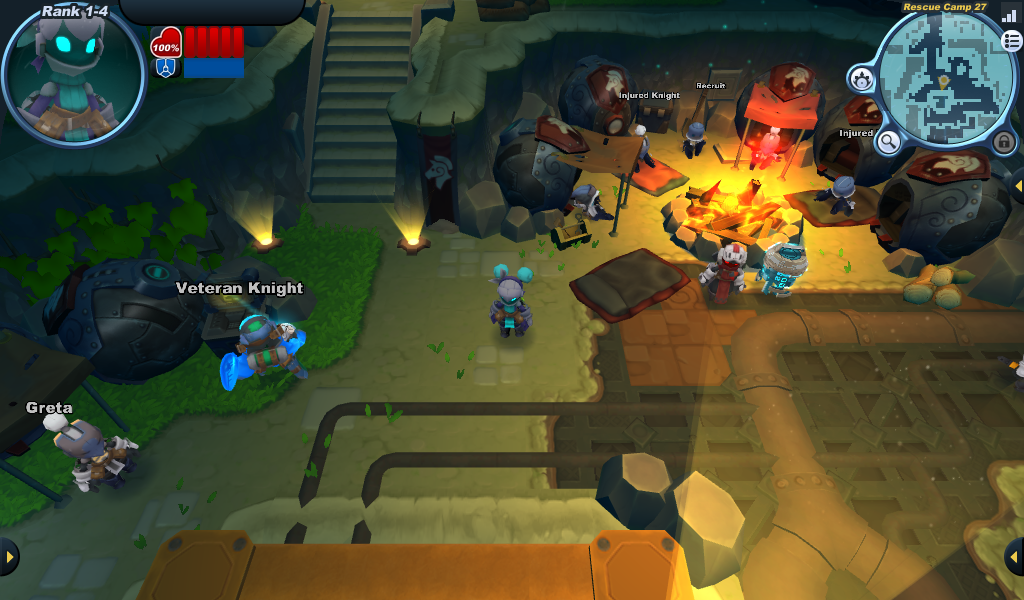 Area-Rescue Camp.png 1,024 × 600; 1.09 MB
 Area-Rise or Fall-Showdown-2.png 1,024 × 768; 863 KB
 Area-Rise or Fall-Showdown-3.png 1,024 × 768; 842 KB
 Area-Rise or Fall-Showdown.png 1,024 × 768; 829 KB
 Area-Save Winterfest!-Alleys of Emberlight-2.png 1,024 × 768; 908 KB
 Area-Save Winterfest!-Silent Emberlight-2.png 1,024 × 768; 919 KB
 Area-Scarlet Fortress-Cravat Hall-2.png 1,024 × 768; 736 KB
 Area-Scarlet Fortress-Cravat Hall III-2.png 1,024 × 768; 741 KB
 Area-Scarlet Fortress-Cravat Hall III.png 1,024 × 768; 794 KB
 Area-Scarlet Fortress-Cravat Hall II.png 1,024 × 768; 799 KB
 Area-Scarlet Fortress-Cravat Hall.png 1,024 × 768; 765 KB
 Area-Scarlet Fortress-Grim Gallery-2.png 1,024 × 768; 883 KB
 Area-Scarlet Fortress-Grim Gallery.png 1,024 × 768; 832 KB
 Area-Scarlet Fortress-Spiral Court II.png 1,024 × 768; 764 KB
 Area-Scarlet Fortress-Spiral Court.png 1,024 × 768; 742 KB
 Area-Sewer Stash-Weapons Cache-I3A.png 1,024 × 768; 978 KB
 Area-Shocking Sentient Sentries-Heavy Weapons Facility.png 1,024 × 768; 813 KB
 Area-Shroud of the Apocrea-Obsidian Nexus 2.png 1,024 × 768; 476 KB
 Area-Shroud of the Apocrea-Obsidian Nexus.png 1,024 × 768; 628 KB
 Area-Starlight Cradle-Meteor Mile-1.png 1,024 × 600; 1.08 MB
 Area-Starlight Cradle-Meteor Mile-2.png 1,024 × 600; 924 KB
 Area-Starlight Cradle-Meteor Mile-3.png 1,024 × 600; 1,006 KB
 Area-Starlight Cradle-Meteor Mile II-1.png 1,024 × 600; 1,019 KB
 Area-Starlight Cradle-Meteor Mile II-2.png 1,024 × 600; 1,004 KB
 Area-Starlight Cradle-Meteor Mile II-3.png 1,024 × 600; 974 KB
 Area-Starlight Cradle-Meteor Mile II-4.png 1,024 × 600; 973 KB
 Area-Starlight Cradle-Meteor Mile III-1.png 1,024 × 600; 743 KB
 Area-Starlight Cradle-Meteor Mile III-2.png 1,024 × 600; 911 KB
 Area-Starlight Cradle-Meteor Mile III-3.png 1,024 × 600; 978 KB
 Area-Starlight Cradle-Meteor Mile III-4.png 1,024 × 600; 940 KB


-The_Bitter_Battle-1.png)
-The_Bitter_Battle-2.png)
-The_Bitter_Battle-3.png)
-The_Bitter_Battle-4.png)


1B.png)
1A.png)

1B.png)
1C.png)


