Category:Map images
From SpiralKnights
This page is a category page. Please do not try to edit it to add entries. The correct way to add things to the page is to use a category tag. Please see the style guide for the appropriate category tags and how to use them. Some templates automatically add categories for you.
|
This category contains images that are maps of areas in the game.
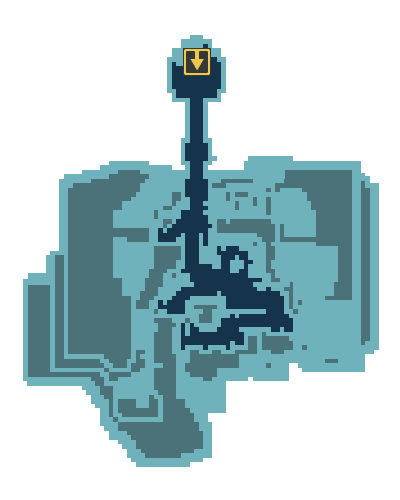
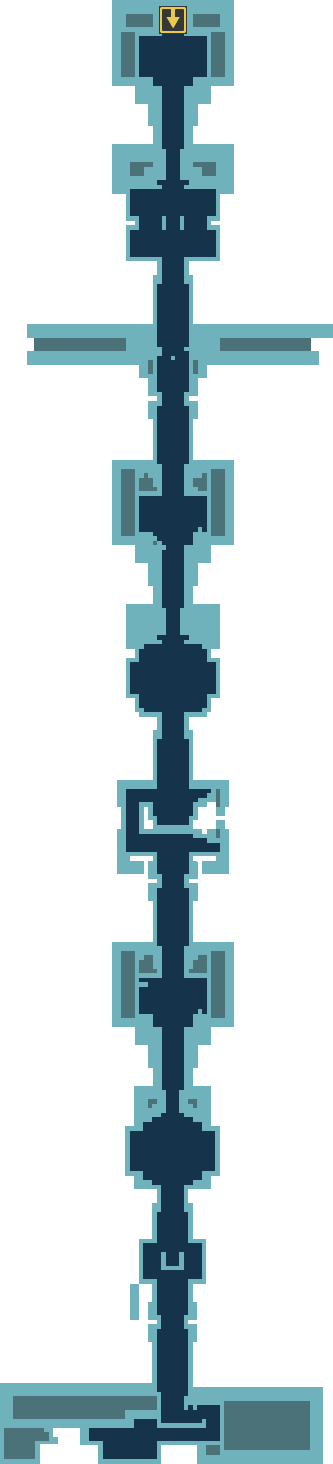
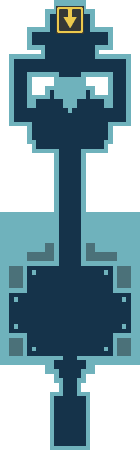
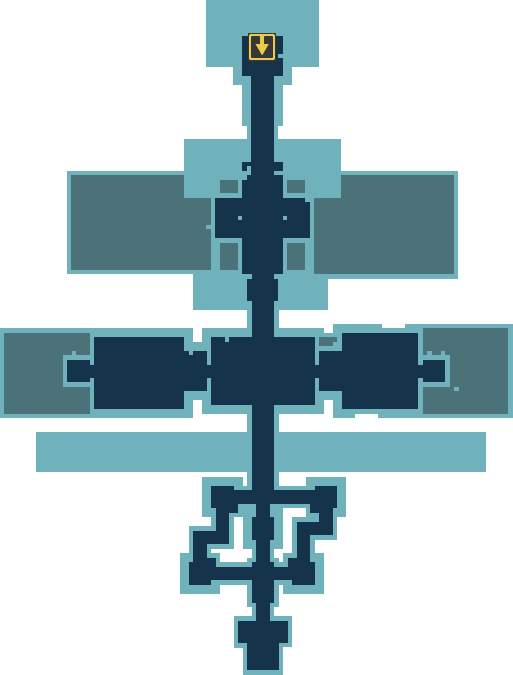
Media in category "Map images"
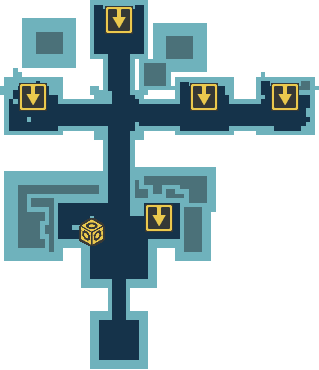
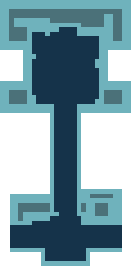
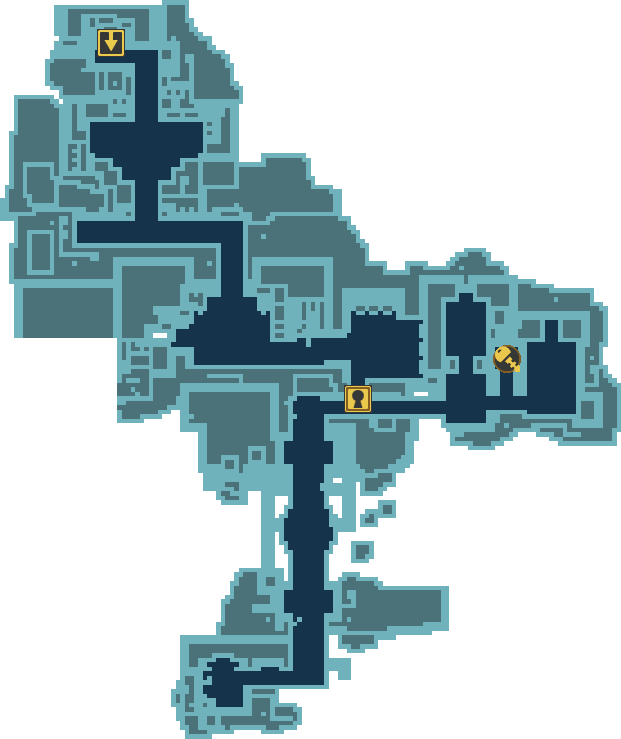
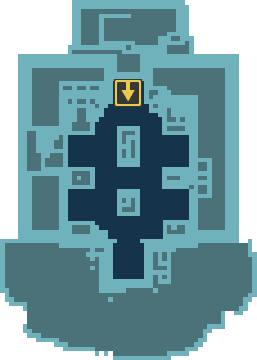
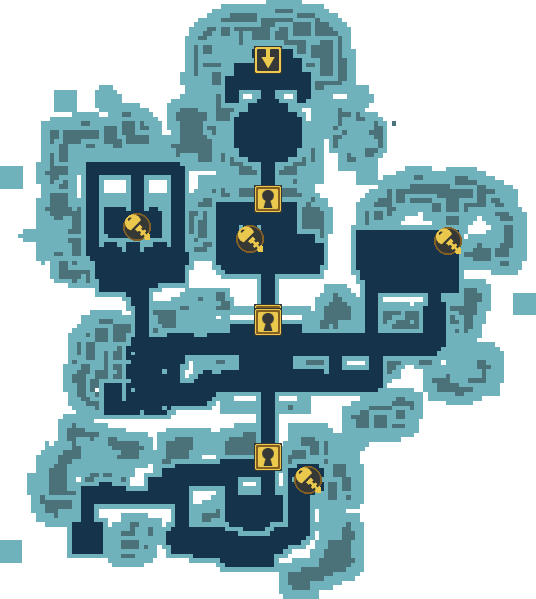
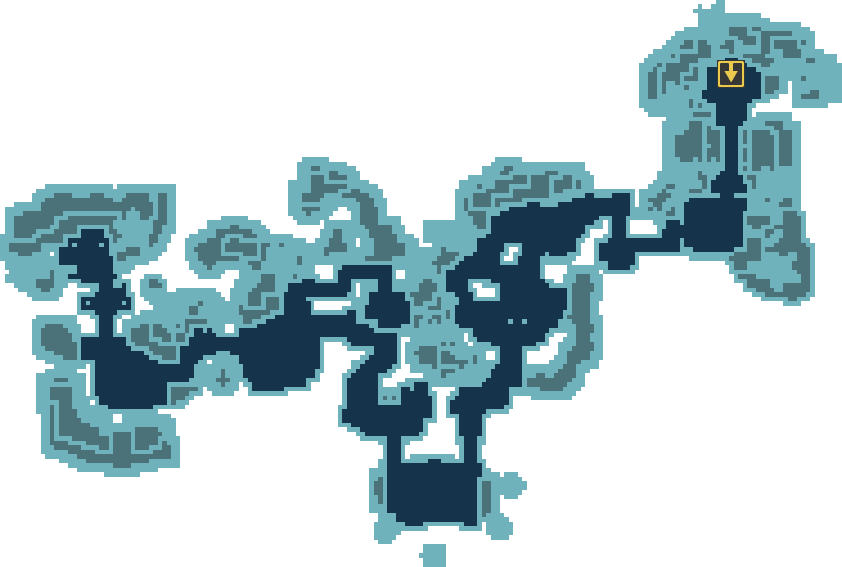
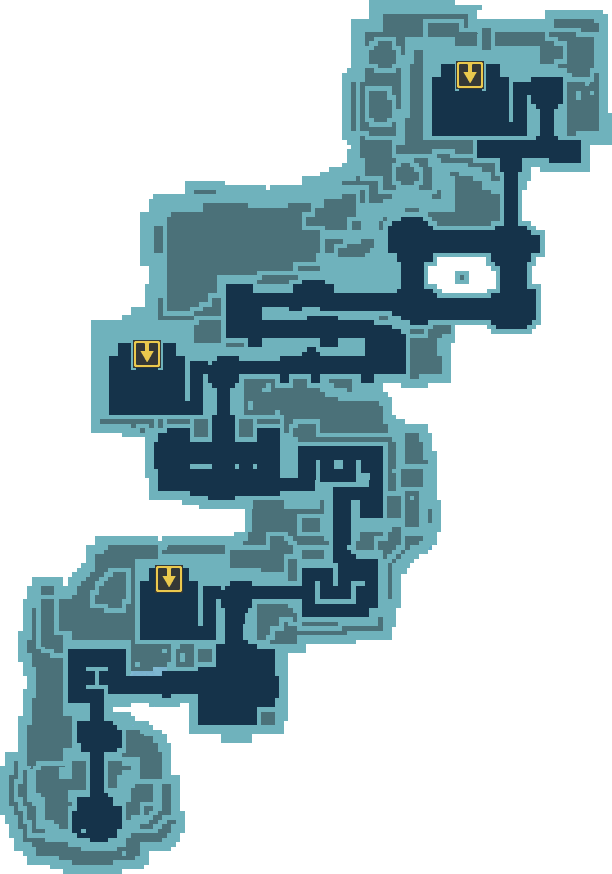
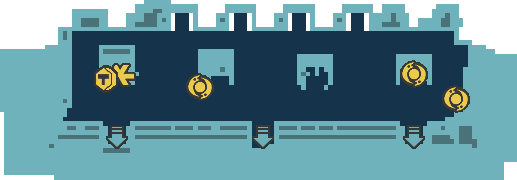
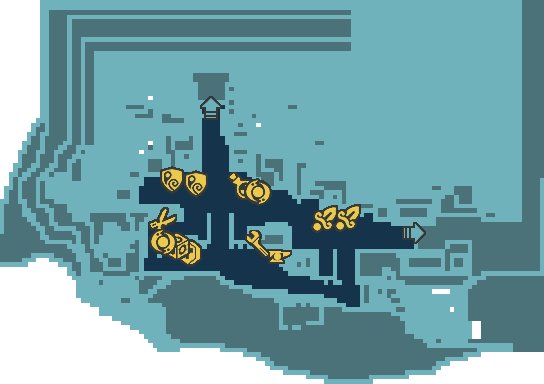
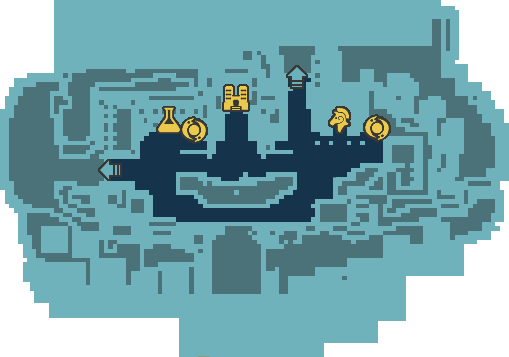
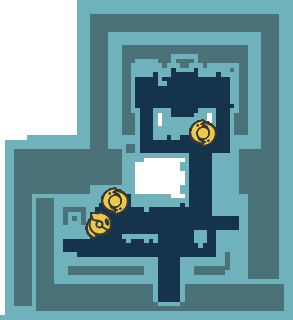
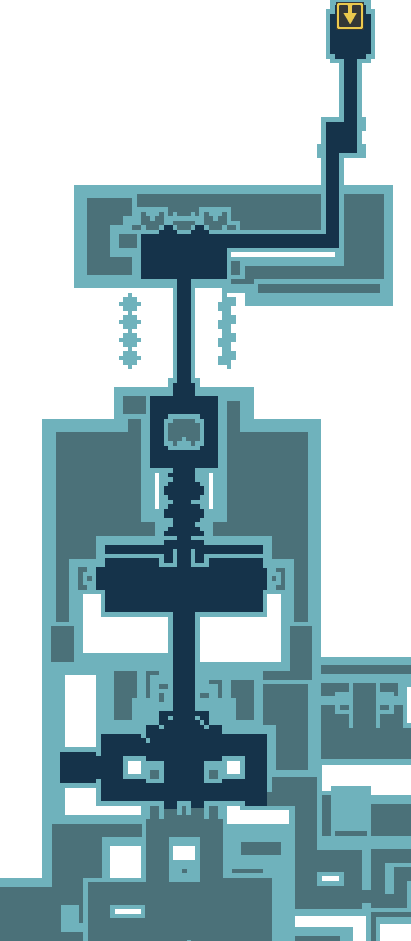
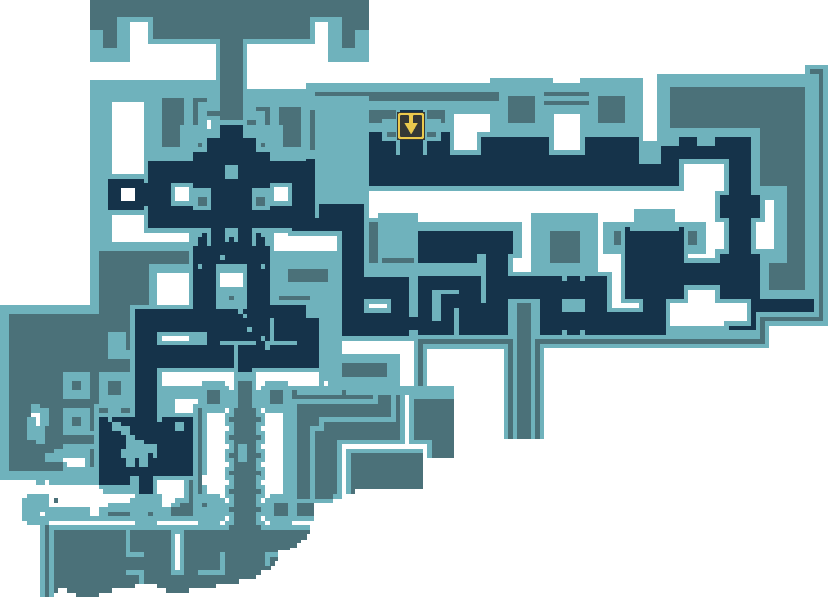
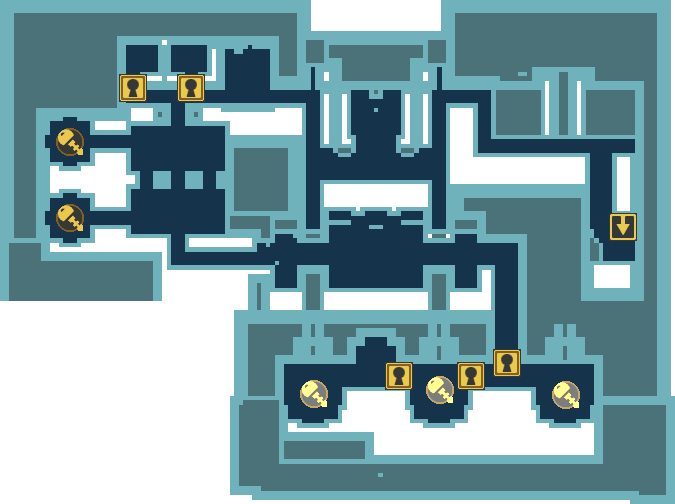
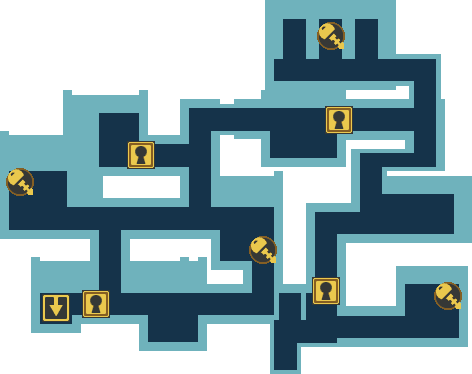
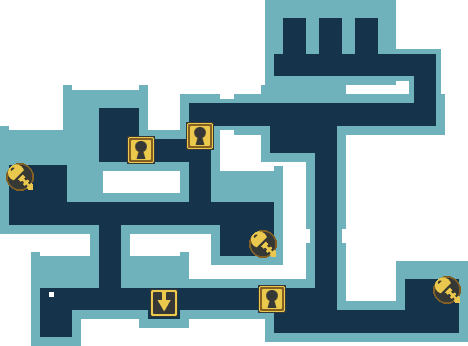
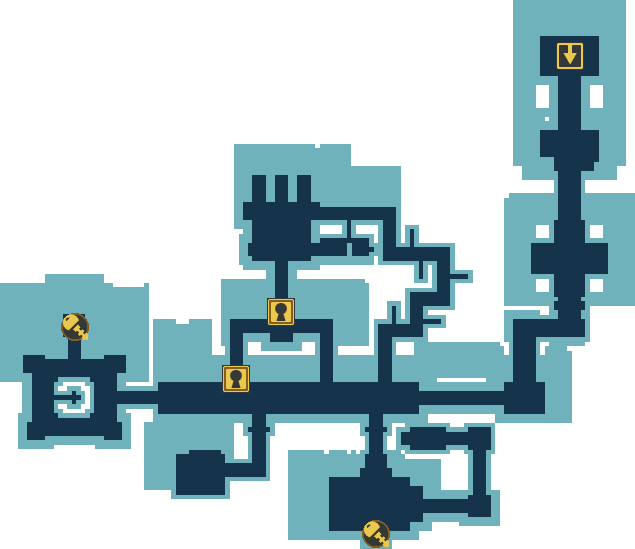
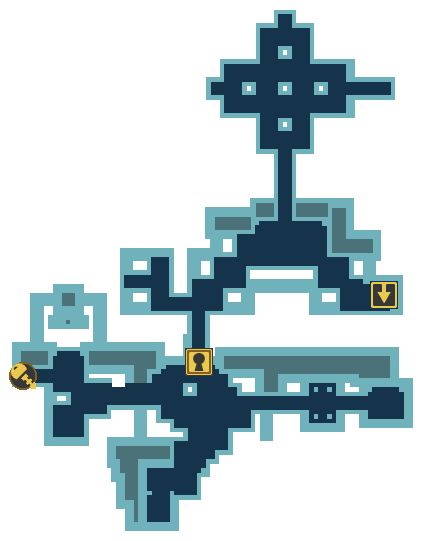
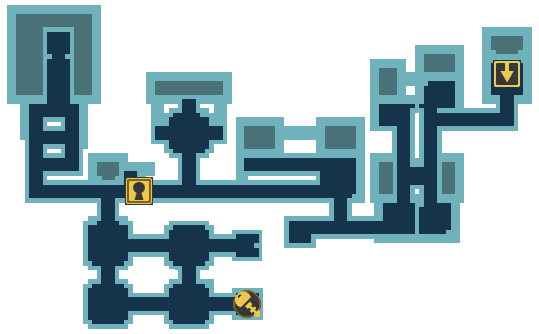
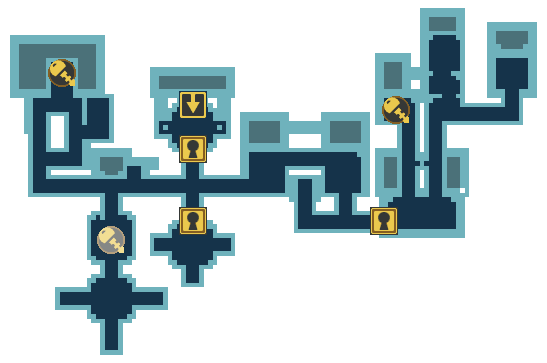
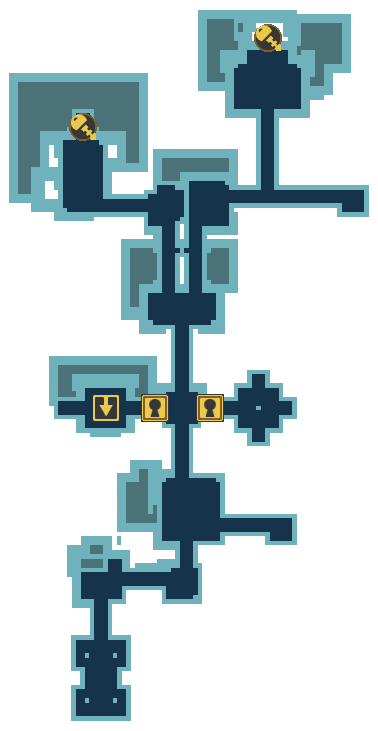
The following 148 files are in this category, out of 148 total.
 Map-Advanced Training Hall.png 378 × 289; 18 KB
 Map-A Gremlin in Knead-Moonstone Mixup.png 522 × 536; 69 KB
 Map-A New Threat-Haven.png 509 × 357; 7 KB
 Map-A New Threat-The Lab.png 288 × 319; 2 KB
 Map-Angels from Antiquity-End of the Line.png 495 × 450; 176 KB
 Map-Angels from Antiquity-Restless Railroad.png 509 × 243; 62 KB
 Map-Angels from Antiquity-The Lab.png 293 × 320; 3 KB
 Map-A Revelation in Flames-Frigid Passage.png 324 × 531; 115 KB
 Map-A Revelation in Flames-Sunset Steppes.png 432 × 815; 9 KB
 Map-A Revelation in Flames-The Lab.png 293 × 320; 3 KB
 Map-Aurora Isles-Stone Grove.png 635 × 337; 55 KB
 Map-Aurora Isles-The Jelly Farm II.png 477 × 517; 6 KB
 Map-Aurora Isles-The Jelly Farm.png 443 × 765; 20 KB
 Map-Aurora Isles-The Low Gardens.png 545 × 526; 22 KB
 Map-Battle Arena-Fiendish Fray-1B.png 276 × 1,462; 8 KB
 Map-Battle Arena.png 274 × 1,463; 6 KB
 Map-Blades of the Fallen-Soldier's Graveyard.png 585 × 513; 12 KB
 Map-Breaking in the Recruits-Operation Greenhorn.png 639 × 531; 74 KB
 Map-Breaking in the Recruits-The Overworks.png 447 × 510; 25 KB
 Map-Clockwork Terminal-The Crossroads of Adventure-D13.png 184 × 198; 20 KB
 Map-Clockwork Terminal-The Crossroads of Adventure-D23.png 319 × 370; 44 KB
 Map-Clockwork Tunnels-Mysterious Room1G.png 131 × 266; 19 KB
 Map-Compound 42-Containment.png 621 × 739; 9 KB
 Map-Compound 42-Fire Safe Storage.png 257 × 360; 38 KB
 Map-Concrete Jungle-Blight Boulevard II.png 374 × 423; 78 KB
 Map-Concrete Jungle-Blight Boulevard.png 324 × 401; 63 KB
 Map-Concrete Jungle-Briar Bone Barrage.png 526 × 328; 138 KB
 Map-Concrete Jungle-Totem Trouble II.png 401 × 382; 111 KB
 Map-Concrete Jungle-Totem Trouble.png 661 × 527; 321 KB
 Map-Crash Site-Waking in a New World.png 509 × 922; 23 KB
 Map-Crossing the Chasm-Haven.png 428 × 717; 6 KB
 Map-Crossing the Chasm-The Journey to Haven.png 497 × 1,075; 298 KB
 Map-Dark City-Plazamonium.png 410 × 315; 61 KB
 Map-Dark City-Ritual Road III.png 373 × 144; 23 KB
 Map-Dark City-Ritual Road II.png 270 × 463; 77 KB
 Map-Dark City-Ritual Road.png 396 × 239; 53 KB
 Map-Dark City-Sinful Steps II.png 310 × 234; 2 KB
 Map-Dark City-Sinful Steps.png 486 × 274; 64 KB
 Map-Dark City-Stygian Steeds.png 355 × 436; 90 KB
 Map-Dreams and Nightmares-Descent into Darkness.png 220 × 715; 4 KB
 Map-Dreams and Nightmares-Refuge.png 261 × 252; 25 KB
 Map-Dreams and Nightmares-The Path is Revealed.png 162 × 320; 39 KB
 Map Emberlight.png 510 × 404; 26 KB
 Map-Faith in Armor-The Trap Chamber.png 1,282 × 517; 142 KB
 Map-Firestorm Citadel-Ashen Armory.png 419 × 1,253; 10 KB
 Map-Firestorm Citadel-Blackstone Bridge.png 324 × 1,022; 4 KB
 Map-Firestorm Citadel-Charred Court.png 630 × 630; 243 KB
 Map-Firestorm Citadel-Smoldering Steps.png 198 × 1,144; 10 KB
 Map-Firestorm Citadel-Throne Room.png 351 × 589; 126 KB
 Map-Ghosts in the Machine-Cargo Bay.png 184 × 243; 20 KB
 Map-Ghosts in the Machine-Iron Hulk.png 675 × 716; 229 KB
 Map-Gloaming Wildwoods-Lair of the Snarbolax.png 274 × 450; 73 KB
 Map-Gloaming Wildwoods-Roarsterous Ruins.png 536 × 599; 23 KB
 Map-Gloaming Wildwoods-Terrilous Trail.png 842 × 567; 8 KB
 Map-Grinchlin Assault!-Ascent.png 612 × 874; 10 KB
 Map-Grinchlin Assault!-Summit.png 400 × 734; 5 KB
 Map-Guild Hall-1F-0.png 642 × 513; 3 KB
 Map-Guild Hall-2F-2-WR.png 642 × 513; 58 KB
 Map-Guild Hall-5F-1.png 642 × 513; 177 KB
 Map-Guild Hall-5F-2.png 642 × 513; 153 KB
 Map-Hall of Heroes.png 278 × 342; 19 KB
 Map-Haven-Arcade.png 517 × 180; 16 KB
 Map-Haven-Bazaar.png 544 × 384; 47 KB
 Map-Haven-Garrison.png 509 × 357; 48 KB
 Map-Haven Laboratory.png 293 × 320; 19 KB
 Map-Haven-Town Square.png 606 × 671; 12 KB
 Map-Heart of Ice-Amu-Sol.png 757 × 1,224; 12 KB
 Map-Heart of Ice-Everfrost Tower.png 346 × 329; 3 KB
 Map-In Cold Blood-Lizard Lounge.png 531 × 527; 95 KB
 Map-Ironclaw Munitions Factory-Abandoned Assembly.png 553 × 797; 94 KB
 Map-Ironclaw Munitions Factory-The Roarmulus Twins-2.png 288 × 651; 4 KB
 Map-Ironclaw Munitions Factory-The Roarmulus Twins.png 288 × 650; 4 KB
 Map-Ironclaw Munitions Factory-Warfare Workshop.png 617 × 865; 76 KB
 Map-It Came From Below-Into the Maw.png 203 × 323; 23 KB
 Map-Jigsaw Valley-Emerald Axis II.png 765 × 315; 24 KB
 Map-Jigsaw Valley-Emerald Axis.png 797 × 316; 209 KB
 Map-Jigsaw Valley-Jade Tangle II.png 372 × 396; 119 KB
 Map-Jigsaw Valley-Jade Tangle.png 423 × 621; 13 KB
 Map-Jigsaw Valley-Perimeter Promenade II.png 473 × 324; 112 KB
 Map-Jigsaw Valley-Perimeter Promenade.png 495 × 324; 107 KB
 Map-Legion of Almire-Cryptic Cache.png 203 × 297; 2 KB
 Map-Legion of Almire-Inner Sanctum.png 716 × 598; 240 KB
 Map-Lobby-DangerDaily.png 112 × 247; 15 KB
 Map-Lobby-Grinchlin Assault!.png 284 × 275; 4 KB
 Map-Lobby-Standard.png 225 × 135; 22 KB
 Map-Lobby-Starter.png 225 × 166; 1 KB
 Map-March of the Tortodrones-Ancient Grove.png 441 × 319; 6 KB
 Map-March of the Tortodrones-Call of the Colossi.png 392 × 473; 108 KB
 Map-Moorcroft Manor.png 420 × 405; 24 KB
 Map-Operation Crimson Hammer-Aftermath.png 419 × 302; 22 KB
 Map-Operation Crimson Hammer-Clear the Gatehouse.png 778 × 513; 23 KB
 Map-Operation Crimson Hammer-Engines of War.png 411 × 941; 28 KB
 Map-Operation Crimson Hammer-Flank the Frontlines.png 828 × 598; 124 KB
 Map-Operation Crimson Hammer-Mission Lobby.png 112 × 248; 18 KB
 Map-Operation Crimson Hammer-Silence the Guns.png 675 × 504; 41 KB
 Map-Operation Crimson Hammer-Storming the Walls.png 504 × 788; 25 KB
 Map-Punkin King-Lair.png 197 × 364; 40 KB
 Map-Rescue Camp-Evening.png 376 × 456; 21 KB
 Map-Rescue Camp.png 376 × 456; 20 KB
 Map-Rescue-Camp.png 400 × 500; 6 KB
 Map-Rise or Fall-Showdown-1A.png 333 × 1,464; 8 KB
 Map-Rise or Fall-Showdown.png 333 × 1,464; 7 KB
 Map-Royal Jelly Palace-Battle Royale.png 140 × 450; 24 KB
 Map-Royal Jelly Palace-Garden of Goo.png 513 × 675; 159 KB
 Map-Royal Jelly Palace-Red Carpet Runaround.png 503 × 733; 123 KB
 Map-Save Winterfest!-Alleys of Emberlight.png 751 × 338; 46 KB
 Map-Save Winterfest!-Silent Emberlight.png 455 × 284; 3 KB
 Map-Scarlet Fortress-Cravat Hall III.png 419 × 396; 72 KB
 Map-Scarlet Fortress-Cravat Hall II.png 472 × 374; 98 KB
 Map-Scarlet Fortress-Cravat Hall.png 468 × 346; 87 KB
 Map-Scarlet Fortress-Grim Gallery.png 635 × 549; 17 KB
 Map-Scarlet Fortress-Spiral Court II.png 261 × 239; 30 KB
 Map-Scarlet Fortress-Spiral Court.png 248 × 238; 24 KB
 Map-Shadowplay-Greenstone Bridge.png 332 × 1,022; 9 KB
 Map-Shadowplay-Overgrown Court.png 604 × 894; 90 KB
 Map-Shadowplay-Throne Room.png 351 × 590; 111 KB
 Map-Shroud of the Apocrea-Departure.png 446 × 374; 39 KB
 Map-Shroud of the Apocrea-Obsidian Nexus.png 365 × 306; 57 KB
 Map-Spark and Roar-Hidden Hideout.png 183 × 179; 18 KB
 Map-Starlight Cradle-Meteor Mile III.png 558 × 477; 20 KB
 Map-Starlight Cradle-Meteor Mile II.png 437 × 543; 22 KB
 Map-Starlight Cradle-Meteor Mile.png 424 × 541; 22 KB
 Map-Starlight Cradle-Shrine of Slumber III.png 539 × 334; 21 KB
 Map-Starlight Cradle-Shrine of Slumber II.png 547 × 363; 23 KB
 Map-Starlight Cradle-Shrine of Slumber IV.png 378 × 731; 23 KB
 Map-Starlight Cradle-Shrine of Slumber.png 537 × 312; 19 KB
 Map-Starlight Cradle-Torporal Titan.png 287 × 664; 22 KB
 Map-Strength in Unity-Geo Knight Camp.png 414 × 329; 137 KB
 Map-The Ancient Generator-Restoring Power.png 832 × 981; 22 KB
 Map-The Collector-Camp Crimson.png 441 × 691; 8 KB
 Map-The Collector-The Lab.png 293 × 320; 4 KB
 Map-The Core-The Path is Sealed.png 162 × 319; 24 KB
 Map-The Dark Harvest-Punkin King's Lair.png 287 × 391; 19 KB
 Map-The Gauntlet-Last Stand.png 286 × 1,525; 145 KB
 Map-The King of Ashes-The Path is Sealed.png 162 × 319; 24 KB
 Map-The Phantom Mask-Creeping Cavern.png 895 × 445; 168 KB
 Map-The Phantom Mask-Emergency Outflow.png 437 × 675; 167 KB
 Map-The Phantom Mask-The Lab.png 293 × 320; 3 KB
 Map The Sanctuary A Calm in the Storm.png 151 × 102; 2 KB
 Map-The Silent Legion-Cryptic Statuary.png 347 × 684; 6 KB
 Map-The Vile Engine-Processing Plant-I3F.png 194 × 141; 5 KB
 Map-Total Caketastrophe!-Chaos in the Kitchen.png 350 × 288; 3 KB
 Map Unknown Passage.png 240 × 729; 4 KB
 RJKroom15.2.png 324 × 364; 21 KB
 RJKroom15.3.png 324 × 364; 21 KB
 RJKroom15.4.png 324 × 364; 21 KB
 RJKroom15.5.png 324 × 364; 21 KB
 Room15.1.png 324 × 364; 21 KB


