Uploads by Dorenia
From SpiralKnights
This special page shows all uploaded files.
| Date | Name | Thumbnail | Size | Description | Versions |
|---|---|---|---|---|---|
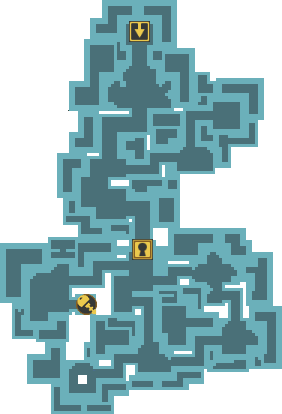
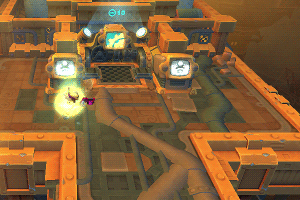
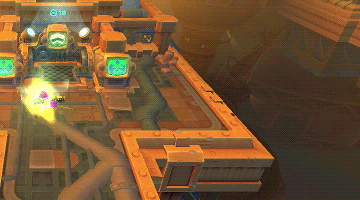
| 09:54, 10 July 2011 | Map Scarlet Fortress Grim Gallery.png (file) |  |
6 KB | Map of Scarlet Fortress (Grim Gallery). {{Screenshot image}}{{Area image}} | 1 |
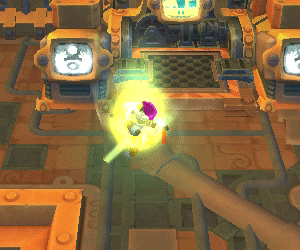
| 09:50, 29 June 2011 | Freezing Vaporizer demo charge.gif (file) |  |
694 KB | Demo animation for charge-attack. {{Screenshot image}} {{Bomb image}} | 1 |
| 09:48, 29 June 2011 | Sun Shards demo charge.gif (file) |  |
1.56 MB | Demo animation for charge-attack. {{Screenshot image}} {{Bomb image}} | 1 |
| 09:44, 29 June 2011 | Firecracker demo charge.gif (file) |  |
500 KB | Demo animation for charge-attack. {{Screenshot image}} {{Bomb image}} | 1 |
| 09:42, 29 June 2011 | Rock Salt Bomb demo charge.gif (file) |  |
1.53 MB | Demo animation for charge-attack. {{Screenshot image}} {{Bomb image}} | 1 |
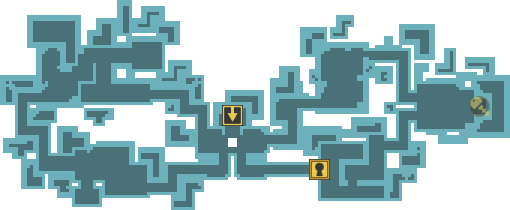
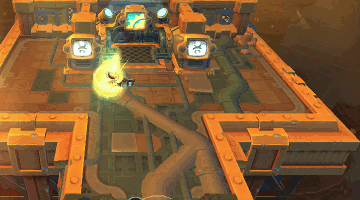
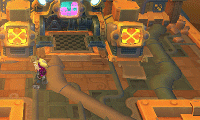
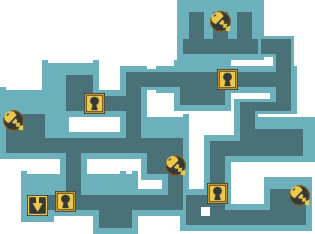
| 12:07, 20 June 2011 | Map Jigsaw Valley Emerald Axis II.png (file) |  |
52 KB | Map of Jigsaw Valley (Emerald Axis II). {{Area image}} {{Screenshot image}} | 1 |
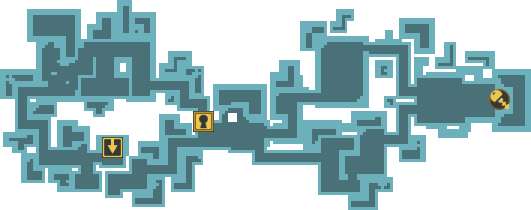
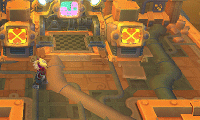
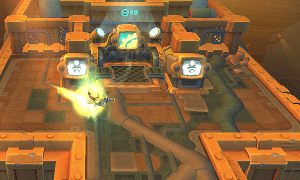
| 12:06, 20 June 2011 | Map Jigsaw Valley Emerald Axis.png (file) |  |
55 KB | Map of Jigsaw Valley (Emerald Axis). {{Area image}} {{Screenshot image}} | 1 |
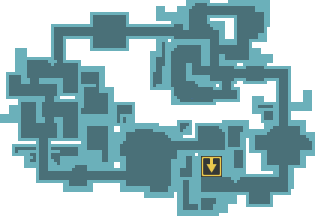
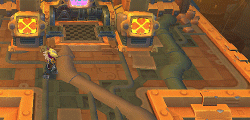
| 07:32, 20 June 2011 | Map Jigsaw Valley Perimeter Promenade II.png (file) |  |
31 KB | Map of Jigsaw Valley (Perimeter Promenade II). {{Area image}} {{Screenshot image}} | 1 |
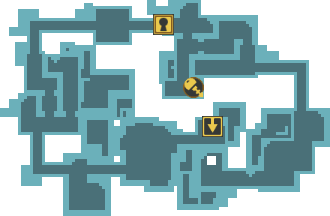
| 07:31, 20 June 2011 | Map Jigsaw Valley Perimeter Promenade.png (file) |  |
7 KB | Map of Jigsaw Valley (Perimeter Promenade). {{Area image}} {{Screenshot image}} | 1 |
| 07:28, 20 June 2011 | Map Jigsaw Valley Jade Tangle II.png (file) |  |
4 KB | Map of Jigsaw Valley (Jade Tangle II). {{Area image}} {{Screenshot image}} | 1 |
| 07:27, 20 June 2011 | Map Jigsaw Valley Jade Tangle.png (file) |  |
5 KB | Map of Jigsaw Valley (Jade Tangle). {{Area image}} {{Screenshot image}} | 1 |
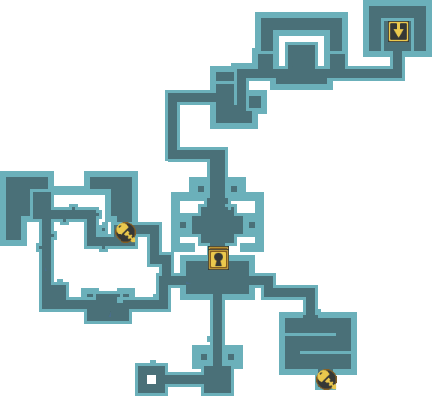
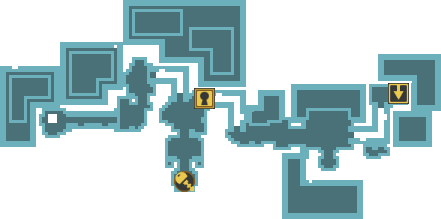
| 07:20, 20 June 2011 | Map Crossing the Chasm(The Journey to Haven).png (file) | .png) |
6 KB | Map of Crossing the Chasm(The Journey to Haven). {{Area image}} {{Screenshot image}} | 1 |
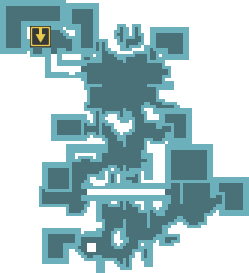
| 06:59, 20 June 2011 | Map Abandoned Depot.png (file) |  |
7 KB | Map of Abandoned Depot. {{Area image}} {{Screenshot image}} | 1 |
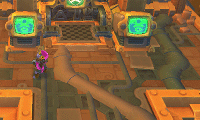
| 13:59, 13 June 2011 | Map Aurora Isles Stone Grove.png (file) |  |
4 KB | Map of Aurora Isles (Stone Grove). {{Area image}}{{Screenshot image}} | 1 |
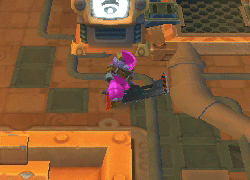
| 13:51, 13 June 2011 | Super Slime Slasher demo charge.gif (file) |  |
391 KB | Demo animation for Super Slime Slasher. {{Screenshot image}} {{Sword image}} | 1 |
| 13:50, 13 June 2011 | Super Slime Slasher demo combo.gif (file) |  |
553 KB | Demo animation for Super Slime Slasher. {{Screenshot image}} {{Sword image}} | 1 |
| 13:48, 13 June 2011 | Heavy Hatchet demo charge.gif (file) |  |
735 KB | Demo animation for Heavy Hatchet. {{Screenshot image}} {{Sword image}} | 1 |
| 13:38, 13 June 2011 | Heavy Hatchet demo combo.gif (file) |  |
374 KB | Demo animation for Heavy Hatchet. {{Screenshot image}} {{Sword image}} | 1 |
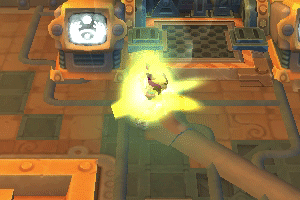
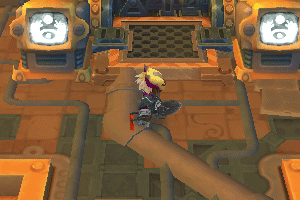
| 13:33, 13 June 2011 | Voltech Alchemer demo charge.gif (file) |  |
808 KB | Demo animation for Voltech Alchemer. {{Screenshot image}} {{Handgun image}} | 1 |
| 13:31, 13 June 2011 | Voltech Alchemer demo combo.gif (file) |  |
277 KB | Demo animation for Voltech Alchemer. {{Screenshot image}} {{Handgun image}} | 1 |
| 13:07, 13 June 2011 | Shadowtech Alchemer demo charge.gif (file) |  |
827 KB | Demo animation for Shadowtech Alchemer. {{Screenshot image}} {{Handgun image}} | 1 |
| 13:06, 13 June 2011 | Shadowtech Alchemer demo combo.gif (file) |  |
268 KB | Demo animation for Shadowtech Alchemer. {{Screenshot image}} {{Handgun image}} | 1 |
| 13:02, 13 June 2011 | Stun Gun demo charge.gif (file) |  |
557 KB | Demo animation for Stun Gun. {{Screenshot image}} {{Handgun image}} | 1 |
| 13:00, 13 June 2011 | Stun Gun demo combo.gif (file) |  |
379 KB | Demo animation for Stun Gun. {{Screenshot image}} {{Handgun image}} | 1 |
| 12:53, 13 June 2011 | Punch Gun demo charge.gif (file) |  |
748 KB | Demo animation for Punch Gun. {{Screenshot image}} {{Handgun image}} | 1 |
| 12:50, 13 June 2011 | Punch Gun demo combo.gif (file) |  |
196 KB | Demo animation for Punch Gun. {{Screenshot image}} {{Handgun image}} | 1 |
| 09:56, 13 June 2011 | Blast Bomb demo charge.gif (file) |  |
402 KB | Demo animation of charge-attack. {{Screenshot image}} {{Bomb image}} | 1 |
| 09:51, 13 June 2011 | Toxic Vaporizer demo charge.gif (file) |  |
692 KB | Demo animation of charge-attack. {{Screenshot image}} {{Bomb image}} | 1 |
| 09:28, 13 June 2011 | Map Concrete Jungle Totem Trouble II.png (file) |  |
21 KB | Map of Concrete Jungle (Totem Trouble II). {{Area image}} {{Screenshot image}} | 1 |
| 09:27, 13 June 2011 | Map Concrete Jungle Totem Trouble.png (file) |  |
31 KB | Map of Concrete Jungle (Totem Trouble). {{Area image}} {{Screenshot image}} | 1 |
| 13:59, 11 June 2011 | Map Dark City Plazamonium.png (file) |  |
14 KB | Map of Dark City (Plazamonium). {{Area image}} {{Screenshot image}} | 1 |
| 13:56, 11 June 2011 | Map Dark City Sinful Steps II.png (file) |  |
8 KB | Map of Dark City (Sinful Steps II). {{Area image}} {{Screenshot image}} | 1 |
| 13:55, 11 June 2011 | Map Dark City Sinful Steps.png (file) |  |
14 KB | Map of Dark City (Sinful Steps). {{Area image}} {{Screenshot image}} | 1 |
| 14:35, 8 June 2011 | Map Concrete Jungle Blighted Boulevard.png (file) |  |
18 KB | Fix a small place of wrong color. {{Screenshot image}}{{Area image}} | 1 |
| 14:25, 8 June 2011 | Map Concrete Jungle Blighted Boulevard II.png (file) |  |
24 KB | Map of Concrete Jungle (Blighted Boulevard II). {{Screenshot image}}{{Area image}} | 1 |
| 12:37, 7 June 2011 | Map Arena.png (file) |  |
4 KB | Map of Arena. {{Screenshot image}}{{Area image}} | 1 |
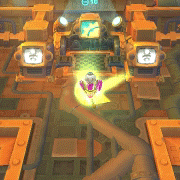
| 12:29, 7 June 2011 | Map Scarlet Fortress Cravat Hall III.png (file) |  |
18 KB | Map of Scarlet Fortress (Cravat Hall III). {{Screenshot image}}{{Area image}} | 1 |
| 12:29, 7 June 2011 | Map Scarlet Fortress Cravat Hall II.png (file) |  |
26 KB | Map of Scarlet Fortress (Cravat Hall II). {{Screenshot image}}{{Area image}} | 1 |
| 12:28, 7 June 2011 | Map Scarlet Fortress Cravat Hall.png (file) |  |
22 KB | Map of Scarlet Fortress (Cravat_Hall). {{Screenshot image}}{{Area image}} | 1 |
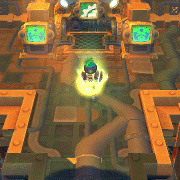
| 10:47, 7 June 2011 | Map Scarlet Fortress Spiral Court II.png (file) |  |
8 KB | Map of Scarlet Fortress (Spiral Court II). {{Screenshot image}}{{Area image}} | 1 |
| 10:45, 7 June 2011 | Map Scarlet Fortress Spiral Court.png (file) |  |
1 KB | Map of Scarlet Fortress (Spiral Court). {{Screenshot image}}{{Area image}} | 1 |
| 13:18, 2 June 2011 | Cutter demo charge.gif (file) |  |
1.24 MB | Demo animation for Cutter. {{Screenshot image}} {{Sword image}} | 1 |
| 13:16, 2 June 2011 | Cutter demo combo.gif (file) |  |
749 KB | Demo animation for Cutter. {{Screenshot image}} {{Sword image}} | 1 |
| 09:52, 1 June 2011 | Calibur demo charge.gif (file) |  |
796 KB | Demo animation for Calibur. {{Screenshot image}} {{Sword image}} | 1 |
| 09:51, 1 June 2011 | Calibur demo combo.gif (file) |  |
412 KB | Demo animation for Calibur. {{Screenshot image}} {{Sword image}} | 1 |
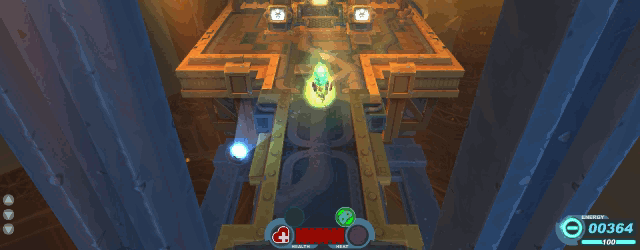
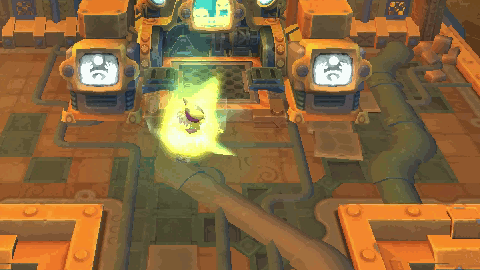
| 09:44, 1 June 2011 | Haze Bomb demo charge.gif (file) |  |
621 KB | Demo animation of charge-attack. {{Screenshot image}} {{Bomb image}} | 1 |
| 14:22, 29 May 2011 | Crystal Bomb demo charge.gif (file) |  |
1.05 MB | Demo animation of charge-attack. {{Screenshot image}} {{Sword image}} | 1 |
| 12:19, 28 May 2011 | Spur demo charge.gif (file) |  |
773 KB | Demo animation for Spur. {{Screenshot image}} {{Sword image}} | 1 |
| 14:31, 2 May 2011 | Gatemap TheFinalTest.png (file) |  |
37 KB | Reverted to version as of 07:26, 2 May 2011 | 1 |
| 15:02, 28 April 2011 | GateIcon TheFinalTest.png (file) |  |
1 KB | Gate Icon of The Final Test | 1 |