Difference between revisions of "User:Striker99"
From SpiralKnights
| (143 intermediate revisions by 2 users not shown) | |||
| Line 1: | Line 1: | ||
| − | + | My IGN is strikerk | |
| − | + | {{SKWindow | |
| − | [[ | + | | align = left |
| + | | margin = 0px 0px 20px 20px | ||
| + | | title = {{{name|Strikerk}}} | ||
| + | | body = | ||
| + | {{SKWindow/NewRow}} | ||
| + | {{SKWindow/Cell|[[File:Strikerk.jpg|169px]]|center}} | ||
| + | {{SKWindow/NewRow}} | ||
| + | {{SKWindow/Cell|Guild: '''[[Reign of Fire (Guild)|Reign of Fire]]'''|center}} | ||
| + | {{SKWindow/NewRow}} | ||
| + | {{SKWindow/Cell|Position: '''Veteran'''|center}} | ||
| + | {{SKWindow/NewRow}} | ||
| + | {{SKWindow/Cell|Rank: '''10-1 Vanguard'''|center}}}} | ||
| − | + | {{SKWindow | |
| + | | align = left | ||
| + | | width = | ||
| + | | title = Achievements | ||
| + | | body = | ||
| + | {{SKWindow/NewRow}} | ||
| + | {{SKWindow/Cell| | ||
[[Image:Achievement-First Steps.png|36px|Successfully reach the Rescue Camp.]][[Image:Achievement-Welcome, Stranger.png|36px|Cross the chasm into Haven.]][[Image:Achievement-Mission Accomplished.png|36px|Reach the first Clockworks Terminal.]][[Image:Achievement-World of Moorcraft.png|36px|Pay a visit to Moorcraft Manor.]] | [[Image:Achievement-First Steps.png|36px|Successfully reach the Rescue Camp.]][[Image:Achievement-Welcome, Stranger.png|36px|Cross the chasm into Haven.]][[Image:Achievement-Mission Accomplished.png|36px|Reach the first Clockworks Terminal.]][[Image:Achievement-World of Moorcraft.png|36px|Pay a visit to Moorcraft Manor.]] | ||
| Line 19: | Line 36: | ||
[[Image:Achievement-Expert Bombardier.png|36px|Amass 5 bombs in your Arsenal.]][[Image:Achievement-Master Bombardier.png|36px|Amass 10 bombs in your Arsenal.]][[Image:Achievement-Hatter.png|36px|Amass 3 helmets in your Arsenal.]][[Image:Achievement-Expert Hatter.png|36px|Amass 5 helmets in your Arsenal.]] | [[Image:Achievement-Expert Bombardier.png|36px|Amass 5 bombs in your Arsenal.]][[Image:Achievement-Master Bombardier.png|36px|Amass 10 bombs in your Arsenal.]][[Image:Achievement-Hatter.png|36px|Amass 3 helmets in your Arsenal.]][[Image:Achievement-Expert Hatter.png|36px|Amass 5 helmets in your Arsenal.]] | ||
| − | [[Image:Achievement- | + | [[Image:Achievement-Armorer.png|36px|Amass 3 armors in your Arsenal.]][[Image:Achievement-Expert Armorer.png|36px|Amass 5 armors in your Arsenal.]][[Image:Achievement-Master Armorer.png|36px|Amass 10 armors in your Arsenal.]] |
| − | [[Image:Achievement-Shieldbearer.png|36px|Amass 3 shields in your Arsenal.]][[Image:Achievement-Expert Shieldbearer.png|36px|Amass 5 shields in your Arsenal.]][[Image:Achievement-Stellar Set.png|36px|Amass an Arsenal that includes a 5 star helmet, armor, shield, gun and bomb.]] | + | [[Image:Achievement-Shieldbearer.png|36px|Amass 3 shields in your Arsenal.]][[Image:Achievement-Expert Shieldbearer.png|36px|Amass 5 shields in your Arsenal.]][[Image:Achievement-Master Shieldbearer.png|36px|Amass 10 shields in your Arsenal.]][[Image:Achievement-Stellar Set.png|36px|Amass an Arsenal that includes a 5 star helmet, armor, shield, gun and bomb.]] |
[[Image:Achievement-Applied Entropy.png|36px|Build an item to heat level 10.]][[Image:Achievement-Minor Miner.png|36px|Deposit a single mineral into a gate.]][[Image:Achievement-Moderate Miner.png|36px|Deposit 100 minerals into a gate.]][[Image:Achievement-Major Miner.png|36px|Deposit 500 minerals into a gate.]] | [[Image:Achievement-Applied Entropy.png|36px|Build an item to heat level 10.]][[Image:Achievement-Minor Miner.png|36px|Deposit a single mineral into a gate.]][[Image:Achievement-Moderate Miner.png|36px|Deposit 100 minerals into a gate.]][[Image:Achievement-Major Miner.png|36px|Deposit 500 minerals into a gate.]] | ||
| Line 26: | Line 43: | ||
[[Image:Achievement-Helping Hand.png|36px|Revive a downed party member.]][[Image:Achievement-Walk It Off.png|36px|Revive a downed party member, giving them only half a pip of health.]][[Image:Achievement-Pharma Suitable.png|36px|Use 10 Health Capsules.]][[Image:Achievement-Conditioned Response.png|36px|Use 10 Remedy Capsules.]] | [[Image:Achievement-Helping Hand.png|36px|Revive a downed party member.]][[Image:Achievement-Walk It Off.png|36px|Revive a downed party member, giving them only half a pip of health.]][[Image:Achievement-Pharma Suitable.png|36px|Use 10 Health Capsules.]][[Image:Achievement-Conditioned Response.png|36px|Use 10 Remedy Capsules.]] | ||
| − | [[Image:Achievement-Energize!.png|36px|Power up a derelict Mecha Knight.]][[Image:Achievement-Bronze Survivor.png|36px|Complete a Tier 1 | + | [[Image:Achievement-Energize!.png|36px|Power up a derelict Mecha Knight.]][[Image:Achievement-Bronze Survivor.png|36px|Complete a Tier 1 expedition without having to revive.]] |
| − | [[Image:Achievement-Star Spangled Bomber.png|36px|Obtain a Firecracker Bomb.]][[Image:Achievement-Son of a Nutcracker!.png|36px|Hit an opponent with a snowball in Lockdown.]] | + | [[Image:Achievement-Star Spangled Bomber.png|36px|Obtain a Firecracker Bomb.]][[Image:Achievement-Son of a Nutcracker!.png|36px|Hit an opponent with a snowball in Lockdown.]]}} |
| + | {{SKWindow/NewRow}} | ||
| + | {{SKWindow/Cell|Achievements Earned: '''53/60'''|center}} | ||
| + | }} | ||
| − | |||
| − | |||
| − | |||
| − | |||
| − | |||
| − | |||
| − | + | ||
| + | |||
| + | |||
| + | |||
| + | |||
| + | |||
| + | |||
| + | |||
| + | |||
| + | |||
| + | |||
| + | |||
| + | |||
| + | |||
| + | |||
| + | |||
| + | |||
| + | |||
| + | |||
| + | |||
| + | |||
| + | |||
| + | |||
| + | {{showhide|[[Loadouts]]|content = | ||
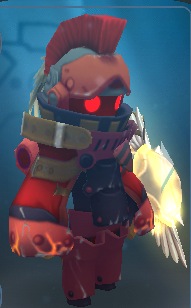
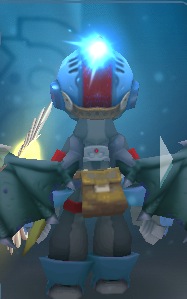
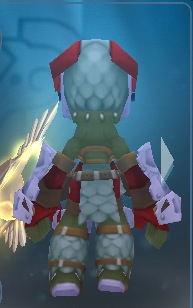
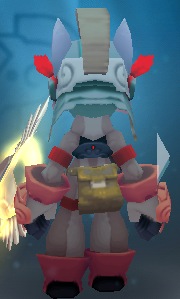
| + | [[File:Dragon_front.jpg|150px|]] | ||
| + | [[File:Dragon_back_2.jpg|150px|]] '''Dragon''' | ||
| + | |||
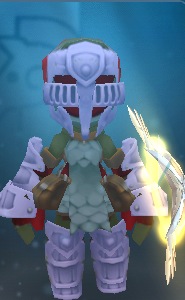
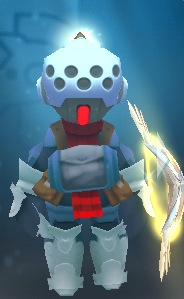
| + | [[File:Fancy_front.jpg|150px|]] | ||
| + | [[File:Fancy_back.jpg|150px|]] '''Fancy''' | ||
| + | |||
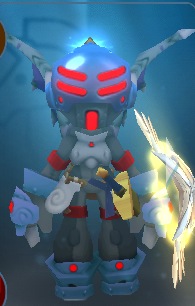
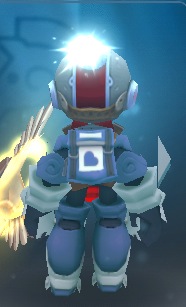
| + | [[File: Ice_front.jpg|150px|]] | ||
| + | [[File:Ice_back.jpg|150px|]] '''Ice''' | ||
| + | |||
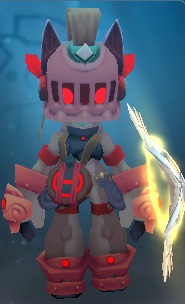
| + | And my personal favorite load out: | ||
| + | |||
| + | [[File:Fire_front.jpg|150px|]] [[File:Fire_back.jpg|150px|]] '''Fire'''}} | ||
| + | {{SKWindow | ||
| + | | width = 300px | ||
| + | | margin = 0px 0px 20px 20px | ||
| + | | title = {{{name|Arsenal}}} | ||
| + | | body = | ||
| + | |||
| + | {{showhide|[[file:icon-sword.png|20px]] [[Swords]]|content = | ||
| + | |||
| + | [[File:Equipment-Divine Avenger icon.png|30px|{{star|5|color=6cb0b9}}]] '''[[Divine Avenger|Divine Avenger]]:''' '''Double UV: slime high gremlin medium'''}} | ||
| + | |||
| + | {{showhide|[[file:icon-handgun.png|20px]] [[Handguns]]|content = | ||
| + | |||
| + | [[File:Equipment-Strike Needle_icon.png|30px|{{star|4|color=6cb0b9}}]] '''[[Strike Needle]]''' '''UV: CTR medium'''}} | ||
| + | |||
| + | {{showhide|[[file:icon-bomb.png|20px]] [[Bombs]]|content = | ||
[[File:Equipment-Ash of Agni icon.png|30px|{{star|5|color=6cb0b9}}]] '''[[Ash of Agni]]:''' '''Double UV: slime VH, beast medium''' | [[File:Equipment-Ash of Agni icon.png|30px|{{star|5|color=6cb0b9}}]] '''[[Ash of Agni]]:''' '''Double UV: slime VH, beast medium''' | ||
| Line 56: | Line 120: | ||
[[File:Equipment-Nitronome icon.png|30px|{{star|5|color=6cb0b9}}]] '''[[Nitronome]]:''' '''Double UV: construct VH, CTR low''' | [[File:Equipment-Nitronome icon.png|30px|{{star|5|color=6cb0b9}}]] '''[[Nitronome]]:''' '''Double UV: construct VH, CTR low''' | ||
| − | [[File:Equipment-Venom Veiler icon.png|30px|{{star|5|color=6cb0b9}}}]] | + | [[File:Equipment-Venom Veiler icon.png|30px|{{star|5|color=6cb0b9}}}]] "'[[Venom Veiler]]''' '''Double UV: CTR VH, beast low''' |
[[File:Equipment-Voltaic Tempest icon.png|30px|{{star|5|color=6cb0b9}}]] '''[[Voltaic Tempest]]:''' '''Double UV: slime VH, CTR med''' | [[File:Equipment-Voltaic Tempest icon.png|30px|{{star|5|color=6cb0b9}}]] '''[[Voltaic Tempest]]:''' '''Double UV: slime VH, CTR med''' | ||
| Line 64: | Line 128: | ||
[[File:Equipment-Radiant Sun Shards icon.png|30px|{{star|4|color=6cb0b9}}]] '''[[Radiant Sun Shards]]:''' '''Double UV: gremlin high, slime low''' | [[File:Equipment-Radiant Sun Shards icon.png|30px|{{star|4|color=6cb0b9}}]] '''[[Radiant Sun Shards]]:''' '''Double UV: gremlin high, slime low''' | ||
| − | Twisted | + | [[File:Equipment-Twisted Spine Cone icon.png|30px|{{star|3|color=6cb0b9}}]] '''[[Twisted Spine Cone]]:''' '''UV: slime VH''' |
| − | Haze | + | [[File:Equipment-Haze Bomb icon.png|30px|{{star|2|color=6cb0b9}}]] '''[[Haze Bomb]]:''' '''UV: slime high''' |
| − | Static | + | [[File:Equipment-Static Flash icon.png|30px|{{star|1|color=6cb0b9}}]] '''[[Static Flash]]'''}} |
| − | + | {{showhide|[[file:icon-helmet.png|20px]] [[Helmets]]|content = | |
| − | + | ||
[[File: Equipment-Mad Bomber Mask icon.png|30px|{{star|5|color=6cb0b9}}}]] '''[[Mad Bomber Mask]]''' '''Double UV: shadow high, fire medium [[File:Equipment-Heavy Long Feather icon.png|25px|Heavy Long Feather]] | [[File: Equipment-Mad Bomber Mask icon.png|30px|{{star|5|color=6cb0b9}}}]] '''[[Mad Bomber Mask]]''' '''Double UV: shadow high, fire medium [[File:Equipment-Heavy Long Feather icon.png|25px|Heavy Long Feather]] | ||
| − | [[File: Equipment-Circuit Breaker Helm icon.png|30px|{{star|1|color=6cb0b9}}}]] '''[[Circuit Breaker Helm]]''' [[File:Toasty Mohawk icon.png|25px|Toasty Mohawk]][[File:Equipment-Heavy Vertical | + | [[File: Equipment-Circuit Breaker Helm icon.png|30px|{{star|1|color=6cb0b9}}}]] '''[[Circuit Breaker Helm]]''' [[File:Equipment-Toasty Mohawk icon.png|25px|Toasty Mohawk]] [[File:Equipment-Heavy Vertical Vents icon.png|25px|Heavy Vertical Vents]] |
| − | [[File: Equipment-Spiral Scale Helm icon.png|30px|{{star|1|color=6cb0b9}}}]] '''[[Spiral Scale Helm]]''' [[ | + | [[File: Equipment-Spiral Scale Helm icon.png|30px|{{star|1|color=6cb0b9}}}]] '''[[Spiral Scale Helm]]''' [[File:Equipment-Fancy Vented Visor icon.png|25px|Fancy Vented Visor]]}} |
| + | {{showhide|[[File:Icon-armor.png|20px]] [[Armor]]|content = | ||
| − | + | :[[File:Equipment-Volcanic Demo Suit icon.png|30px|{{star|5|color=6cb0b9}}]] '''[[Volcanic Demo Suit]]''' [[File:Equipment-Solid Cobalt Crest icon.png|25px|Solid Cobalt Crest]] | |
| − | [[File:Equipment- | + | :[[File:Equipment-Icebreaker Armor icon.png|30px|{{star|2|color=6cb0b9}}]] '''[[Icebreaker Armor]]''' [[File:Equipment-Cool Vitakit icon.png|25px|Cool Vitakit]] [[File:Equipment-Cool Barrel Belly icon.png|25px|Cool Barrel Belly]] |
| − | [[File:Equipment- | + | :[[File:Equipment-Emberbreak Armor icon.png|30px|{{star|1|color=6cb0b9}}]] '''[[Emberbreak Armor]]''' [[File:Equipment-Toasty Canteen icon.png|25px|Toasty Canteen]] |
| − | [[File:Equipment- | + | :[[File:Equipment-Vitasuit icon.png|30px|{{star|1|color=6cb0b9}}]] '''[[Vitasuit]]''' [[File:Equipment-Proto Crest icon.png|25px|Proto Crest]] |
| − | [[File:Equipment- | + | :[[File:Equipment-Spiral Culet icon.png|30px|{{star|5|color=6cb0b9}}]] '''[[Spiral Culet]]''' [[File:Equipment-Dusky Dragon Wings icon.png|25px|Dusky Dragon WIngs]] [[File:Equipment-Regal Parrying Blade icon.png|25px|Regal Parrying Blade]]}} |
| − | [[File: | + | {{showhide|[[File:Icon-shield.png|20px]] [[Shields]]|content = |
| + | [[File:Equipment-Grey Owlite Shield icon.png|30px|{{star|5|color=6cb0b9}}]] '''[[Grey Owlite Shield]]''' '''Double UV: Elemental medium, piercing medium''' | ||
| + | [[File:Equipment-Great Defender icon.png|30px|{{star|3|color=6cb0b9}}]] '''[[Great Defender]]''' '''UV: Shadow low''' | ||
| + | [[File:Equipment-Green Ward icon.png|30px|{{star|5|color=6cb0b9}}]] '''[[Green Ward]]''' '''UV: Shock low'''}} | ||
| + | |||
| + | {{showhide|[[file:icon-costume.png|20px]] [[Costumes]]|content = | ||
| + | :[[file:Equipment-Plasmatech_Bombhead_Mask_icon.png|25px|Plasmatech Bombhead Mask]] [[Plasmatech Bombhead Mask]] | ||
| + | :[[file:Equipment-Plasmatech_Demo_Suit_icon.png|25px|Plasmatech Demo Suit]] [[Plasmatech Demo Suit]] | ||
| + | :[[file:Equipment-Volcanic_Stranger_Hat_icon.png|25px|Volcanic Stranger Hat]] [[Volcanic Stranger Hat]] | ||
| + | :[[file:Equipment-Spiral_Bombhead_Mask_icon.png|25px|Spiral Bombhead Mask]] [[Spiral Bombhead Mask]]}} | ||
| + | |||
| + | {{showhide|[[file:icon-trinket.png|20px]] [[Trinket]]|content = | ||
| + | [[File:Equipment-Tetra-Heart Pendant icon.png|25px|Tetra-Heart Pendant]] [[Tetra-Heart Pendant]] | ||
| + | [[File:Equipment-Slippery Wetstone Pendant icon.png|25px|Slippery Wetstone Pendant]] [[Slippery Wetstone Pendant]] | ||
| + | }}}} | ||
| + | |||
| + | ===Screenshots=== | ||
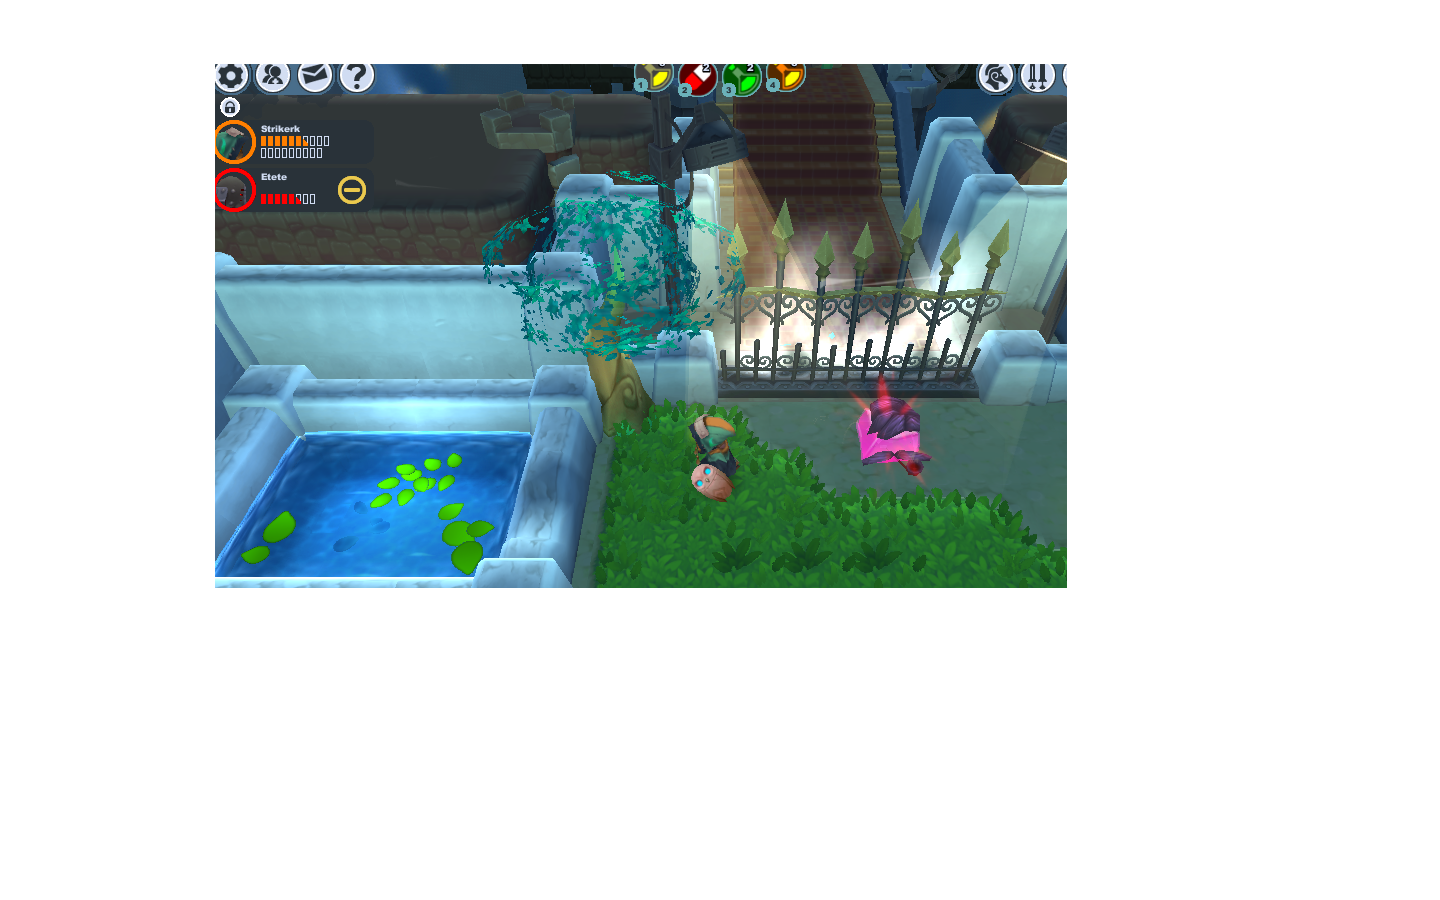
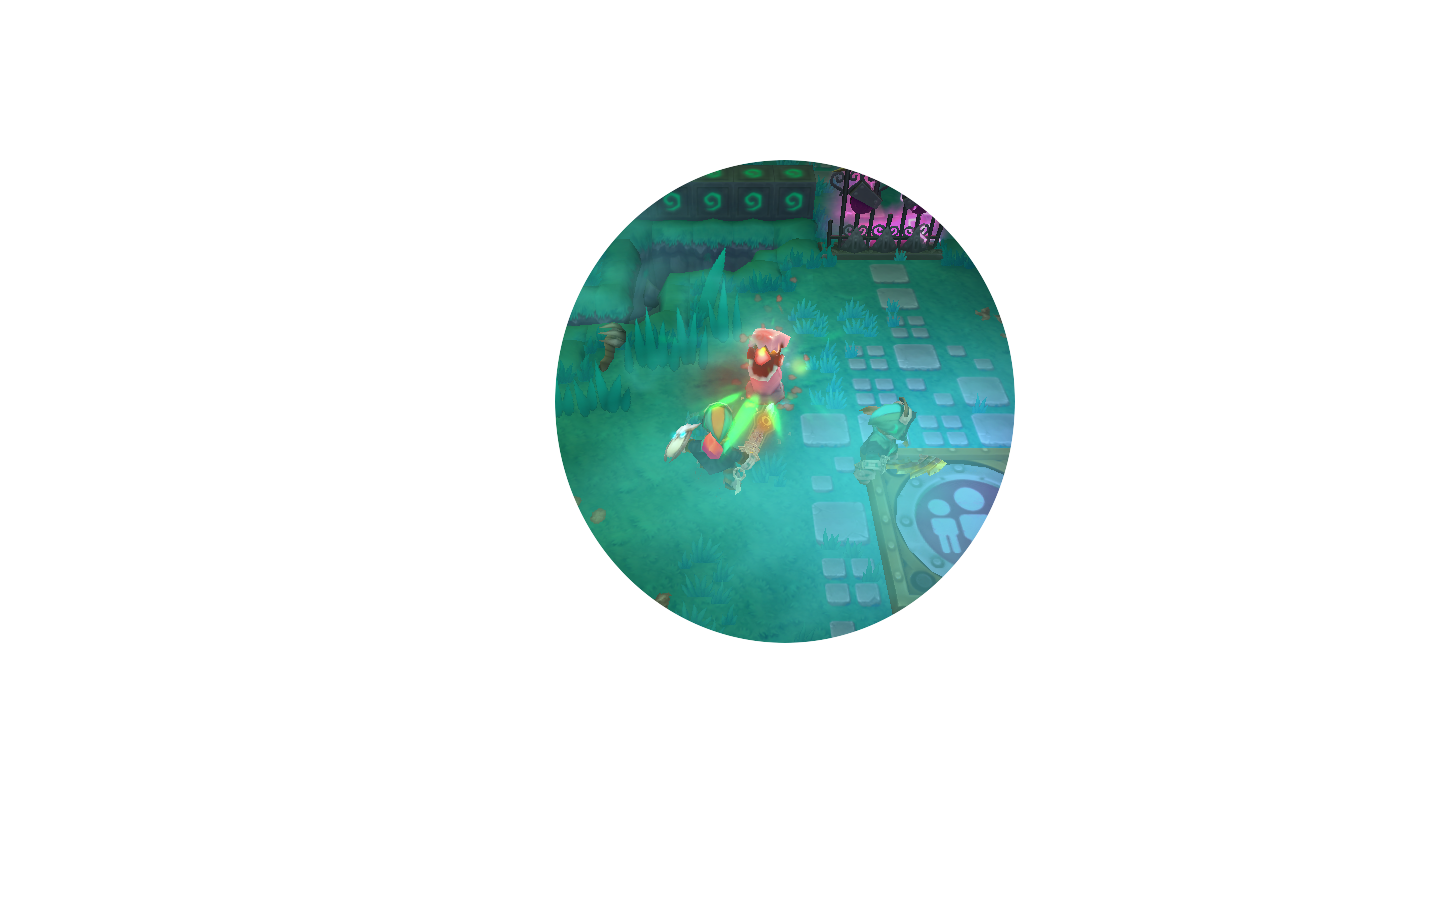
| + | [[File:Screen_shot_2011-11-08_at_7.31.21_PM_copy.png|250px|]] Mr. mustache jelly | ||
| + | |||
| + | [[File:Screen_shot_2011-11-12_at_8.36.04_PM.png|275px|]] Meh love puppy | ||
| + | |||
| + | [[File:/Users/Jeremy/Desktop/strikerk photo.jpg]] | ||
| + | |||
This is my accessory store: | This is my accessory store: | ||
[[http://forums.spiralknights.com/en/node/54179]] | [[http://forums.spiralknights.com/en/node/54179]] | ||
| + | |||
| + | |||
| + | |||
| + | Special thanks to [[User:Sederts|Sederts]] for helping me make this page | ||
Latest revision as of 21:32, 7 August 2012
My IGN is strikerk
| ||||
|
| ||
|
| |
|
|
Screenshots
File:/Users/Jeremy/Desktop/strikerk photo.jpg
This is my accessory store: [[1]]
Special thanks to Sederts for helping me make this page
