Operation Crimson Hammer/Loadout
This loadout guide is for the ![]() Expansion Mission: Operation Crimson Hammer. It is one of many guides made by players. As such, contents of this page are opinionated.
Expansion Mission: Operation Crimson Hammer. It is one of many guides made by players. As such, contents of this page are opinionated.
Loadout
It's known that Warmaster Seerus resides in the Grand Arsenal, so it's up to the eligible Knights to storm in his Crimson Order facility, destroy his war machines and stop him. His domain is not without protection and danger, though, as there are many Gremlins and Constructs set to defend the base under Seerus' orders.
So, it is highly essential to stock up on Shadow and damage weapons along with fire, Pierce and Elemental resistant gear in order to survive the Warmaster's fortress itself.
![]() Suggested Helmet(s):
Suggested Helmet(s):
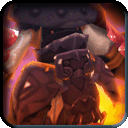
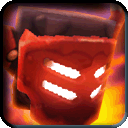 Volcanic Plate Helm
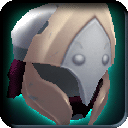 Sacred Firefly Sentinel Helm
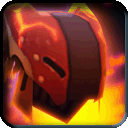 Vog Cub Cap (for fire resistance)
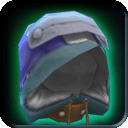 Chaos Cowl
![]() Suggested Armor:
Suggested Armor:
 Volcanic Plate Mail
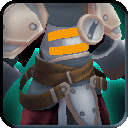 Sacred Firefly Sentinel Armor
 Vog Cub Coat (for fire resistance)
 Chaos Cloak
![]() Suggested Shield(s):
Suggested Shield(s):
![]() Suggested Weapon(s):
Suggested Weapon(s):
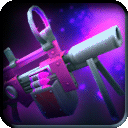 Grim Repeater (for quick & effective hits to battlepods & boss)
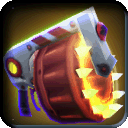 Blitz Needle (for quick hits to the battlepods & boss)
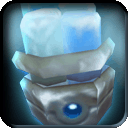 Shivermist Buster (for halting annoying Gremlin Mortafires & Ghostmane Stalkers)
![]() Suggested Trinket(s):
Suggested Trinket(s):
 Elite Trueshot Module (for additional damage to the boss)
![]() Suggested Battle Sprite(s):
Suggested Battle Sprite(s):
 Maskeraith (for dealing double damage attacks using Deadly Shadow Cloak)
 Healthy Boost perk
See Also
| Starting Out | New Player Briefing | User interface | Useful Links |