Difference between revisions of "Starlight Cradle/Meteor Mile III"
From SpiralKnights
(Created page with "{{Level |area = Starlight Cradle |name = Meteor Mile |icon 1 = Starlight Cradle |depth = Tier 2 and 3 only |monsters = *{{monster|Lumber}} *{{monst...") |
Leafblader (Talk | contribs) (The game refers to the area at the end as a Danger Room, it has a Danger Module in front of the party button, it spawns enemies that are stronger than those in the current stratum, and the enemy spawns are generally tougher. It's definitely a Danger Room.) |
||
| (2 intermediate revisions by one other user not shown) | |||
| Line 1: | Line 1: | ||
{{Level | {{Level | ||
|area = Starlight Cradle | |area = Starlight Cradle | ||
| − | |name = Meteor Mile | + | |name = Meteor Mile III |
|icon 1 = Starlight Cradle | |icon 1 = Starlight Cradle | ||
|depth = Tier 2 and 3 only | |depth = Tier 2 and 3 only | ||
|monsters = | |monsters = | ||
| + | *{{monster|Kleptolisk}} | ||
*{{monster|Lumber}} | *{{monster|Lumber}} | ||
| + | *{{monster|Silkwing}} | ||
*{{monster|Jelly Cube}} | *{{monster|Jelly Cube}} | ||
*{{monster|Sloom}} | *{{monster|Sloom}} | ||
| − | |||
*{{monster|Lichen}} | *{{monster|Lichen}} | ||
| + | *{{monster|Golden Sleep Wisp}} | ||
| + | [[Danger Room]] only: | ||
*{{monster|Lichen Colony}} | *{{monster|Lichen Colony}} | ||
*{{monster|Giant Lichen Colony}} | *{{monster|Giant Lichen Colony}} | ||
| − | *{{monster| | + | *{{monster|Sloombargo}} |
| − | + | ||
| − | + | ||
|exploration = | |exploration = | ||
| − | |||
| − | |||
*{{exploration|Brambles}} | *{{exploration|Brambles}} | ||
*{{exploration|Danger}} Module | *{{exploration|Danger}} Module | ||
| + | *{{exploration|Energy Door}} | ||
| + | *{{exploration|Switch}} | ||
*[[Mineral]] Spire x5 | *[[Mineral]] Spire x5 | ||
*[[Treasure Box]] x18 (4 behind energy doors) | *[[Treasure Box]] x18 (4 behind energy doors) | ||
|floor notes = | |floor notes = | ||
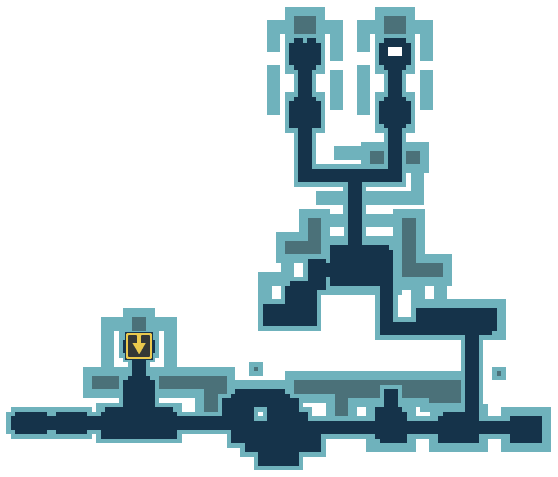
| − | There are parts of this level that aren't required to | + | There are parts of this level that aren't required to be completed in order to reach the exit elevator. |
| − | + | There is a free [[Danger Room]] at the end of the level after the final battle. It doesn't require you to pay energy to access it unlike most danger rooms. It is also unique because it has you backtrack through part of the level while spawning enemies instead of having you access a new area. | |
| − | + | This level contains notably more [[Lumber]]s and [[Silkwing]]s than most other Starlight Cradle levels. | |
|gallery= | |gallery= | ||
| Line 37: | Line 38: | ||
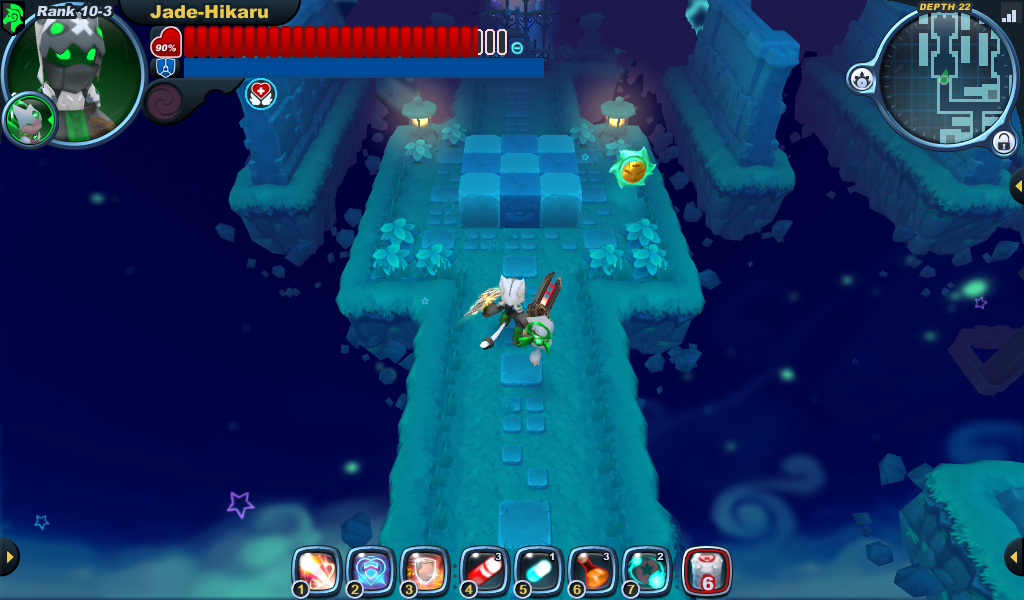
File:Area-Starlight Cradle-Meteor Mile III-2.png|An area with minerals and treasure boxes. | File:Area-Starlight Cradle-Meteor Mile III-2.png|An area with minerals and treasure boxes. | ||
File:Area-Starlight Cradle-Meteor Mile III-3.png|The area for the final battle. | File:Area-Starlight Cradle-Meteor Mile III-3.png|The area for the final battle. | ||
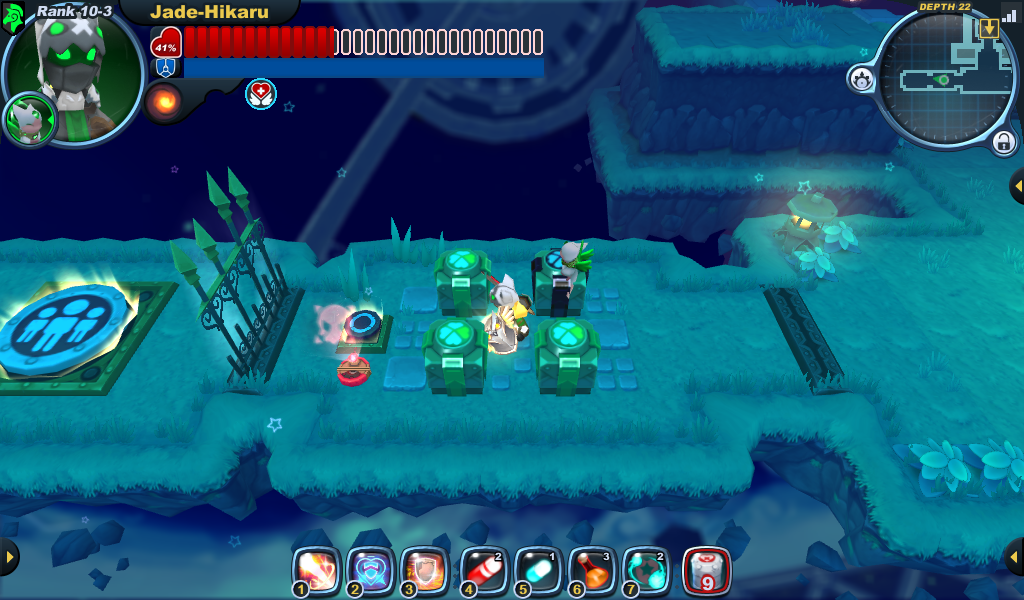
| − | File:Area-Starlight Cradle-Meteor Mile III-4.png| | + | File:Area-Starlight Cradle-Meteor Mile III-4.png|The free Danger Room at the end of the level. Note the lack of an Energy Door. |
</gallery> | </gallery> | ||
}}<noinclude>[[Category:Geography subpages]]</noinclude> | }}<noinclude>[[Category:Geography subpages]]</noinclude> | ||
Latest revision as of 22:00, 15 June 2020
| |||||||||||||||||||||||||||||||||||||||||||||||||||||||||||||||||||||||||||||||||||||||||||||||||||||||||||||||||||||||||||||||||||||||||||||||||||||||||||||||||||||||||||||||||||||||||||||||||||||||||||||||||||||||||||||||||||||||||||||||||||||||||||||||||||||||||||||||||||||||||||||||||||||||||||


