Difference between revisions of "Danger room"
From SpiralKnights
m (Optional) |
(Add some names to use for referring to them) |
||
| Line 6: | Line 6: | ||
{| | {| | ||
|- | |- | ||
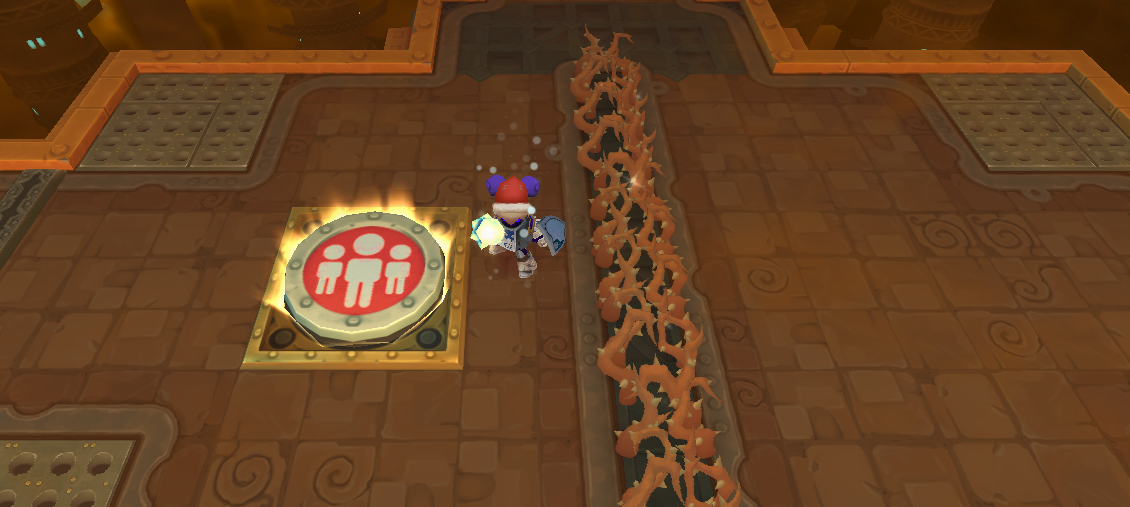
| − | |valign=top|[[Image:Danger_room-type_1.png|200 px|none|thumb|Square with some spikes and a line of brambles down the center.]] | + | |valign=top|[[Image:Danger_room-type_1.png|200 px|none|thumb|Center Brambles: Square with some spikes and a line of brambles down the center.]] |
| − | |valign=top|[[Image:Danger_room-type_2.png|200 px|none|thumb|Square with mostly spikes and a + area in the middle and a single block width passage around the outside.]] | + | |valign=top|[[Image:Danger_room-type_2.png|200 px|none|thumb|Spike Trap: Square with mostly spikes and a + area in the middle and a single block width passage around the outside.]] |
| − | |valign=top|[[Image:Danger_room-type_3.png|200 px|none|thumb|Circular with no spikes.]] | + | |valign=top|[[Image:Danger_room-type_3.png|200 px|none|thumb|Big Room: Circular with no spikes.]] |
|} | |} | ||
[[Category:Geography]] | [[Category:Geography]] | ||
Revision as of 04:01, 11 January 2011
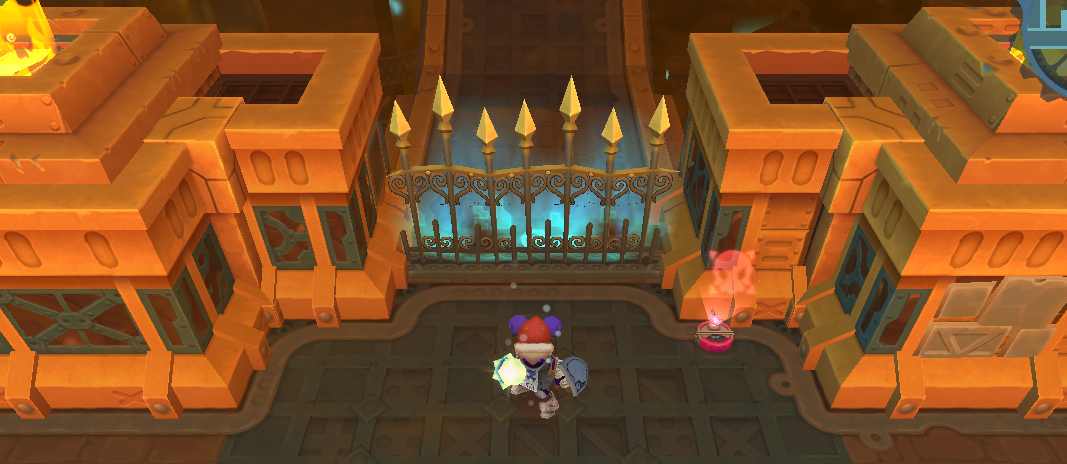
Danger rooms are optional areas sometimes found within Clockwork Tunnels. They are a pay area that costs 3 energy. Inside the gate, the danger room is a single room with a party button where the gates will not open until all the monsters are defeated, similar to Battle Arenas. Past the danger room is a treasure room if you successfully defeat the enemies.
There are three known danger room layouts:
File:Danger room-type 2.png Spike Trap: Square with mostly spikes and a + area in the middle and a single block width passage around the outside. |
File:Danger room-type 3.png Big Room: Circular with no spikes. |

