Graveyard/Loadout
This loadout guide is for Graveyard. It is one of many guides made by players. As such, contents of this page are opinionated.
Loadout
Stumbling into the Graveyard, the world between worlds, can be unpleasant to Knights who hoped for somewhere safer, for the inhabitations of Dust Zombies and Phantoms can overwhelm them, unless they're well-equipped with specific weapons and gear to handle numerous undead Dust Zombies and harvest many Crowns they drop. While optional to fight, the Phantoms can be major threats that can be avoided before they get them.
Caution is strongly advised while traversing through this level.
![]() Suggested Helmet(s):
Suggested Helmet(s):
- ???
![]() Suggested Armor:
Suggested Armor:
- ???
![]() Suggested Shield(s):
Suggested Shield(s):
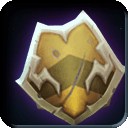 Scary Skelly Shield (for Shadow damage protection, Tier 2)
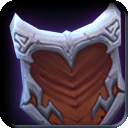 Sinister Skelly Shield (for Shadow damage protection, Tier 3)
 Dread Skelly Shield (for Shadow damage protection, Tier 3)
![]() Suggested Weapon(s):
Suggested Weapon(s):
 Cold Iron Carver (for heavy undead damage, Tier 3)
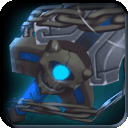 Cold Iron Vanquisher (for heavy undead damage, Tier 3)
![]() Suggested Trinket(s):
Suggested Trinket(s):
- ???
![]() Suggested Battle Sprite(s):
Suggested Battle Sprite(s):
- ???
See Also
| Starting Out | New Player Briefing | User interface | Useful Links |