Battle Arena
| |||||||
|

Similarly to the Clockwork Tunnels, Battle Arenas are areas of the Clockworks characterized by a combination of various monster and elemental status themes, the former of which are determined by the color of the shield displayed in the level icon, while the latter are determined by its background color. The Iron Edge Arena has a neutral status theme.
Description
Welcome to the battle arena! The only rule is that you must fight at least once to move on. Should you claim victory, it will be up to you to decide to fight for even more glory! — ![]() Information Module
Information Module
Features
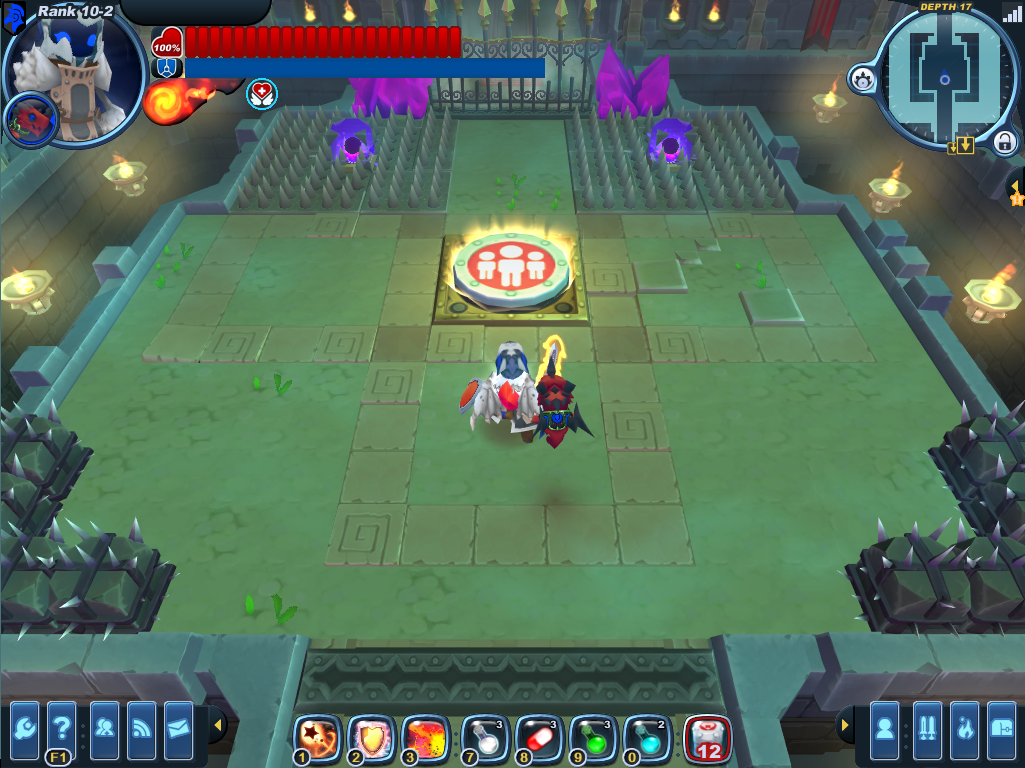
Battle Arenas are entire levels similar in function to danger rooms. A battle arena level is divided into three rounds, each with increasing difficulty. The first section must be completed in order to leave the level, however, completing the optional sections give increasing rewards. After each round, there will be 6, 10 or 15 treasure chests, four healing panels with respawning hearts and an assortment of coins and minerals, as well as an exit to the next level.
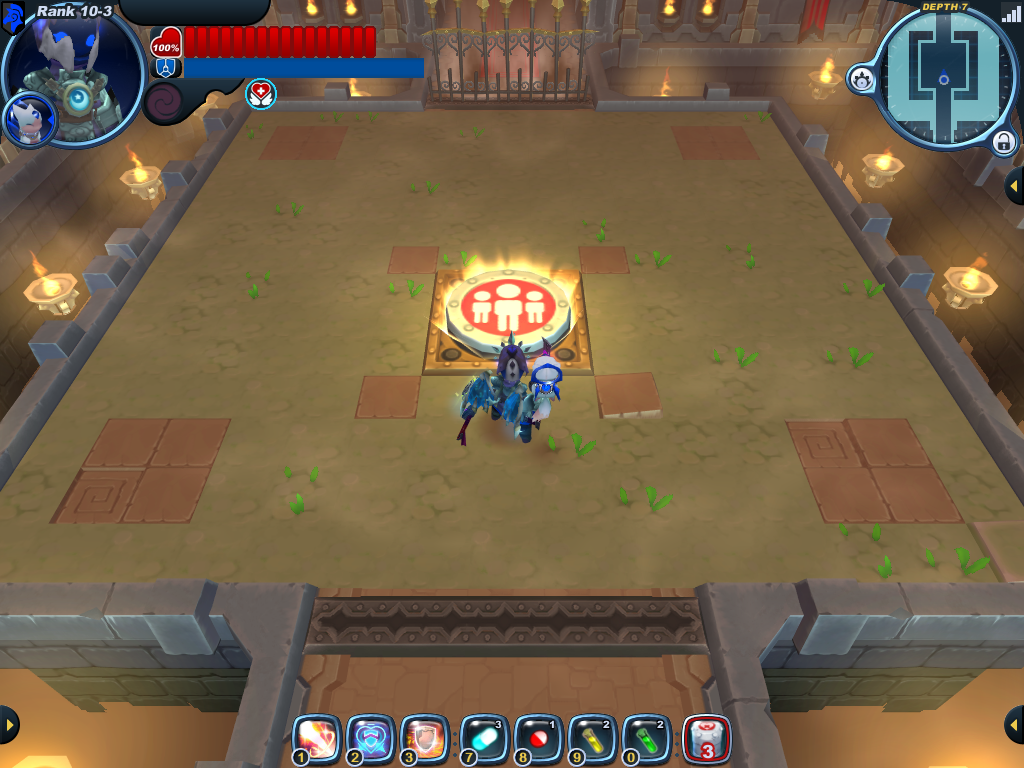
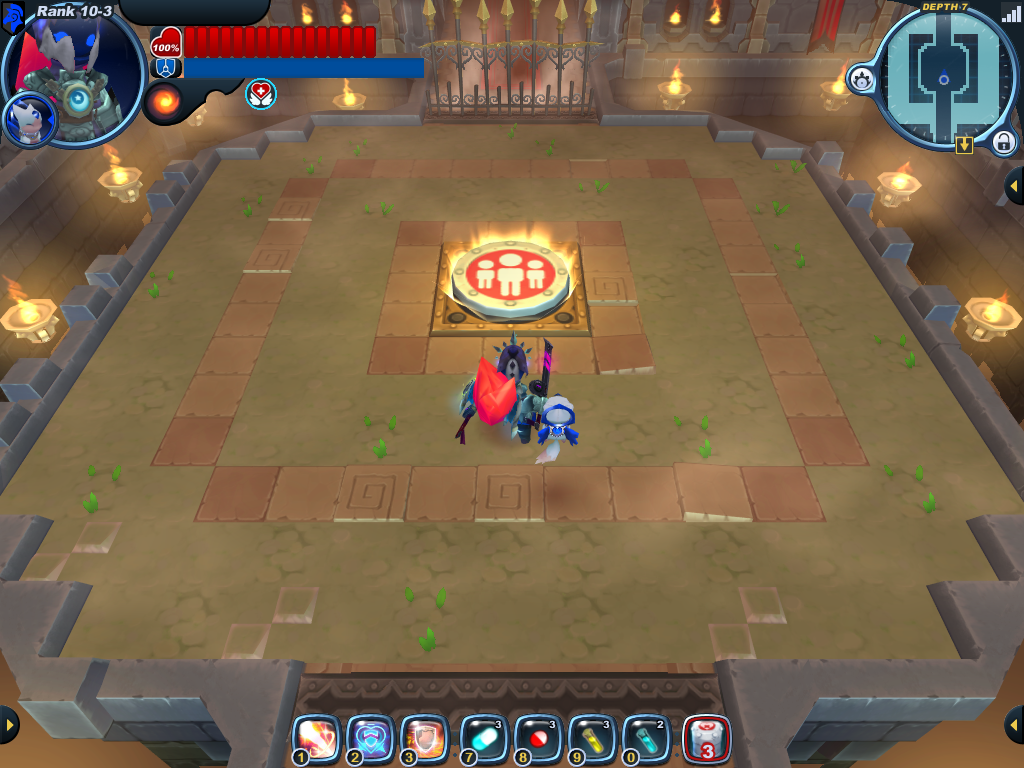
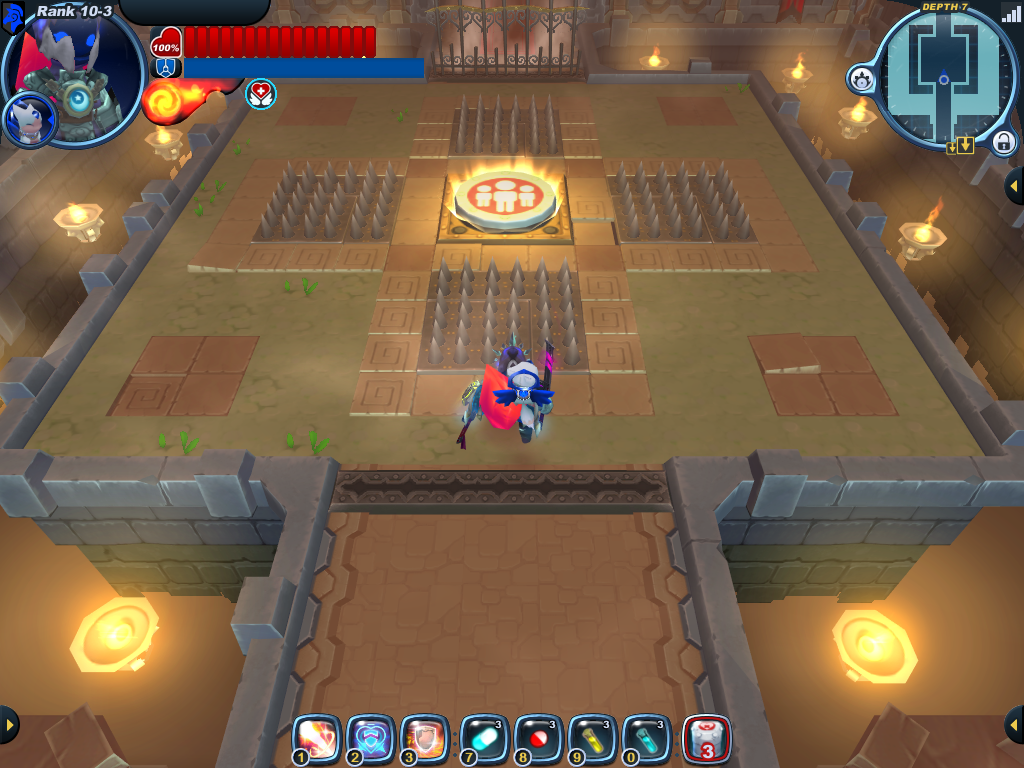
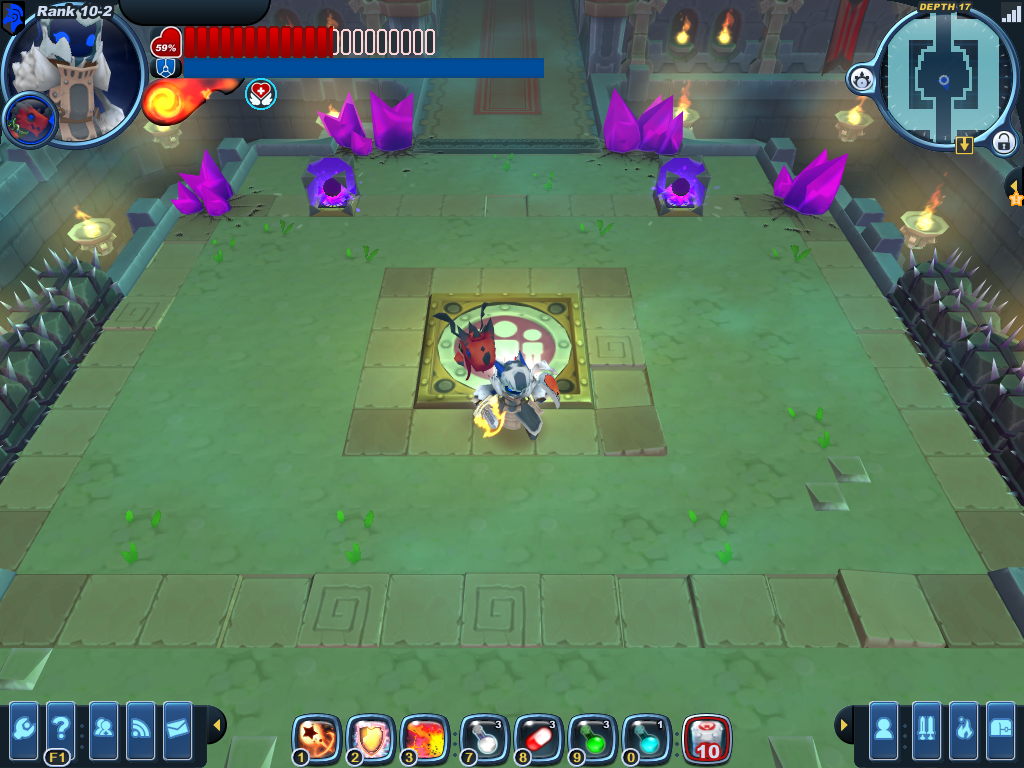
Each section consists of a small room with a party button in the center. The party will be locked in the room after pressing the button, which also spawns the first two waves of monsters. Defeating one wave of monsters will spawn another one, so it is advised to leave one monster from each wave until the party is ready for the next one. The third and final room has four spike beds, placed at the cardinal directions surrounding the party button.
Strategy
Though the exact enemies that appear vary depending on the arena's theme (and a little luck), all arenas have very similar spawn patterns that follow the same rules.
The spawns for each arena bout are divided into two branches of three waves each, and then a final wave at the end. When you step on the party button, some of the initial monsters that appear are part of the first branch, while others are part of the second. Killing all the monsters currently alive from one branch spawns the next wave from that same branch. The final wave only spawns when both branches are exhausted; thus, if you finish one branch faster than the other, you will have fewer monsters to deal with at once.
Keeping track of which monsters belong to which branch can help you control when particular waves spawn, which can make arena fights much easier.
Note: The lists below may not reflect all possibilities. If you see another spawn combination, add it!
Spawn Shorthand
- Theme Monster: A monster appropriate to the arena's monster and status themes, such as a Retrode in a Robo Rampage or Devilite in a Fiendish Fray. Does not overlap with any of the below.
- Heavy: Lumber or Alpha Wolver (Alpha Wolvers seem to show up mostly in slime and beast arenas)
- Turret: Gunpuppy, Polyp, or Howlitzer appropriate to the arena's status theme, or (less commonly) a Rocket Puppy. Turrets related to the arena's monster theme (e.g. Polyps in a slime arena) seem to be more likely, but are not guaranteed. Howlitzers will never spawn outside of undead/fiend arenas, but they may be replaced by polyps.
- Healer: Silkwing or Gremlin Mender. Silkwings are typically the healers for fiend/undead arenas, but gremlins may still appear in their place and vice-versa.
- Elite: Mecha Knights (Normal and appropriate status effect), Gremlin Thwackers, Gremlin Demos, Gremlin Scorchers (Scorchers only seem to spawn in Flame Lash Arenas), or Greavers. Gremlins and Mecha Knights do not seem to mix within the same set, but exact types can. Greavers will only spawn in Undead and Fiend arenas, gremlins seem able to spawn anywhere except undead and fiend arenas. Mecha Knights can spawn in any type of arena.
- Giant: Trojans, Lichen Colonies, or Giant Lichen Colonies in T3. Trojans seem more likely to spawn in undead/fiend arenas and lichens more likely in the other kinds, but both can appear anywhere.
First Bout
Branch One
- 4 Theme Monsters (2 top left, 2 top right)
- 2 Elites (left and right)
- 4 Elites (top)
Branch Two
- 2 Turrets (left and right, or both top)
- 2-4 Theme Monsters and 2 Healers (half left, half right)
- 4 Turrets (1 in each corner)
Final Wave
- 1 Giant (top center)
- 2 Theme Monsters (flanking Trojan/Lichen)
- 2 Elites or 2 more Theme Monsters (also flanking Trojan/Lichen)
- 2 Healers (behind Trojan/Lichen)
Reward: 6 Treasure Boxes and 5 Mineral Spire.
Second Bout
Branch One
- 2 Elites (top and bottom or left and right)
- 2 Elites (bottom)
- 6 Theme Enemies (1 top left, 1 top right, 2 bottom left, 2 bottom right)
Branch Two
- 2 Elites (top and bottom or left and right, near the branch one spawns)
- 2 Theme Enemies (top corners) and 2 Heavies or 2 more Theme Enemies (bottom corners)
- 3 Elites (top)
Final Wave
- 3-4 Elites (top)
- 2 Healers (behind them)
Reward: 10 Treasure Boxes and 5 Mineral Spire.
Third Bout
Branch One
- 6 Theme monsters (3 in top left, 3 in bottom right)
- 4 Turrets (1 in each corner)
- 4 Heavies (center)
Branch Two
- 4 Elites (2 in top left, 2 in bottom right)
- 2 Heavies and 2 Healers (1 of each in bottom left, 1 of each in top right)
- 8 Turrets (2 on each side of room)
Final Wave
- 12 Elites (3 in each corner)
- 2 Healers (1 in top left, 1 in bottom right)
- 2 Theme Monsters (1 in top left, 1 in bottom right)
Reward: 15 Treasure Boxes and 5 Mineral Spire.
Notes

The 9-2 rank mission The Gauntlet has its own special arena layout.
During the March of the Tortodrones event, the "fiendish fray" type of arena in the arcade can randomly be replaced by a special arena featuring misery blocks and aesthetic piles of dark matter. The spawn patterns seem to be the same as the regular arena, but slightly rearranged to compensate for different layout.
There are two hidden and uninteractable Vending Machines in each loot room of Arcade Battle Arena that have been there most likely before the introduction of Battle Arenas in their early development cycle as they were replaced by the Alchemy Machines. It's unknown if they were ever visible and interactable in-game in the past.
After the first and second bout this danger module is at the side to the hallway to the next area:
Battle Arena Victory is yours! But will these warriors leave this hallowed hall of glorious combat and be forgotten, or continue on against even more terrifying foes in hopes of reaping the rewards of the Arena King? |
These informative module appear at the beginning and the end of the map:
Battle Arena Welcome to the battle arena! The only rule is that you must fight at least once to move on. Should you claim victory, it will be up to you to decide to fight for even more glory! |
Battle Arena Truly you are among the greatest of all warriors who have ever lived! The bounties of the Arena Knight are yours for the taking! |
Gallery
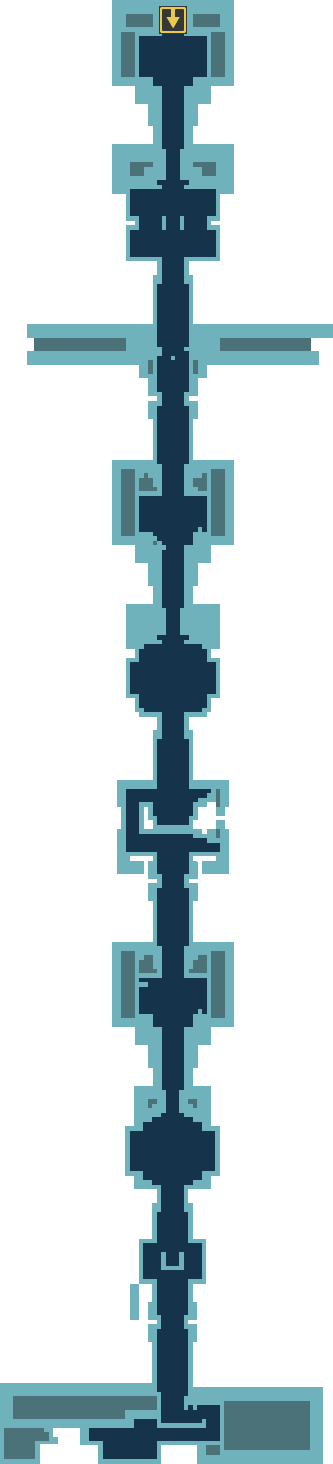
This layout is encountered in any standard battle arena, any tier. Arenas in the arcade take this format.

Map of the standard battle arena.
First bout layout.
Second bout layout.
Third bout layout.


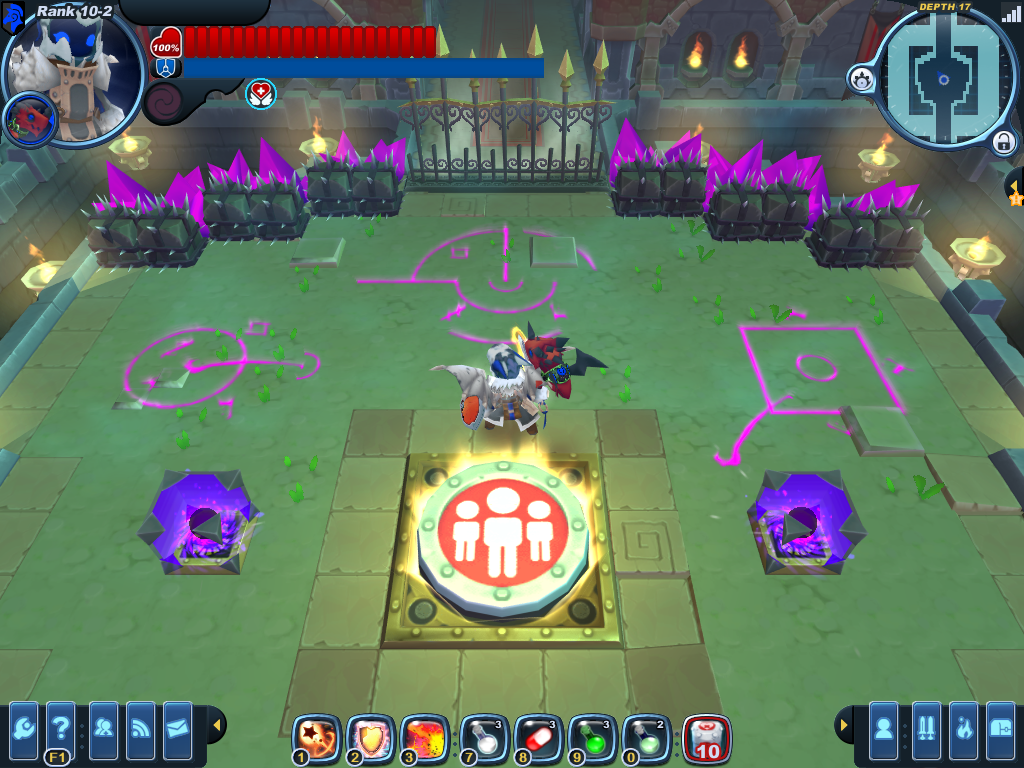
This general layout is encountered in rank mission battle arenas. It was introduced with release 2012-05-09. These arenas feature scaffolding scenery and miscellaneous NPC knights, with fight areas having barbed wire hazards. Maps and layouts differ slightly between missions, generating randomly in a similar fashion to Compact Areas in that they have only a few different segments which line up in a linear pattern.
The only rank mission involving an arena that does not use this layout is 9-2 ![]() Mission: The Gauntlet. Missions that use this layout are:
Mission: The Gauntlet. Missions that use this layout are:
- 5-2
 Mission: Rise or Fall: Showdown
 - 7-2 Mission: Vicious and Viscous: The Oozing Onslaught
- 7-3 Mission: Spark and Roar: The Bitter Battle
- 8-1 Mission: Weight of Darkness: Eternal Struggle
Rank Arena map
example.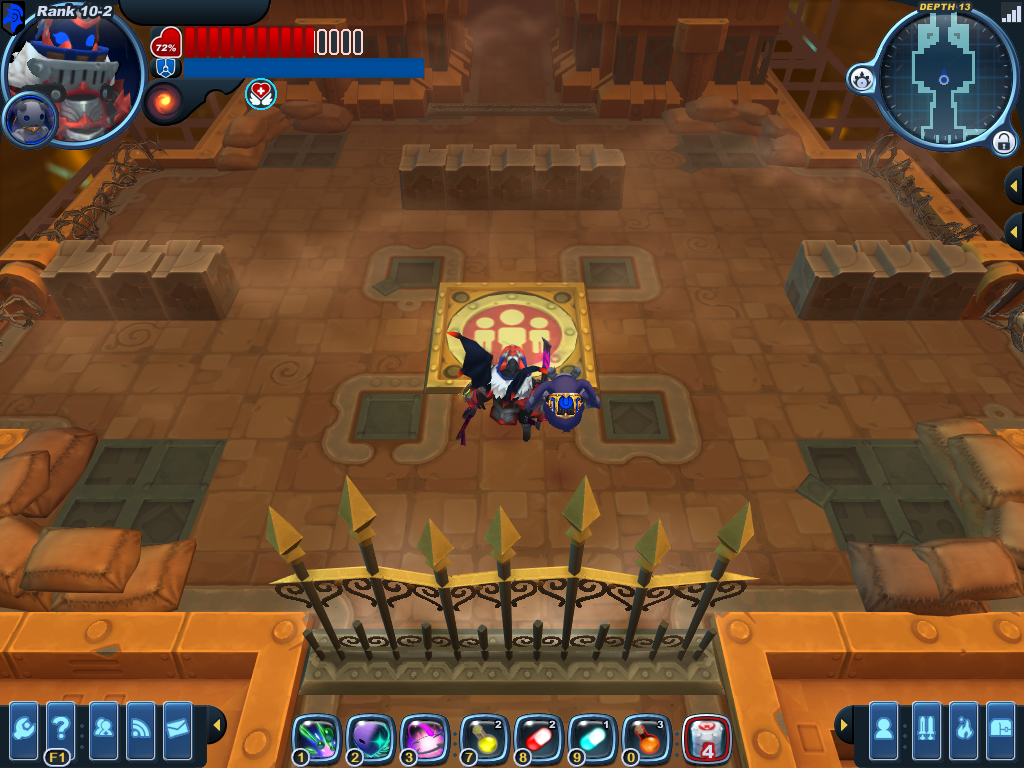
First bout layout
example.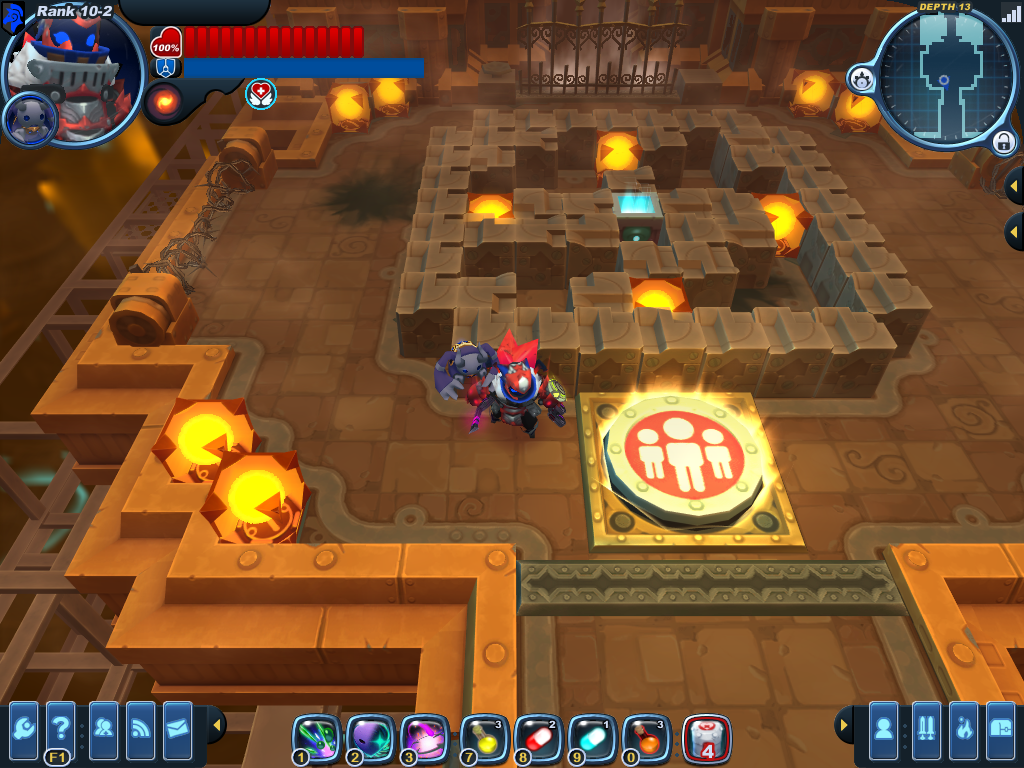
Second bout layout
example.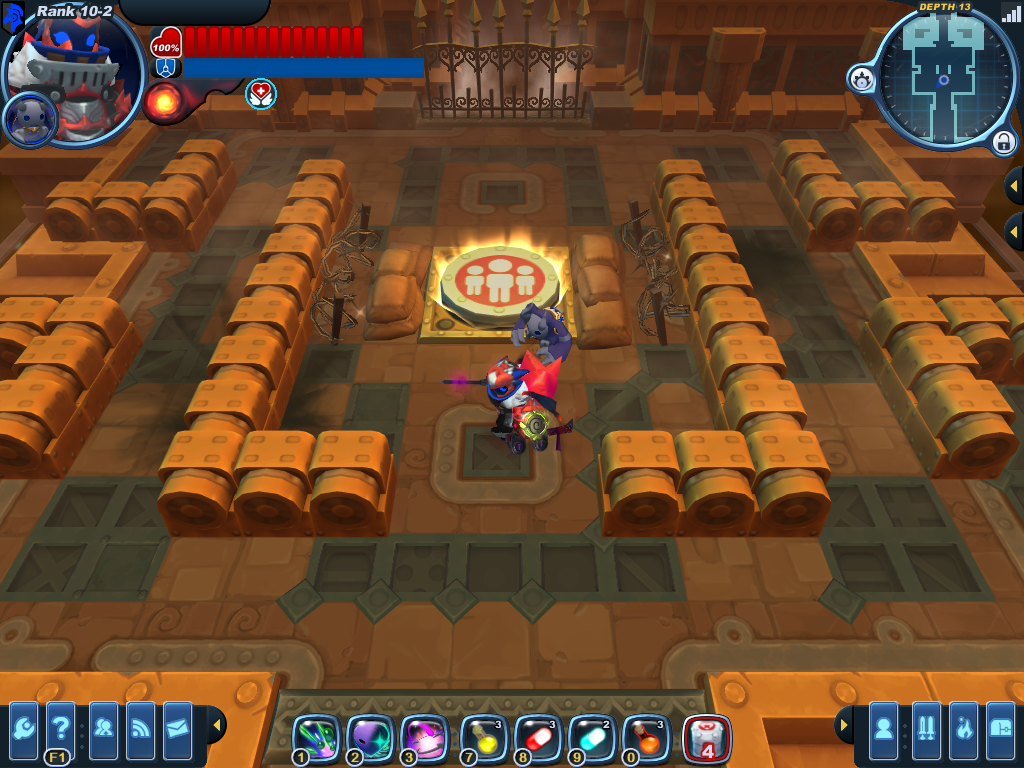
Third bout layout
example.


Event Exclusive: March of the Tortodrones
This layout has a chance to replace any arcade "Fiendish Fray" arena during the March of the Tortodrones event.

Map of the special Fiendish Fray arena.
First bout layout.
Second bout layout.
Third bout layout.


