Difference between revisions of "Grinchlin Assault!/Ascent"
From SpiralKnights
m (more prep) |
m (infotips) |
||
| (7 intermediate revisions by the same user not shown) | |||
| Line 16: | Line 16: | ||
*{{Monster|Darkfang Mender}} | *{{Monster|Darkfang Mender}} | ||
| − | *{{Monster|Grinchlin Scorcher}} (Will turn into {{monster|Darkfang Scorcher}} if | + | *{{Monster|Grinchlin Scorcher}} (Will turn into {{monster|Darkfang Scorcher}} if defeated and revived by mender) |
*{{Monster|Blazing Mortafire}} | *{{Monster|Blazing Mortafire}} | ||
*{{Monster|Darkfang Demo}} | *{{Monster|Darkfang Demo}} | ||
*{{Monster|Gremlin Knocker}} | *{{Monster|Gremlin Knocker}} | ||
| − | *{{Monster|Grinchlin Thwacker}} (Will turn into {{monster|Darkfang Thwacker}} if | + | *{{Monster|Grinchlin Thwacker}} (Will turn into {{monster|Darkfang Thwacker}} if defeated and revived by mender) |
*{{Monster|Gremlin Cooler}} | *{{Monster|Gremlin Cooler}} | ||
| Line 30: | Line 30: | ||
|exploration = | |exploration = | ||
| + | *{{exploration|Falling Mush}} | ||
*{{exploration|Fire Pit}} | *{{exploration|Fire Pit}} | ||
*{{exploration|Mush Block}} | *{{exploration|Mush Block}} | ||
| − | |||
*{{exploration|Water Pot}} | *{{exploration|Water Pot}} | ||
*[[Wheel Launcher]] | *[[Wheel Launcher]] | ||
| Line 44: | Line 44: | ||
|gallery= | |gallery= | ||
| − | |||
| − | |||
| − | |||
| − | |||
| − | |||
| − | |||
{{StrategyList/Start}} | {{StrategyList/Start}} | ||
| + | |||
| + | {{StrategyList | ||
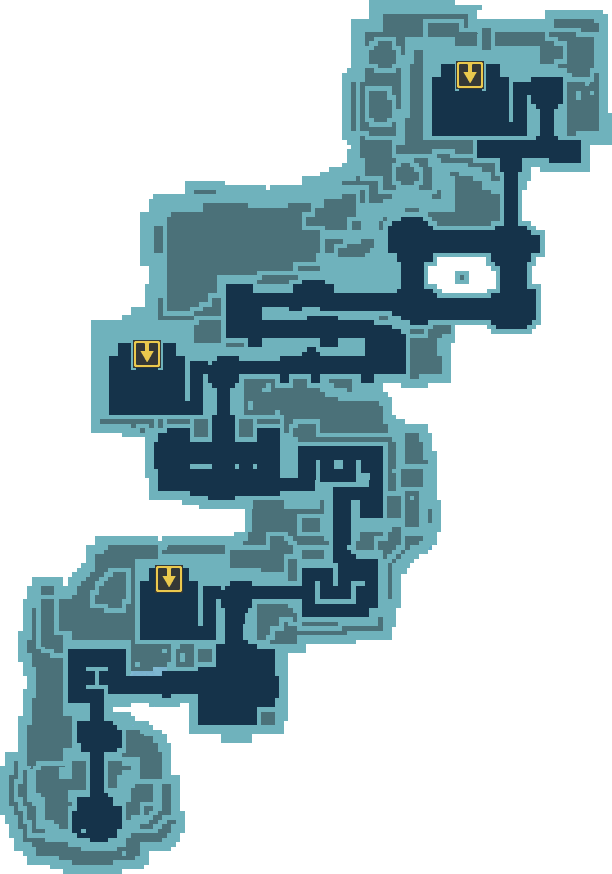
| + | |file = Map-Grinchlin Assault!-Ascent | ||
| + | |size = 175x175px | ||
| + | |notes = Map of ''Ascent''. | ||
| + | }} | ||
{{StrategyList | {{StrategyList | ||
| Line 56: | Line 56: | ||
|level = Ascent | |level = Ascent | ||
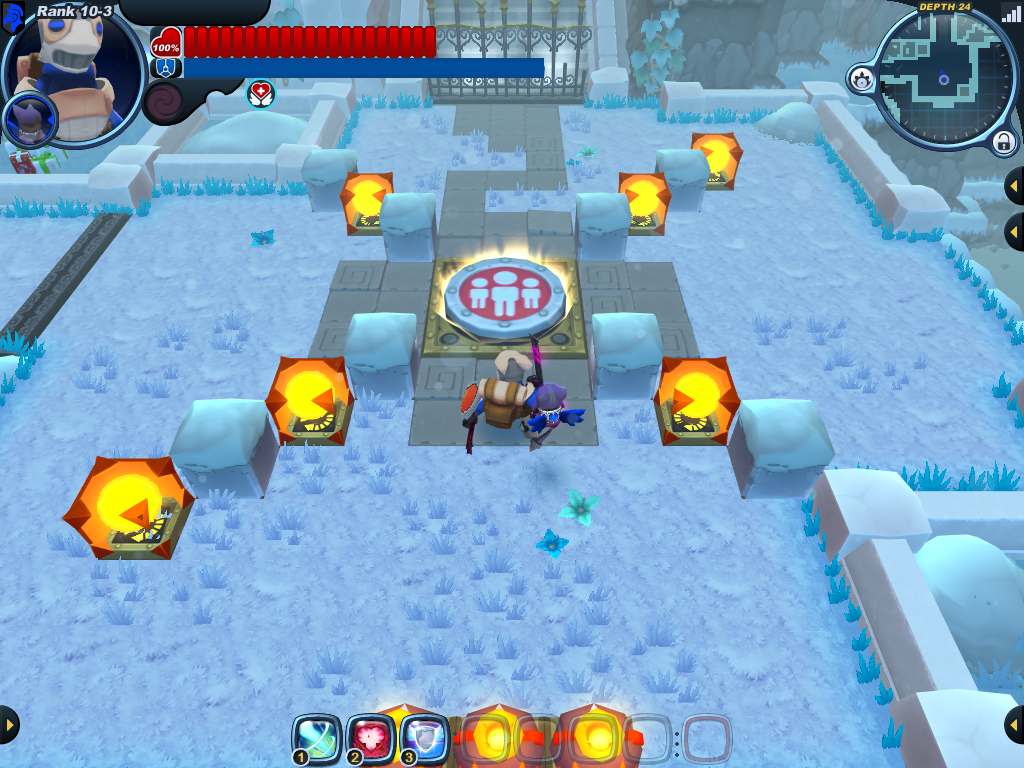
|notes = At the start of this fight, head to the bottom left corner and let the gremlins come to you. Leave one undefeated to set up the next waves: taunt the respawning puppies then dash away so they stay facing away from the fight. Repeat as needed. For the second wave, it would be prudent to take out the menders first. Damage an enemy, then use [[Deadly Shadow Cloak]] and take the mender pair out while they are distracted. | |notes = At the start of this fight, head to the bottom left corner and let the gremlins come to you. Leave one undefeated to set up the next waves: taunt the respawning puppies then dash away so they stay facing away from the fight. Repeat as needed. For the second wave, it would be prudent to take out the menders first. Damage an enemy, then use [[Deadly Shadow Cloak]] and take the mender pair out while they are distracted. | ||
| + | }} | ||
| + | |||
| + | {{StrategyList | ||
| + | |location = Grinchlin Assault! | ||
| + | |level = Ascent | ||
| + | |number = 2 | ||
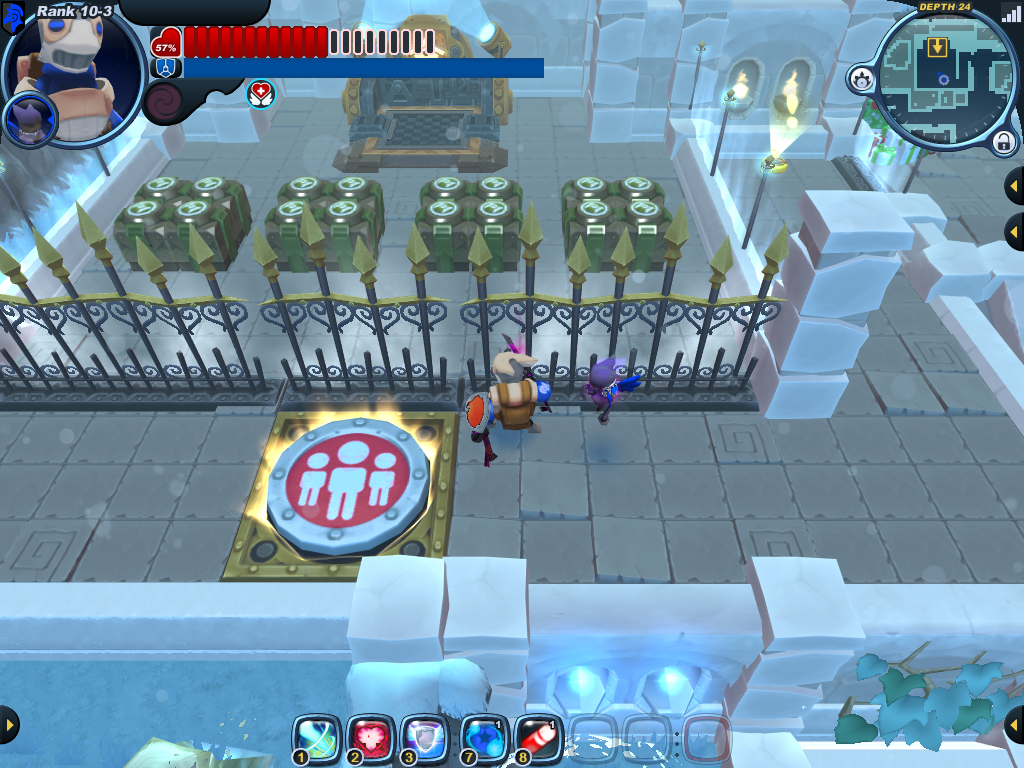
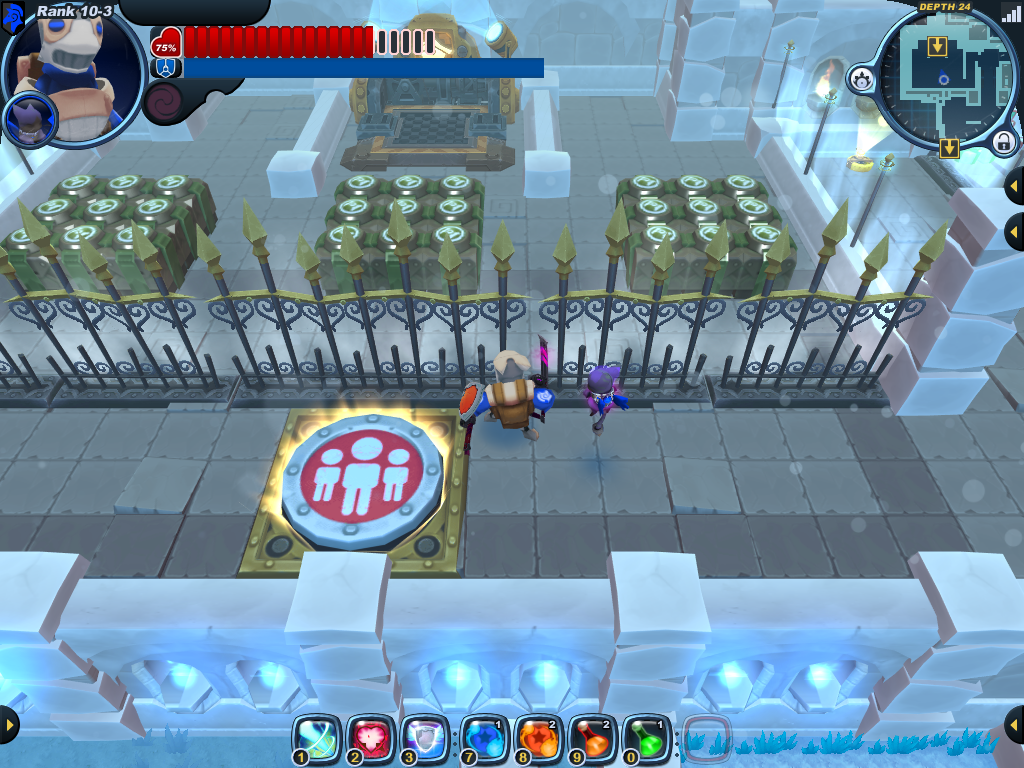
| + | |notes = There are 16 boxes in the first cache. Choose it or continue climbing. | ||
| + | }} | ||
| + | |||
| + | {{StrategyList | ||
| + | |location = Grinchlin Assault! | ||
| + | |level = Ascent | ||
| + | |number = 3 | ||
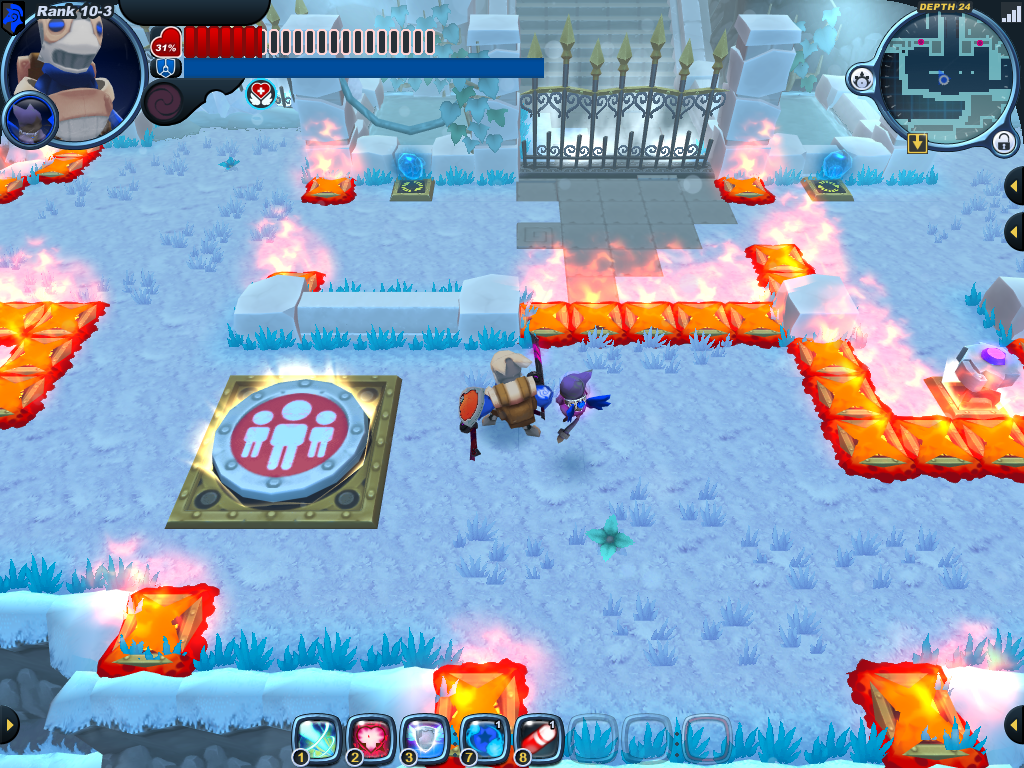
| + | |notes = Hit switches to keep {{exploration|Door}}s up, as each door blocks a Humbug respawner. The doors will fall down after a while because the switches are on a timer. The bottom right corner of this room is a good place to fight from. | ||
| + | }} | ||
| + | |||
| + | {{StrategyList | ||
| + | |location = Grinchlin Assault! | ||
| + | |level = Ascent | ||
| + | |number = 4 | ||
| + | |notes = There are 27 boxes in the second cache. Choose it or continue climbing. | ||
| + | }} | ||
| + | |||
| + | {{StrategyList | ||
| + | |location = Grinchlin Assault! | ||
| + | |level = Ascent | ||
| + | |number = 5 | ||
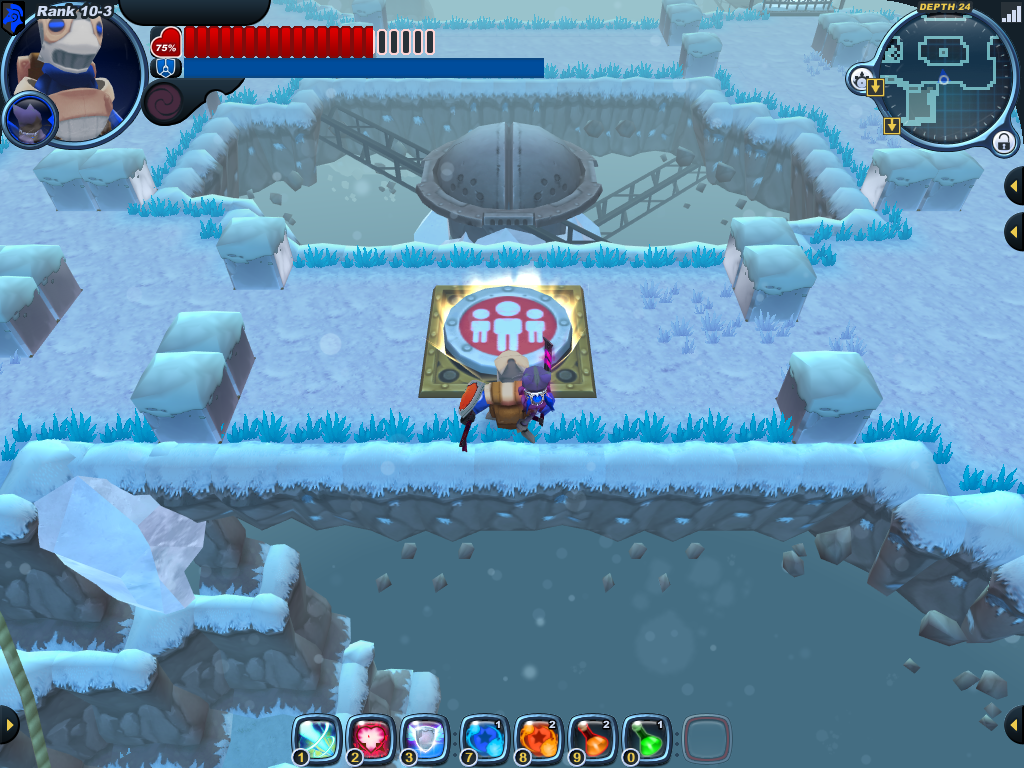
| + | |notes = [[:File:Mission-Event-Winterfest-Grinchlin Assault Gameplay 3.png|This Battlepod]] is invincible. It will launch rockets throughout the fight and finally self-destruct after all monster waves are defeated. This room is relatively easy, just avoid the straight paths when the battlepod launches its rockets. | ||
| + | }} | ||
| + | |||
| + | {{StrategyList | ||
| + | |location = Grinchlin Assault! | ||
| + | |level = Ascent | ||
| + | |number = 6 | ||
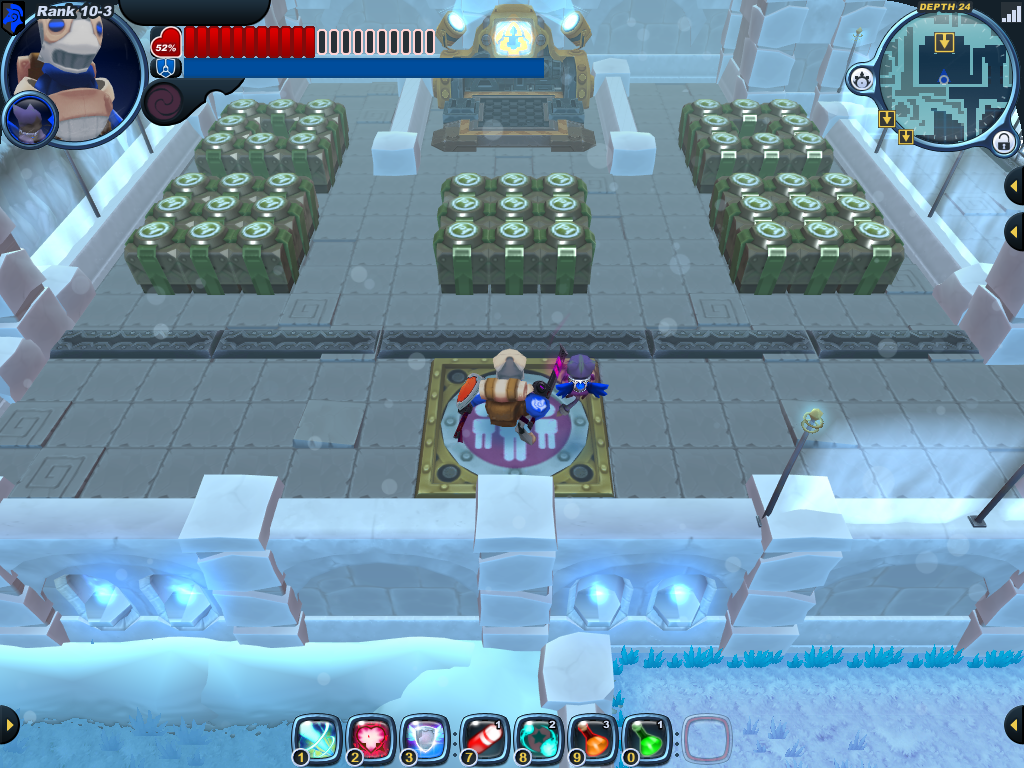
| + | |notes = There are 43 boxes in the last cache. Loot it then continue to the next level, or restart as desired. | ||
}} | }} | ||
Latest revision as of 14:42, 27 December 2015
| |||||||||||||||||||||||||||||||||||||||||||||||||||||||||||||||||||||||||||||||||||||||||||||||||||||||||||||||||||||||||||||||||||||||||||||||||||||||||||||||||||||||||||||||||||||||||||||||||||||||||||||||||||||||||||||||||||||||||||||||||||||||||||||||||||||||||||||||||||||||||||||||||||||||||||||||||||||||||||||||||||

