Difference between revisions of "Grinchlin Assault!/Ascent"
From SpiralKnights
m |
m (fusion, add) |
||
| Line 44: | Line 44: | ||
|gallery= | |gallery= | ||
| − | |||
| − | |||
| − | |||
| − | |||
| − | |||
| − | |||
{{StrategyList/Start}} | {{StrategyList/Start}} | ||
| + | |||
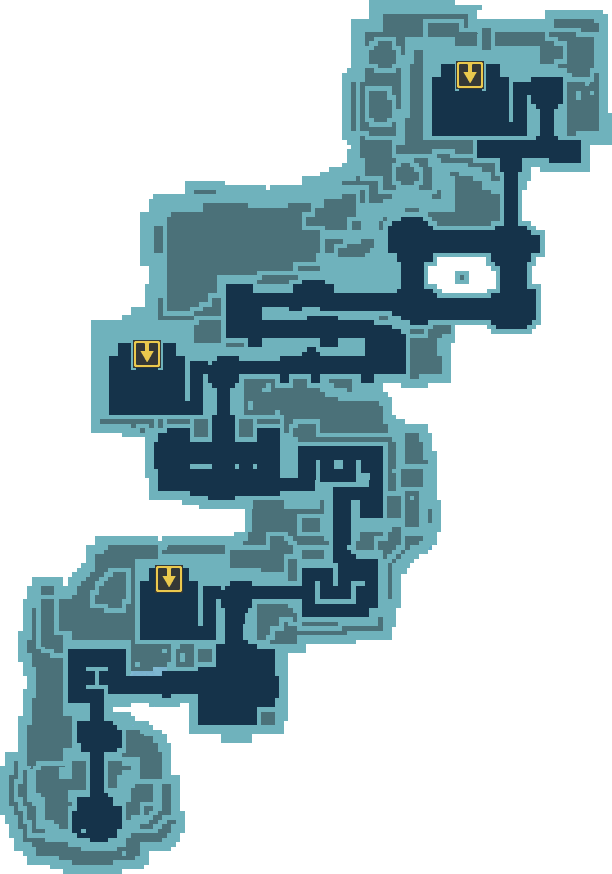
| + | {{StrategyList | ||
| + | |file = Map-Grinchlin Assault!-Ascent | ||
| + | |size = 175x175px | ||
| + | |notes = Map of ''Ascent''. | ||
| + | }} | ||
{{StrategyList | {{StrategyList | ||
| Line 56: | Line 56: | ||
|level = Ascent | |level = Ascent | ||
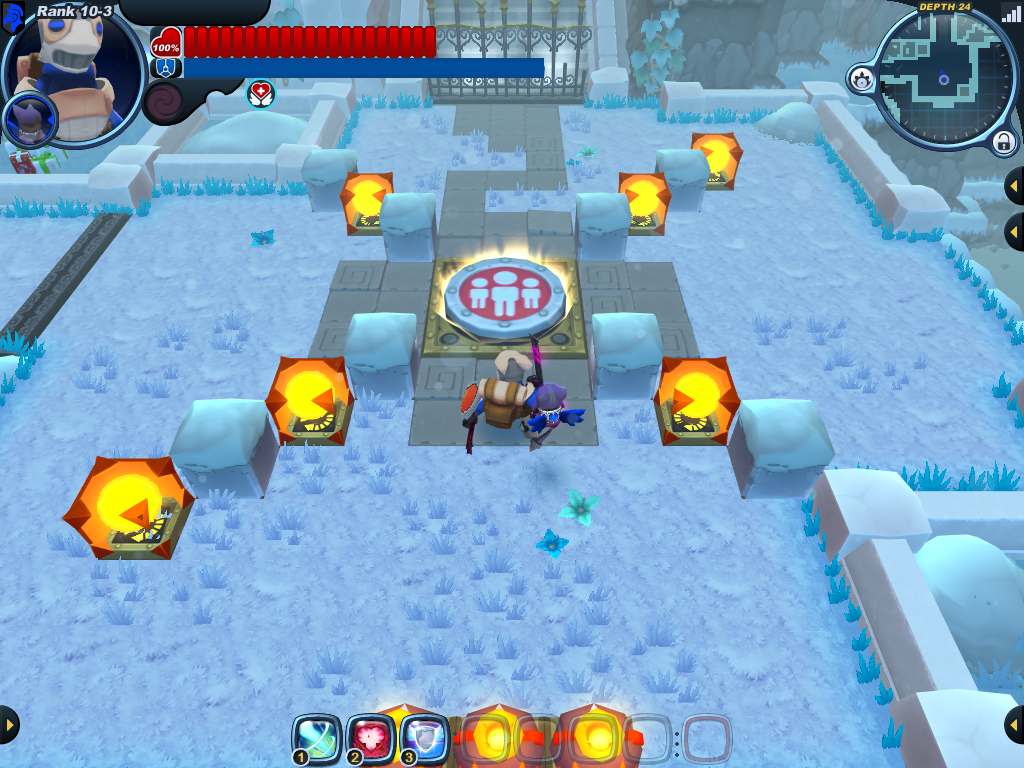
|notes = At the start of this fight, head to the bottom left corner and let the gremlins come to you. Leave one undefeated to set up the next waves: taunt the respawning puppies then dash away so they stay facing away from the fight. Repeat as needed. For the second wave, it would be prudent to take out the menders first. Damage an enemy, then use [[Deadly Shadow Cloak]] and take the mender pair out while they are distracted. | |notes = At the start of this fight, head to the bottom left corner and let the gremlins come to you. Leave one undefeated to set up the next waves: taunt the respawning puppies then dash away so they stay facing away from the fight. Repeat as needed. For the second wave, it would be prudent to take out the menders first. Damage an enemy, then use [[Deadly Shadow Cloak]] and take the mender pair out while they are distracted. | ||
| + | }} | ||
| + | |||
| + | {{StrategyList | ||
| + | |location = Grinchlin Assault! | ||
| + | |level = Ascent | ||
| + | |number = 2 | ||
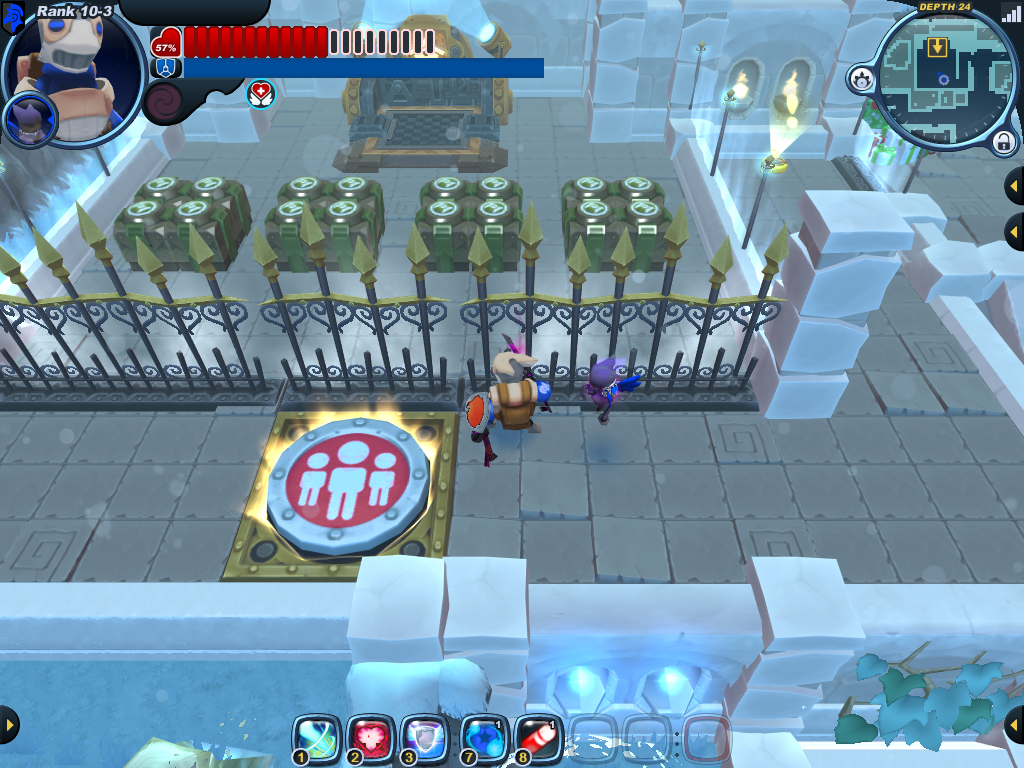
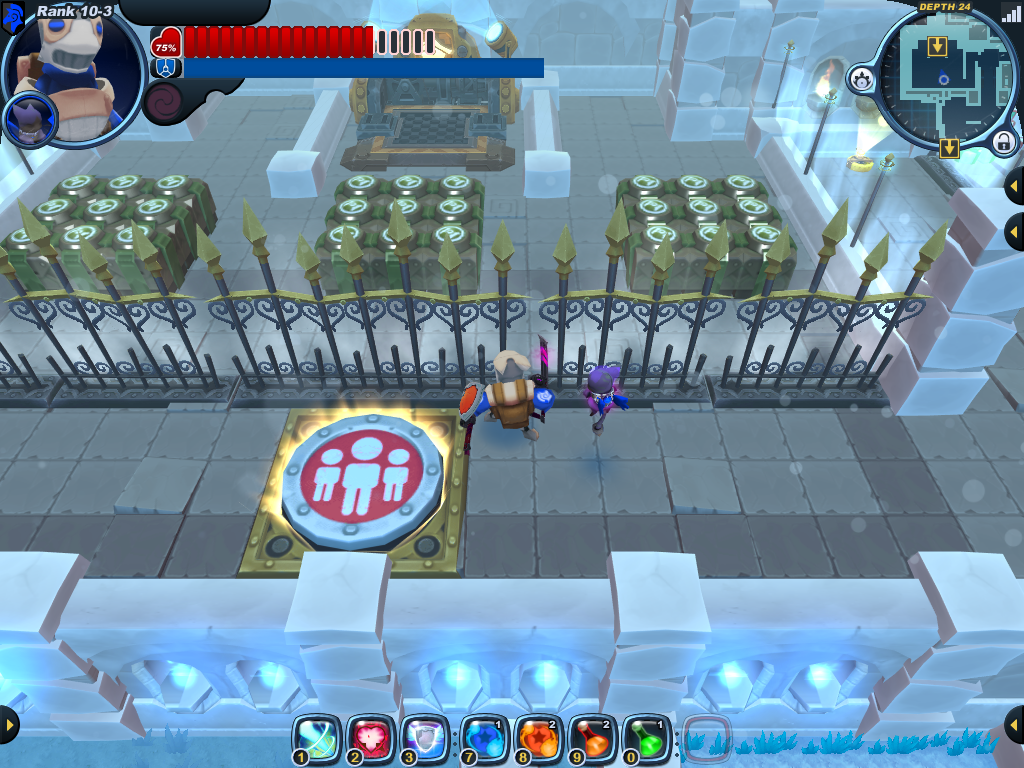
| + | |notes = There are 16 boxes in the first cache. Choose it or continue climbing. | ||
| + | }} | ||
| + | |||
| + | {{StrategyList | ||
| + | |location = Grinchlin Assault! | ||
| + | |level = Ascent | ||
| + | |number = 3 | ||
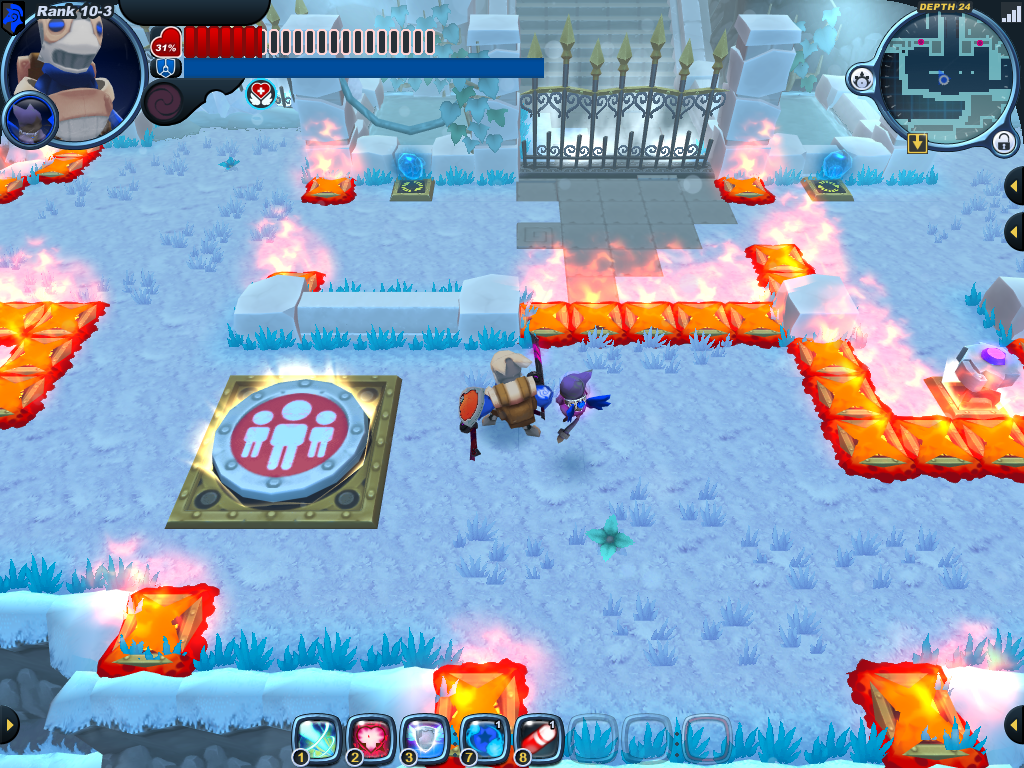
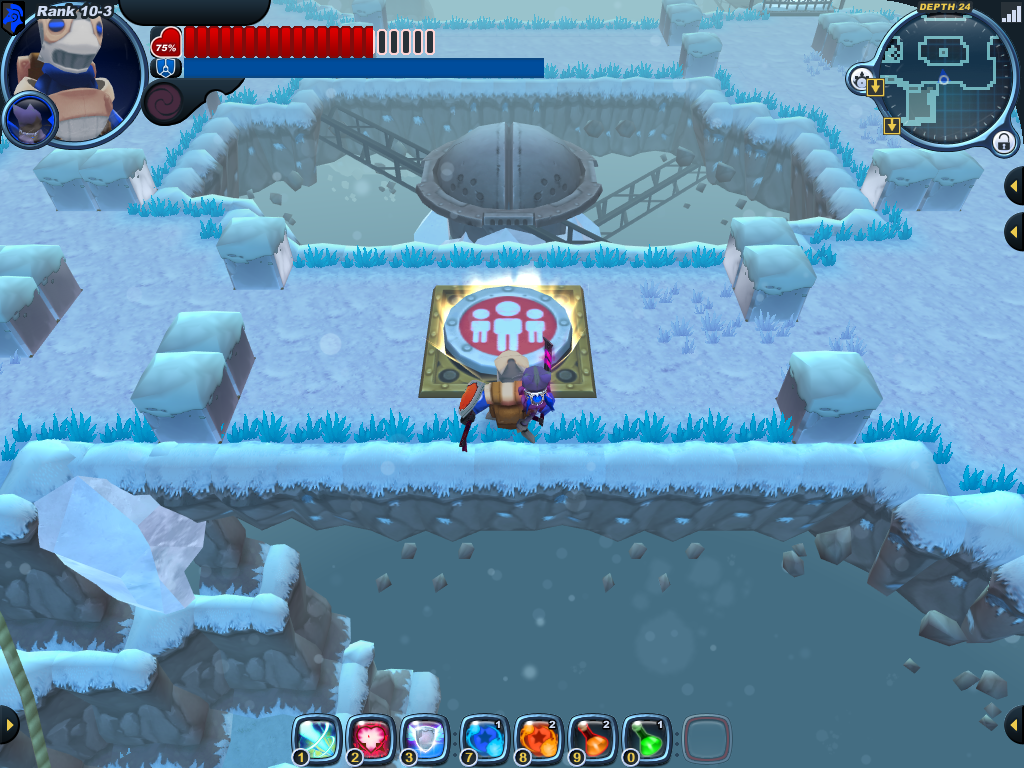
| + | |notes = Pending | ||
| + | }} | ||
| + | |||
| + | {{StrategyList | ||
| + | |location = Grinchlin Assault! | ||
| + | |level = Ascent | ||
| + | |number = 4 | ||
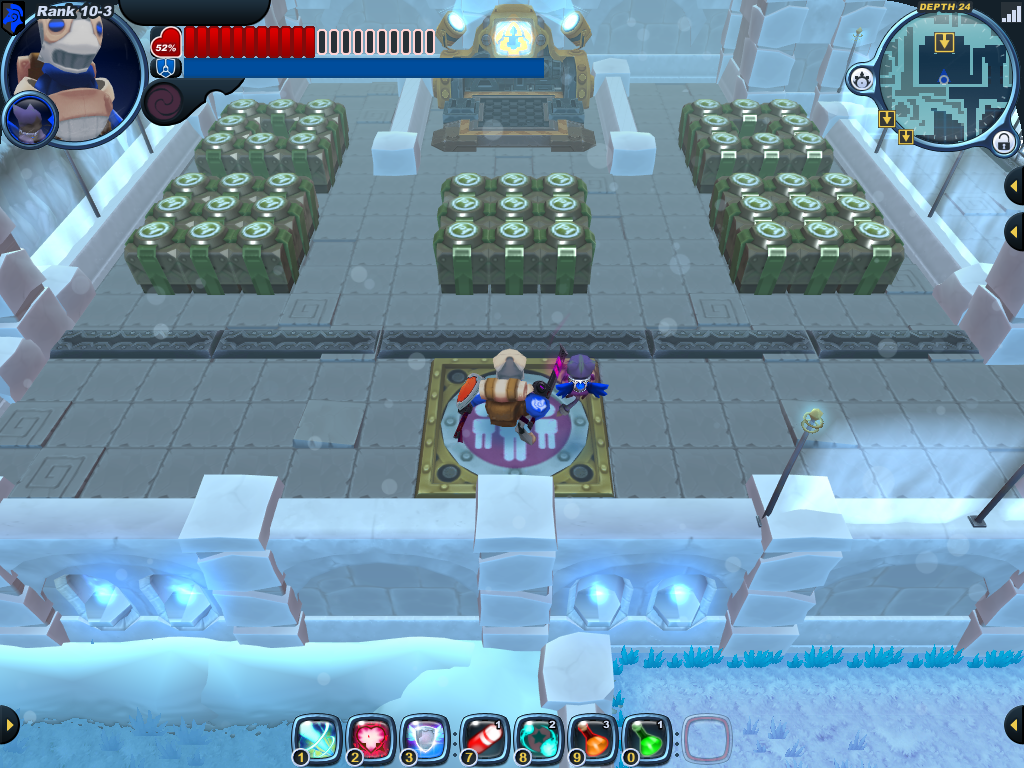
| + | |notes = There are 27 boxes in the second cache. Choose it or continue climbing. | ||
| + | }} | ||
| + | |||
| + | {{StrategyList | ||
| + | |location = Grinchlin Assault! | ||
| + | |level = Ascent | ||
| + | |number = 5 | ||
| + | |notes = Pending | ||
| + | }} | ||
| + | |||
| + | {{StrategyList | ||
| + | |location = Grinchlin Assault! | ||
| + | |level = Ascent | ||
| + | |number = 6 | ||
| + | |notes = There are 43 boxes in the last cache. Continue with on to the next level, or restart as desired. | ||
}} | }} | ||
Revision as of 01:44, 25 December 2015
| |||||||||||||||||||||||||||||||||||||||||||||||||||||||||||||||||||||||||||||||||||||||||||||||||||||||||||||||||||||||||||||||||||||||||||||||||||||||||||||||||||||||||||||||||||||||||||||||||||||||||||||||||||||||||||||||||||||||||||||||||||||||||||||||||||||||||||||||||||||||||||||||||||||||||||||||||||||||||||||||||||

