User:Novaster/Sandbox
From SpiralKnights
Contents
Wiki Stuff
Priority:
- Finish the acquisition template (User:HexZyle/Template:RecipeLocation and rename to AcquisitionInfo), and implement it.
- Adjust logic for costume taxonomy to be in line with recent merger format (discussed here)
- Fix steam acquisition wording around the wiki where relevant (dragon stuff currently has ideal phrasing, linking to Unpacking would be smart)
- Finish linking sources
- Fix up and implement a decent Template:About.
To do:
- Fix Prismatic Aspect information on individual item pages, using {{Prismatic Aspect}}
- Spruce up area template infobox - (rename to AreaInfo like other infobox style templates, merge cells, retain format otherwise)
- add soundtrack info to various exploration/geography pages.
- Fix trinket infobox and recipe (the heat statement doesn't make sense for trinkets)
- Add history to spiral starter items, when more colors were made available etc.
- Finish organizing color theme categories/category tags on pages.
- Make gallery mimic templates have more similar inputs, documentation for them.
- Gallery for prize box pages, featuring the special stuff in bulk instead of individually/wayward (not important)
- Make Confetti page betterer. This includes table format and animations.
- Bother Icytea about icons for Gun Pup Helm, Node Slime, and a few others.
- Fix Sets (consistent file naming for sets) and get pics of kat stuff.
- Fix various set inputs on several costume pages (regarding hyphens especially) so images show up once established+moved/reuploaded (in lists)
- Figure out what a "set" is (vs. collection, family, group)
- Move set info into infobox for combat gear pages.
- Infobox project: Overhaul mission pages, create nonexistent mission pages, include stuff from exploration and map projects
- Maps
- -Fix map names for SW and GA (my bad)
- -Work with HexZyle on this to make epic
- Fix this nonsense: Template:Tip-Mouseover-Description
- Furniture
- standardize list format
- reorganize - don't do pages by group, that's not flexible enough
- Guild Hall
- standardize list format
- NPC page standardization
- Make a page for misc NPCs and merge wayward pages
- Add NPC dialogue information to mission pages where relevant
- Overhaul gear infoboxes and categories specifically regarding monster bonuses
- Add sortable acc slot columns to reduce confusion regarding built-in accessories or other items. Sometimes they take up the slot, sometimes they don't! "Why" doesn't matter, only whether or not they do.
- Fix template naming convention for costume recolors to match accessory - not a priority cause redirect is working, but the internal editor tips should be accurate.
- Make token page into list format
- replace the template in what links here with appropriate one
- Make a page: "Crash Pod" (or as Rhendon calls them, escape pods) disambiguation. Include furniture pod, danger lobby pods, bechamel's pod, all da pods.
- Make a page: "Alchemy Path"
- Turn Visual Encyclopedia/creature into a "list gallery," showing all the information it currently has in a user-oriented sortable format. Include name, image, class, tier, status, and possibly a narrow notes/keyword column.
- Shroud of the Apocrea: improve Lost Soul pictures, when the event comes again
- Lots of other things I didn't keep track of in here until I started keeping track of things in here.
- Never Done, our duty is unending.
- Battle Sprite "gallery" code mimic. Ask Clotho to move sprite images to better names once established.
- Done: 27 February 2015
- Fix informative text area of Accessory page
- Done: 01 March 2015
- Fix switch for category regarding "obsolete" in-game official stuff vs. "retired" guilds.
Or just make retired guilds obsolete? idk. Must decide later.Decided to go with switch.
- Done: 03 March 2015
- Alchemy Paths update (Thanks Skepticraven for making template)
- Done: 11 March 2015
- Make a single plug-n-chug template for linking SE and another for linking Color themes (instead of one template per SE and one template per Theme)...
Maybe even a single category linking template for all these aesthetic things. switchy switchy- nah.
- Done: 12 March 2015
- Add date of release information to accessory lists. This should aid in clarity - what should users expect? New players should get an idea right away about how/when things are put into the game...
- Done: 20 March 2015
- Notes column of Costume page (make it like accessory page)
- Done: 23 March 2015 (finally)
- Tweak weaponinfo infobox template to link to status through ability images as well as register for "weapons that can inflict BLAH status" categories? Could easily be done with one input and a few switches.
- Done: 24 March 2015 (not fully implemented on individual pages)
- add infobox screenshots to the little tooltip icon popup "whoops" thing
- Done: 27 March 2015
- Fix special categories that sort numerically but do not claim to sort numerically (armor/helmet/shield defenses and status resistances)
- Done: I totally forget but sometime April 2015
- Fix news page and template inputs to not be stupid
- Done: 14 May 2015
- Find the missing Tier 1 minis and upload pics, fix tags
- Done: 15 May 2015
- Fix up lockbox page
- Done: 02 June 2015 (of course, the possible prizes need work still)
- Fix Haven and associated pages that have NPC/denizen lists
- Done: 02 June 2015
- Finish GearList project
- Done: 25 June 2015
- Improve Mission Page format
- Done: 26 July 2015 (implementation still needs doing - polish on template:floor is "complete")
- Overhaul Exploration
- Done: 10 August 2015 (a few pictures missing, but format has been implemented)
- Finish "lost soul disambiguation" project. Update dialogues, Use the NPC list template instead of bullets.
- Done: 03 September 2015 (a few images could be better, though. Can't get until next event)
- Tweak acc lists on individual acc pages so that recolors are always on bottom.
- Reason: not worth editor time, people can just learn that the lists are hiccupped with recolors when it comes to DoR, or future editors can "fix" this OCD issue.
- Add animation (ifexist) to image tags for convenience? Only after we get most/all of these uploaded.
- Reason: bleh!
- Add entire gate map visuals to galleries of mission pages? Would require some splicing. Idk, that might be too much science.
- Reason: just link to the geographical area, only include super special areas encountered exclusively in the mission.
- Start up "monster-themed" categories for people who like to cosplay/collect.
- Going to just mention related costumes on monster pages, and monsters on costume pages+main list. Future editors can make this category if they wish.
Maps
- Template:MapList/doc - Documentation for the template of the lists below:
Basic Clockworks
| Map | Visual | Mission or Area | Level or Segment | Notes |

|
|
Compound | L | Notes:
ACTUALLY THIS IS AN I. I'm too tired to fix it right now, and I've made about 15 mistakes in the past hour, so it's time to give this a rest. This module features four spike traps. It potentially has a small med cache to the right. |

|
|
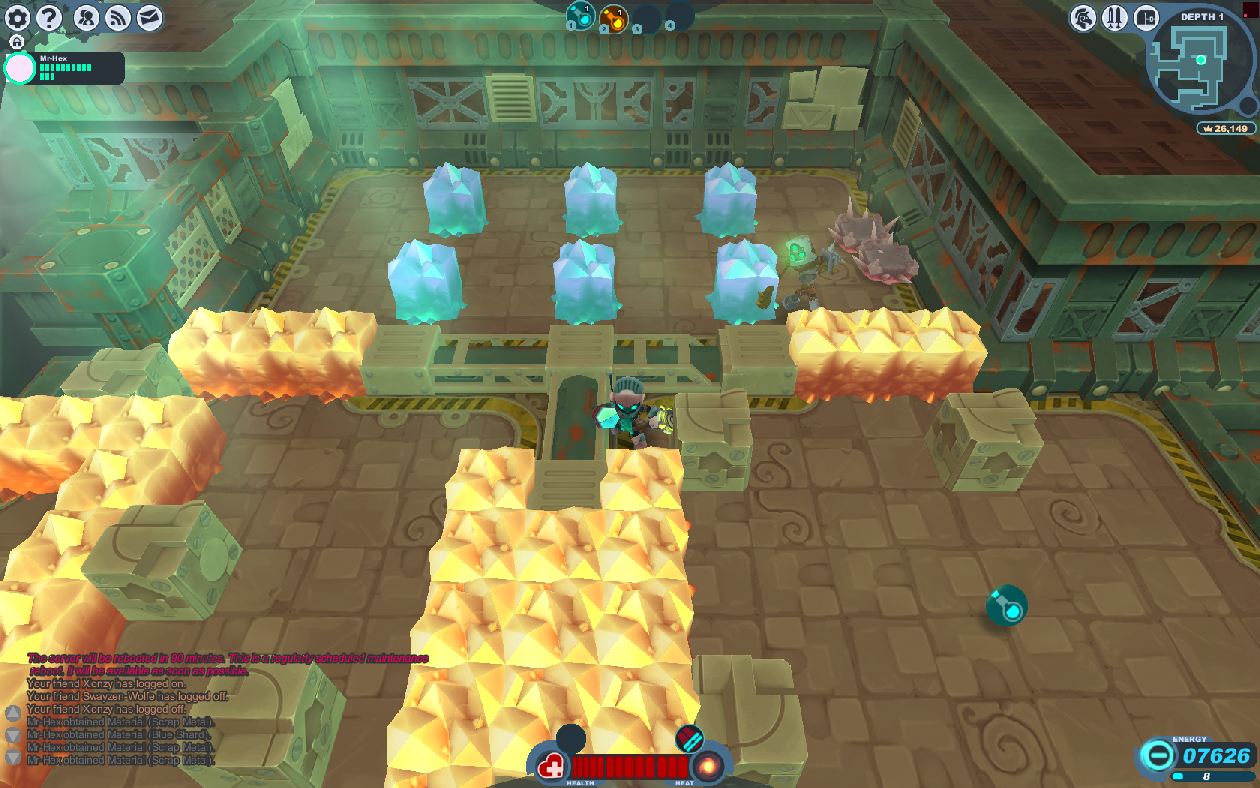
Clockwork Tunnels | L | Notes:
There is a button hidden in the area, likely under one of the six individual crystal blocks. |

|
|
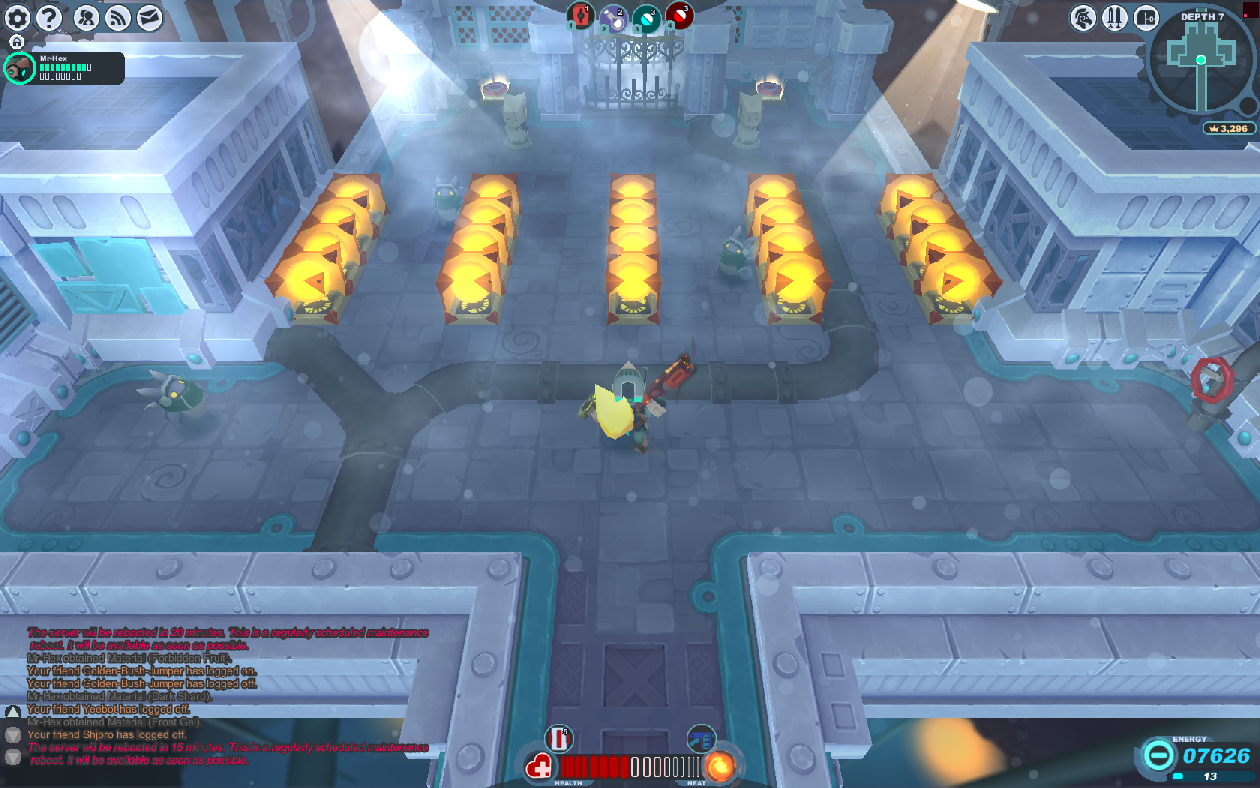
Clockwork Tunnels | I | Notes:
This visual was found in depth BLAH of Clockwork Tunnels: BLAH. Puzzle potential here, with rocket puppies - use their rockets to hit switches if this version is encountered. |

|
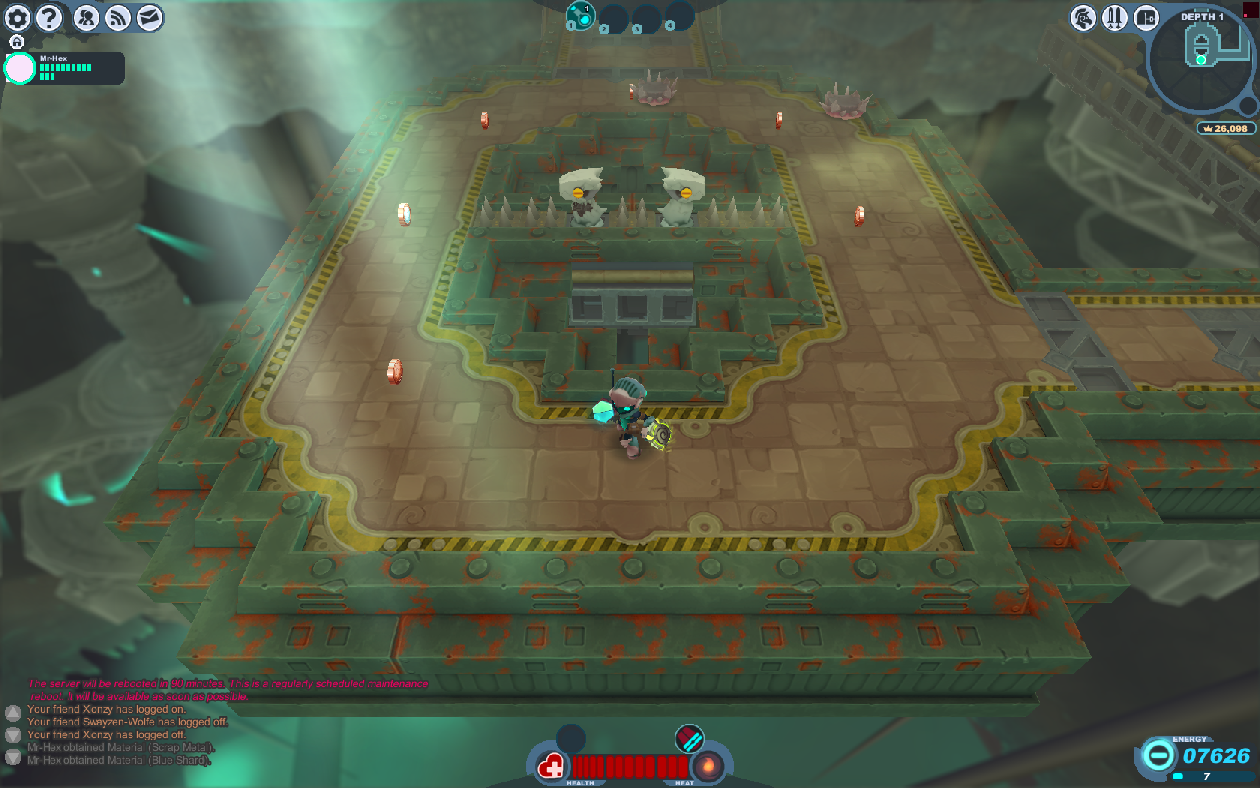
|
Clockwork Tunnels | L | Notes:
Spikes retract after all turrets are defeated. |

|
|
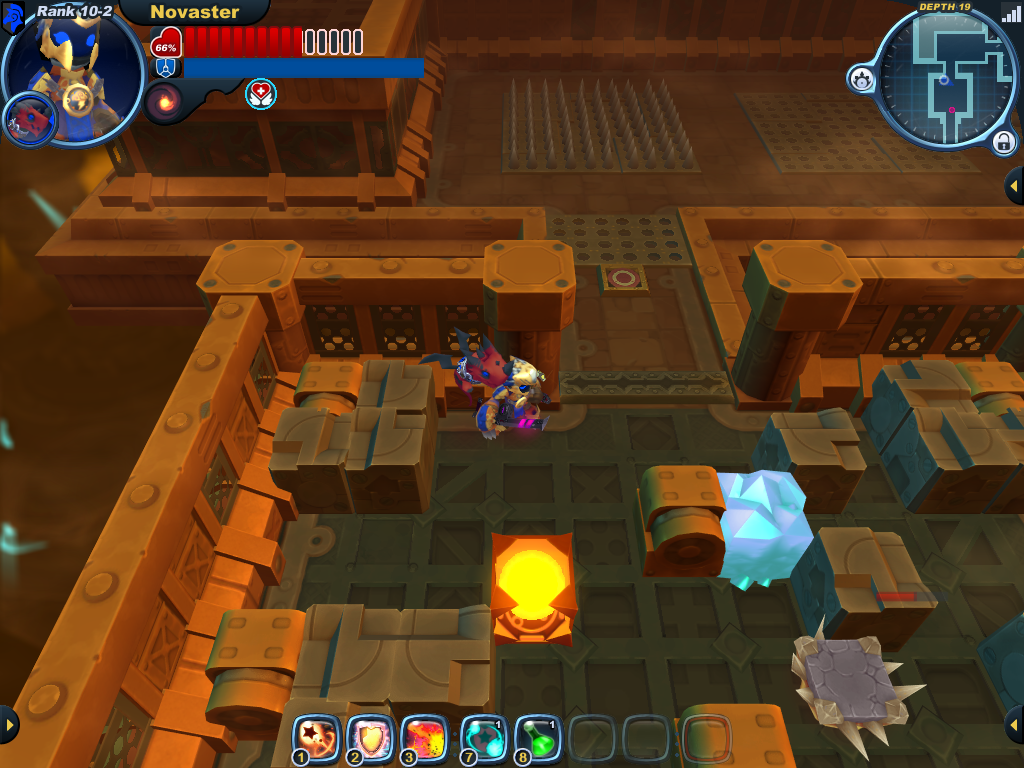
Clockwork Tunnels | L | Notes:
This example was found in: Clockwork Tunnels: Wild Path (Depth 19). Several shankles patrol the first and last sections of this area. The middle section always has spike traps, though these are not always operational. Sometimes the areas are cluttered with destructible blocks.
|

|
|
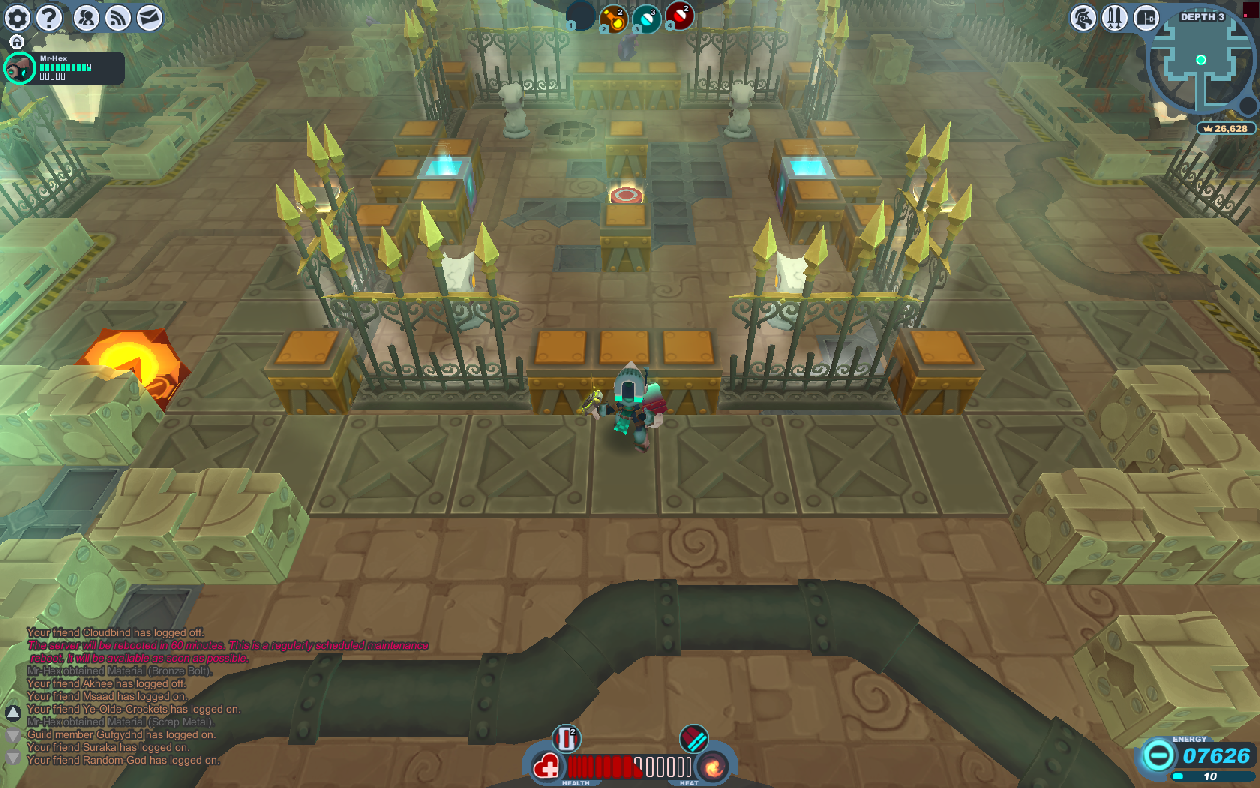
Clockwork Tunnels | + | Notes:
There are two statues somewhere in the area. They should be placed on top of pressure plates. This provides access to the center, where there is a button that opens the rest of the gates. |

|
|
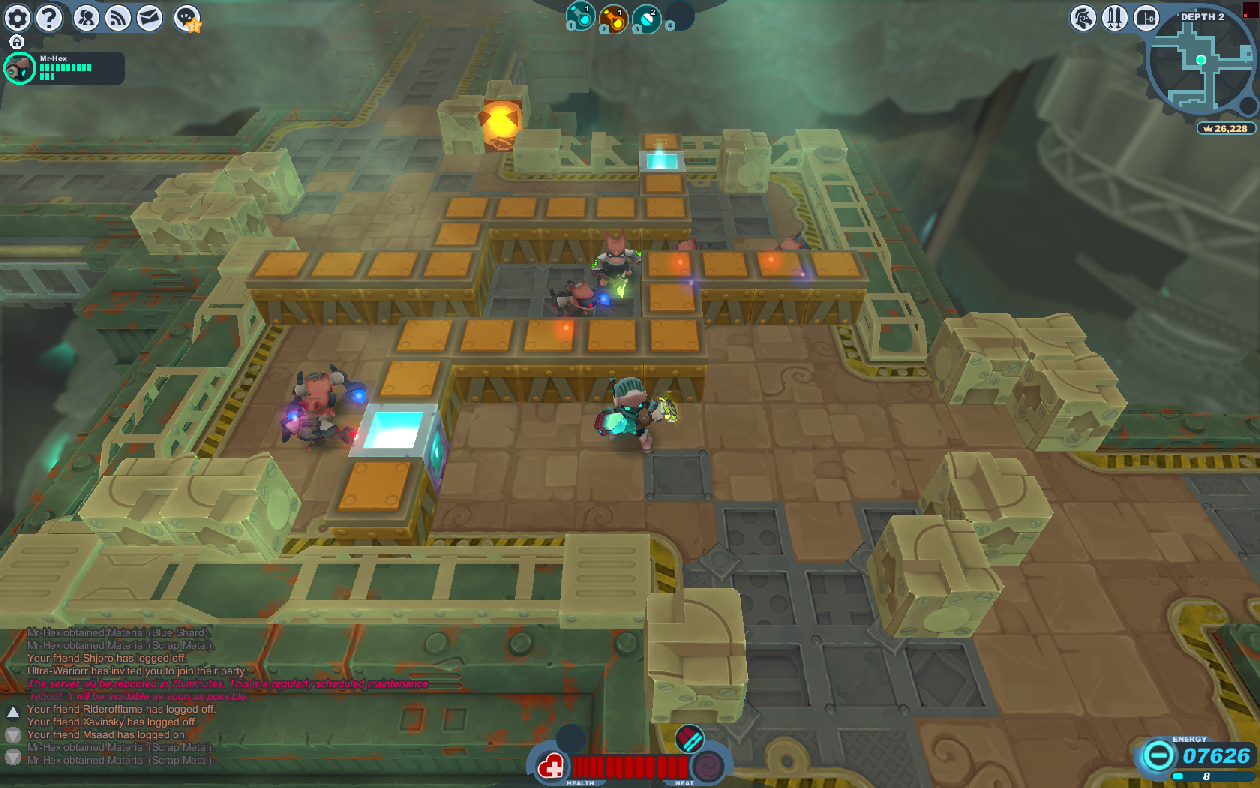
Clockwork Tunnels | + | Notes:
This visual was found in depth BLAH of Clockwork Tunnels: BLAH. |

|
|
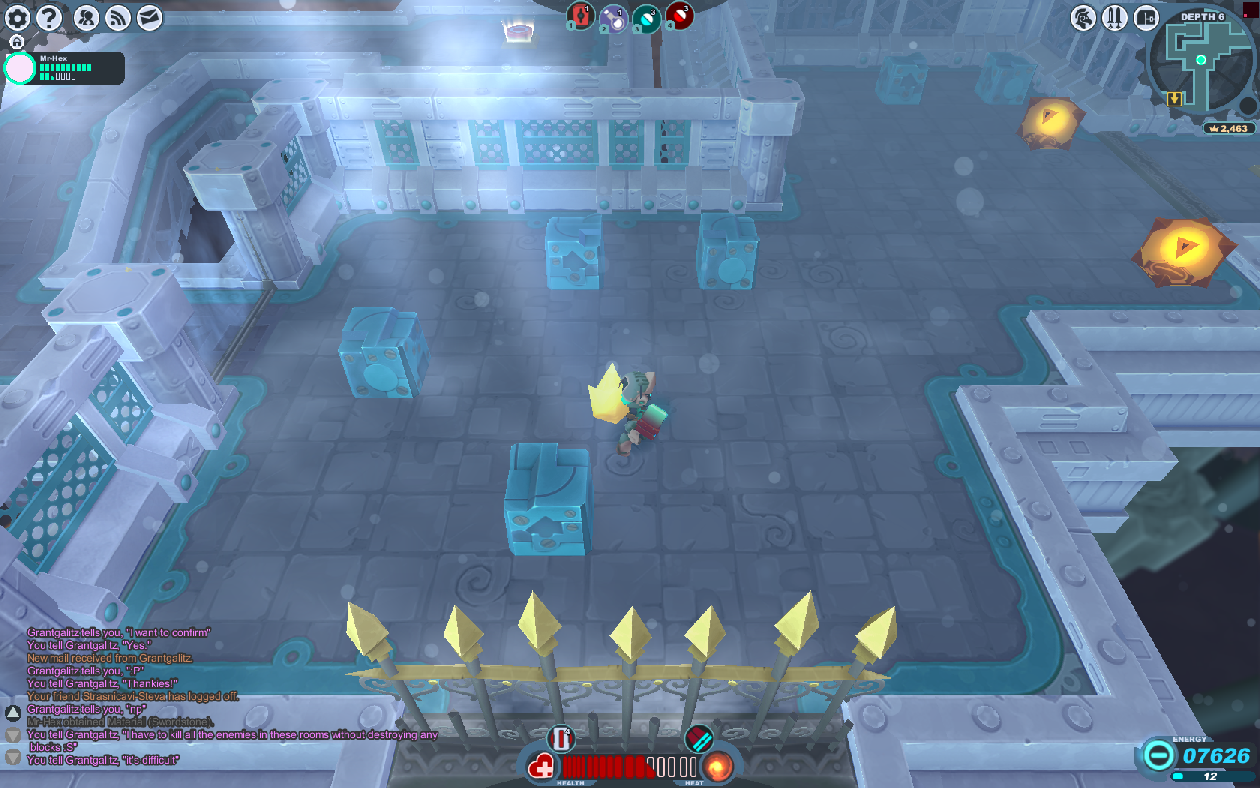
Clockwork Tunnels | L | Notes:
Monsters spawn when entering the area. Pressing the button spawns more monsters and opens the gate. |

|
|
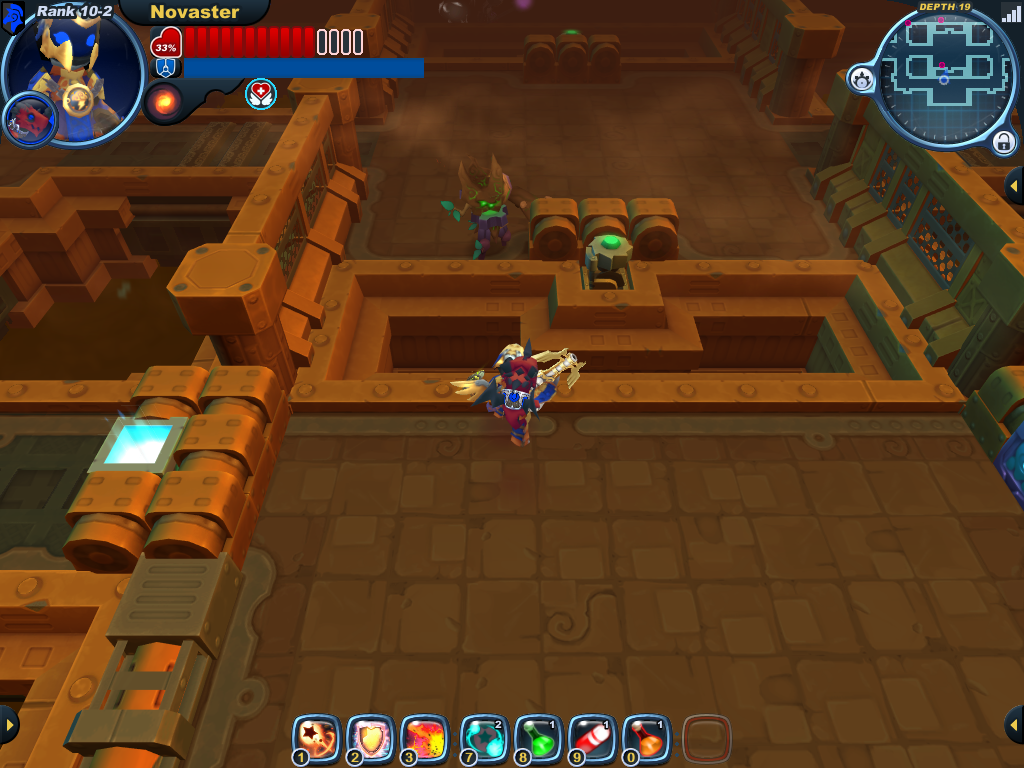
Clockwork Tunnels | I | Notes:
This example was found in: Clockwork Tunnels: Wild Path (Depth 19). Turrets spawn when entering the area. Go around the perimeter to access switches. Defeat monsters in center to continue.
|

|
|
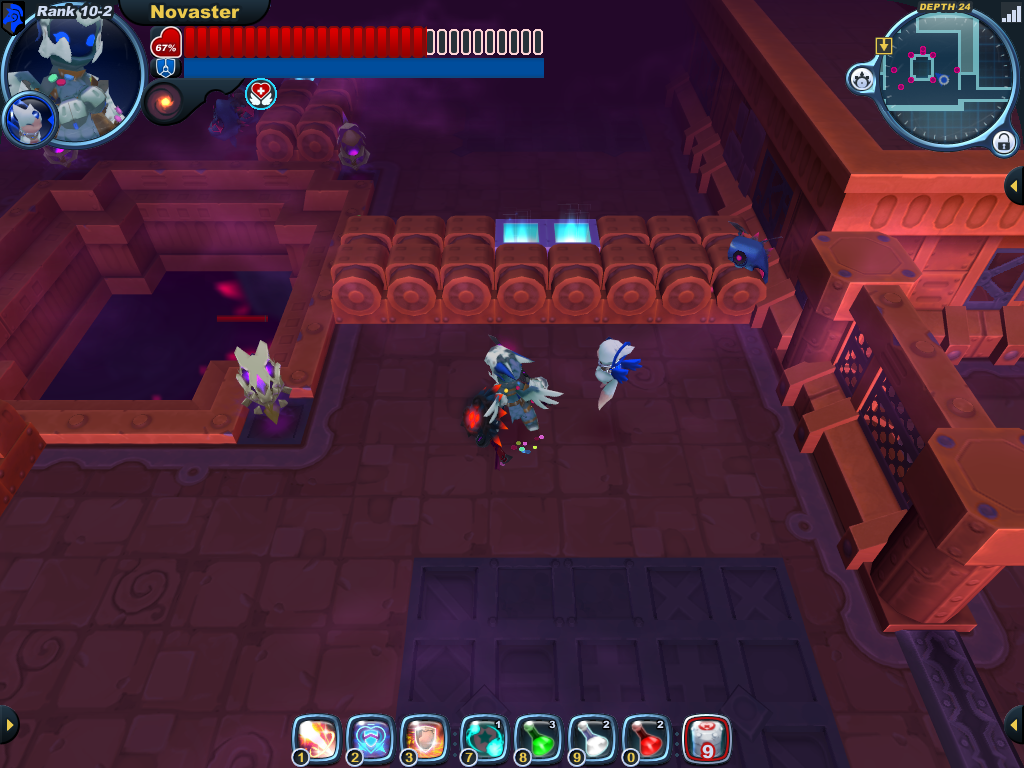
Clockwork Tunnels | T | Notes:
This example was found in: Clockwork Tunnels: Infernal Passage (Depth 24). A turret spawns on each of the corners of a hole in the center. Monsters spawn in divided sections. Loot such as Treasure Boxes can appear in these sections. Monsters can be trapped in the respawning block areas. |

|
|
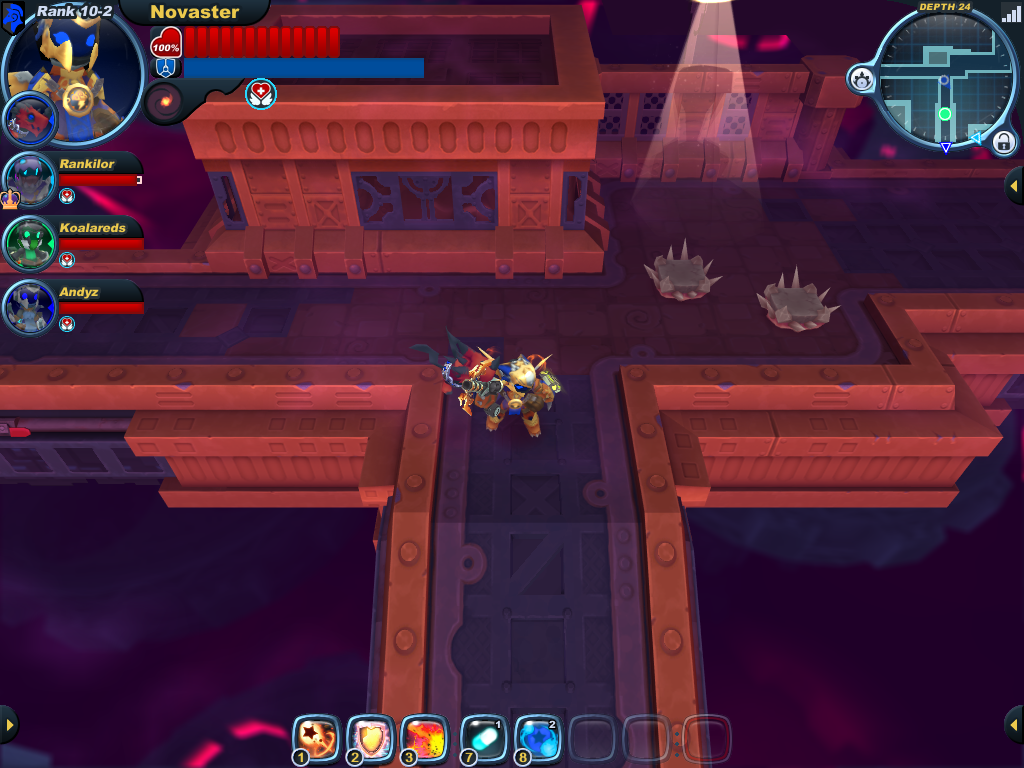
Clockwork Tunnels | T | Notes:
This example was found in: Clockwork Tunnels: Infernal Passage (Depth 24). Two shankles patrol a T intersection. |
Core
| Map | Visual | Mission or Area | Level or Segment | Notes |

|
|
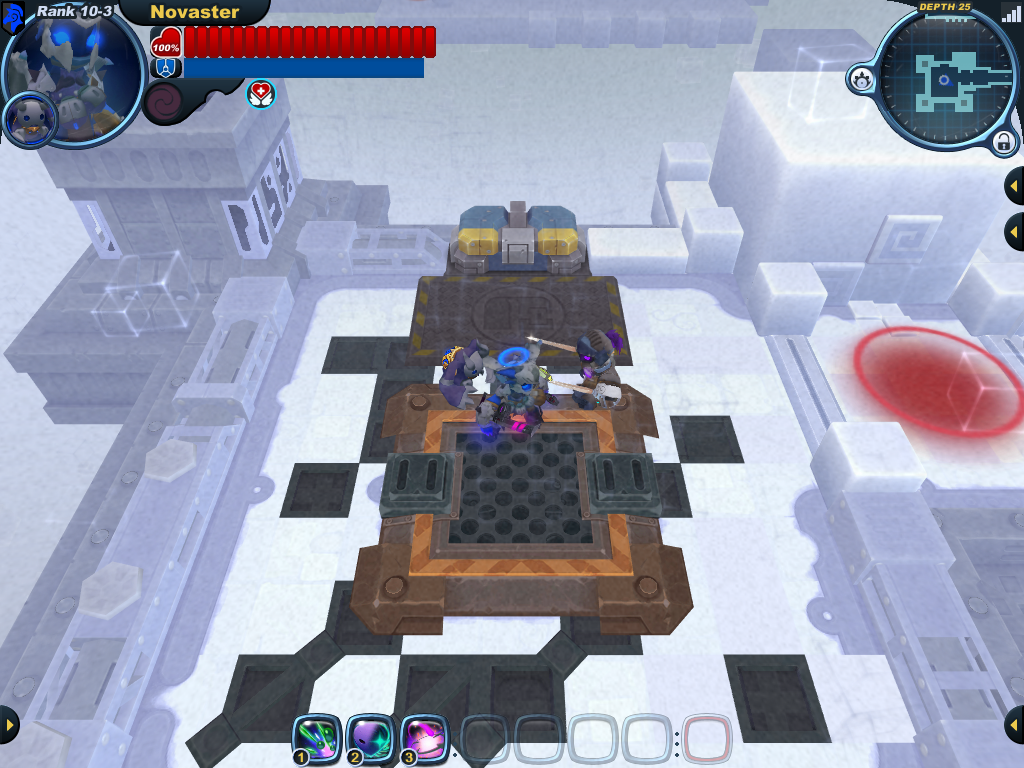
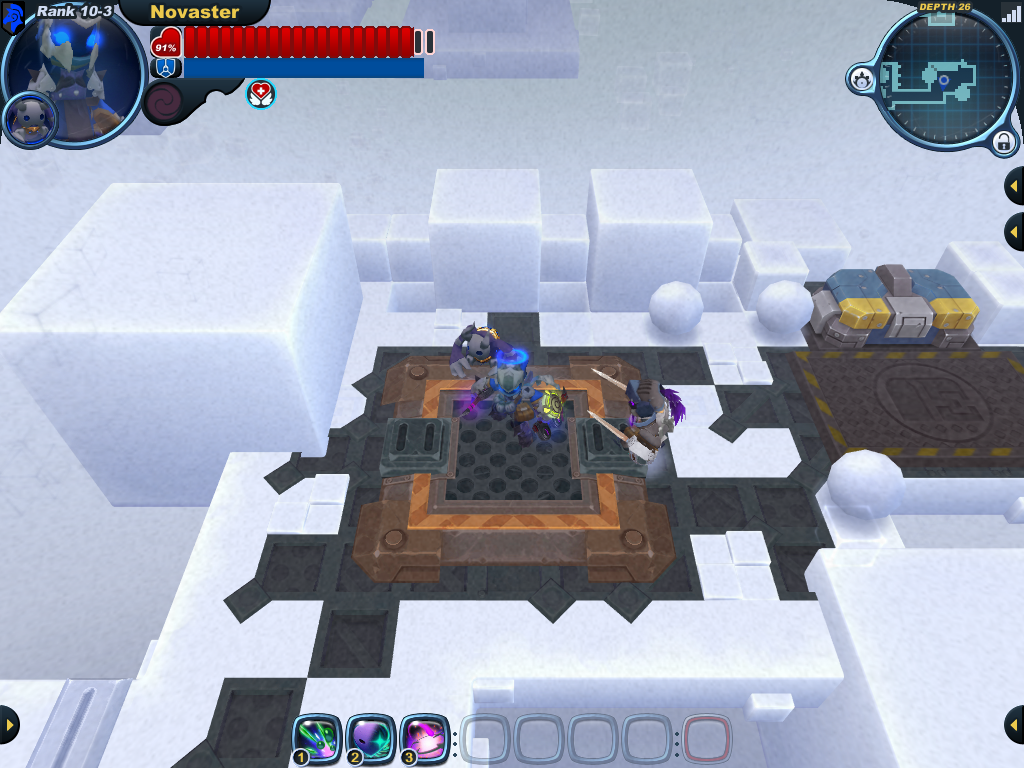
Core | Start | Notes:
This example was found in: Dreams and Nightmares: A Step Beyond Players start in a large area safer than the rest of the level with an Arsenal Station available. |

|
|
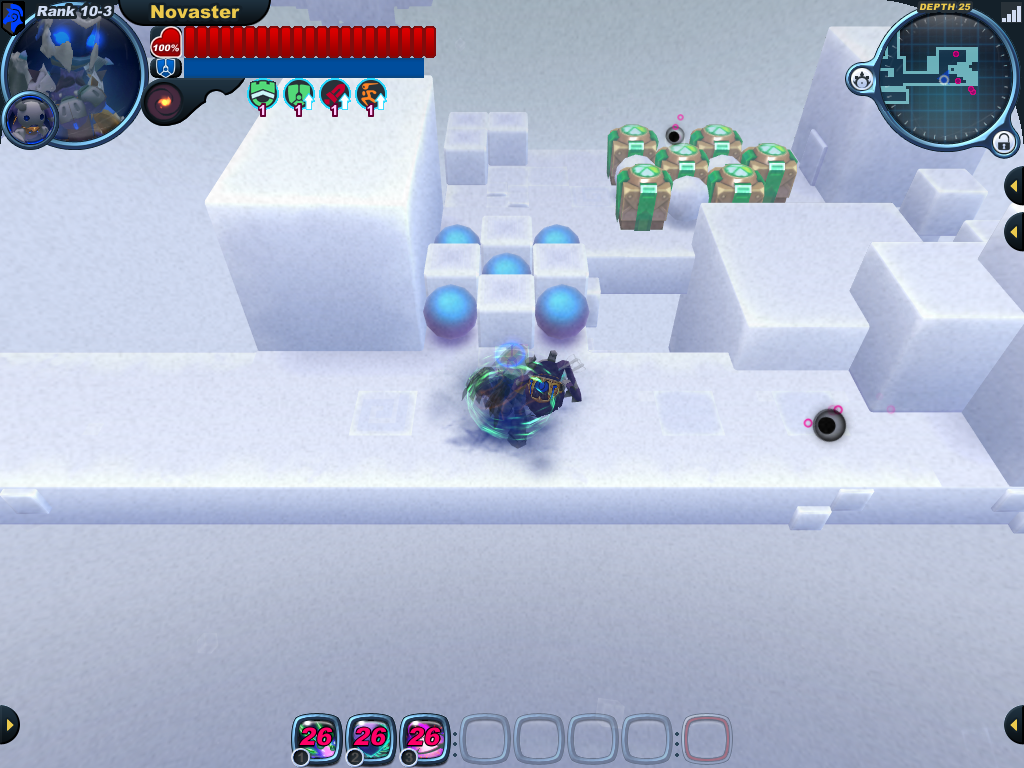
Core | Start | Notes:
This example was found in: Dreams and Nightmares: A Step Beyond Players start in a small area safer than the rest of the level with an Arsenal Station available. |

|
|
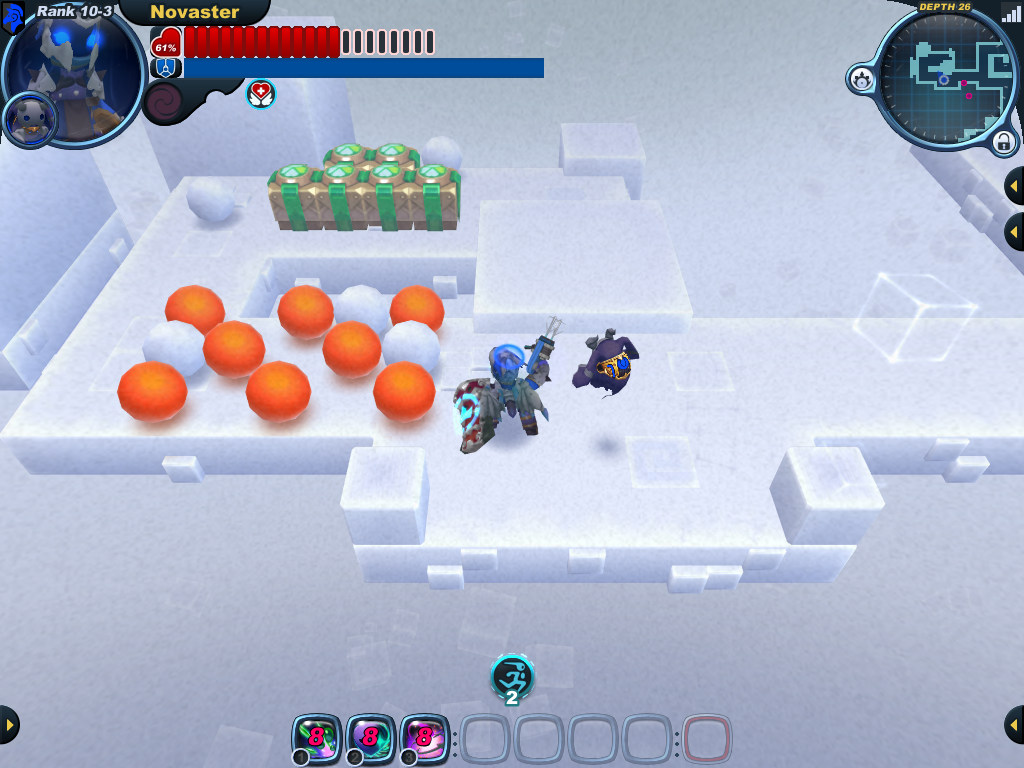
Core | D | Notes:
This example was found in: Dreams and Nightmares: A Step Beyond A small dead-end ledge with loot. |

|
|
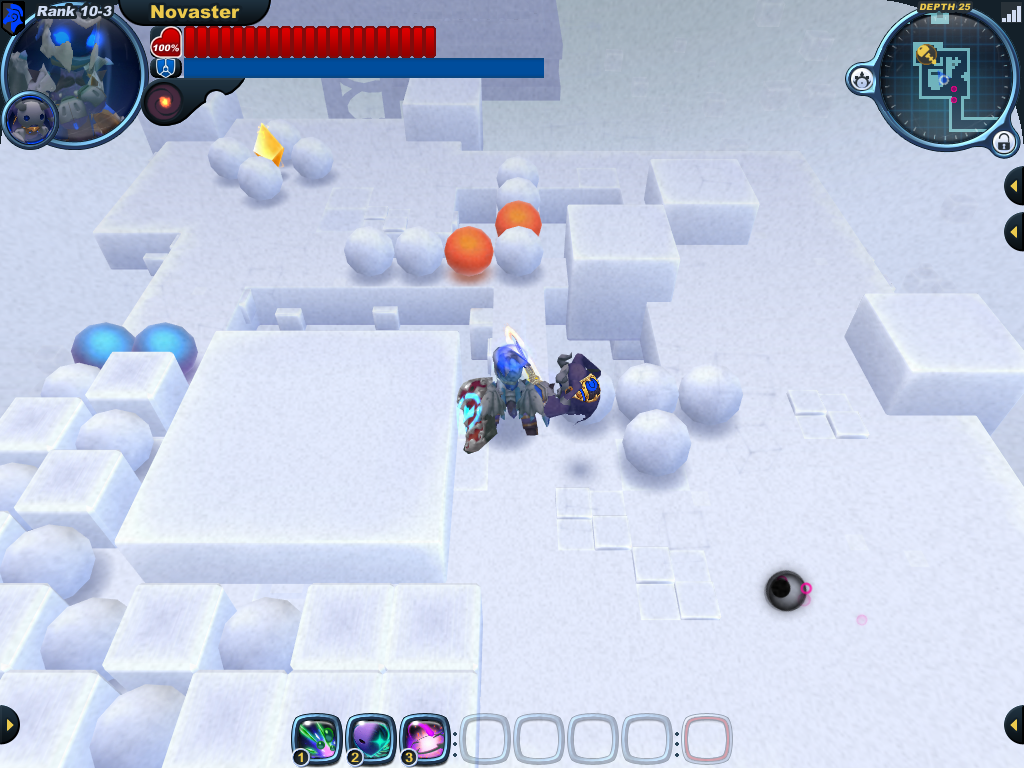
Core | D | Notes:
This example was found in: Dreams and Nightmares: A Step Beyond A small dead-end ledge with loot. |

|
|
Core | D | Notes:
This example was found in: Dreams and Nightmares: A Step Beyond A large dead-end ledge with a key. |

|

|
Core | D | Notes:
This example was found in: Dreams and Nightmares: A Step Beyond A small dead-end ledge with a key. |

|
|
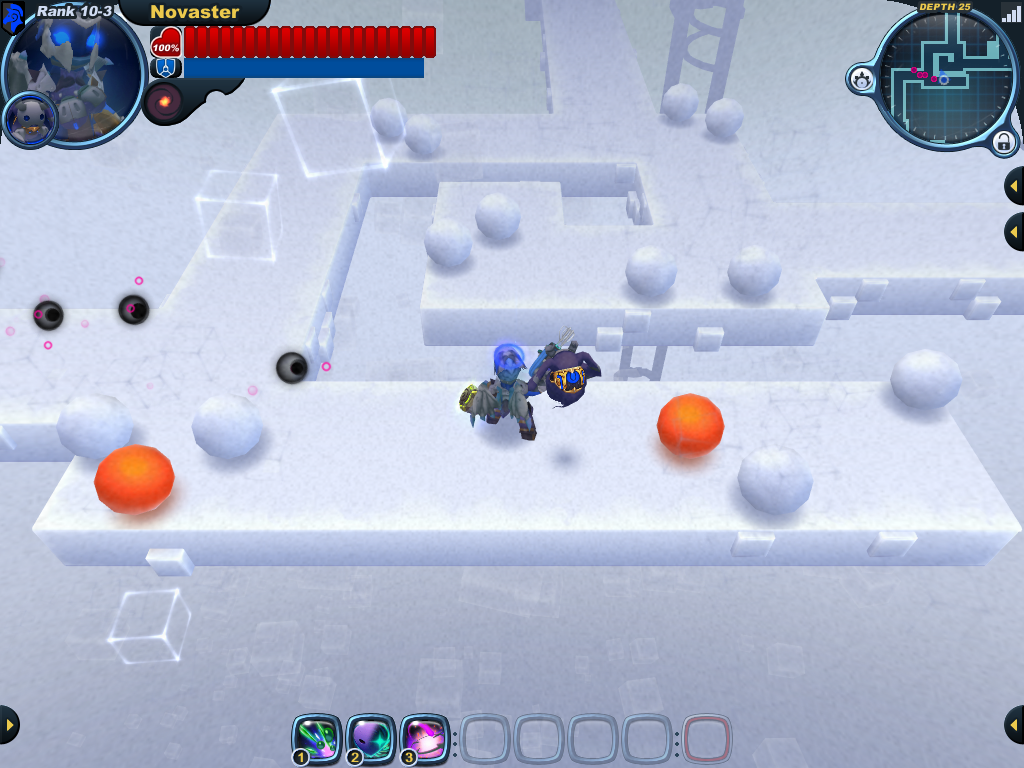
Core | T | Notes:
This example was found in: Dreams and Nightmares: A Step Beyond Three paths meet and separate in a puzzling spiral. |

|
|
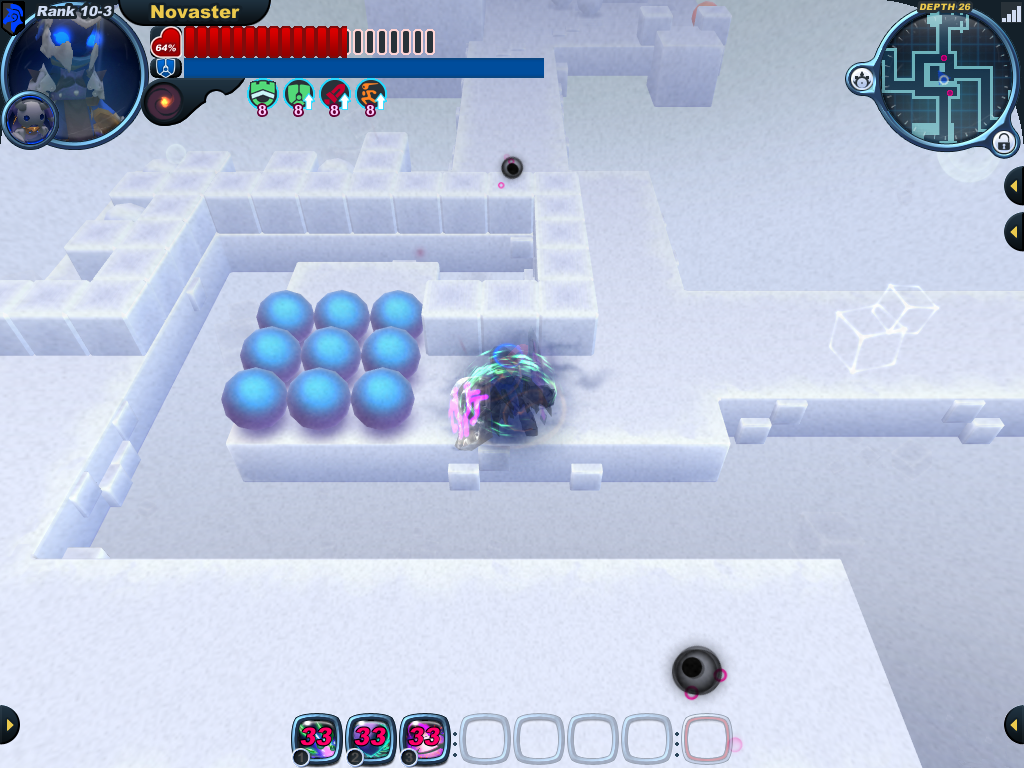
Core | + | Notes:
This example was found in: Dreams and Nightmares: A Step Beyond Four paths meet and separate in a puzzling spiral. |

|
|
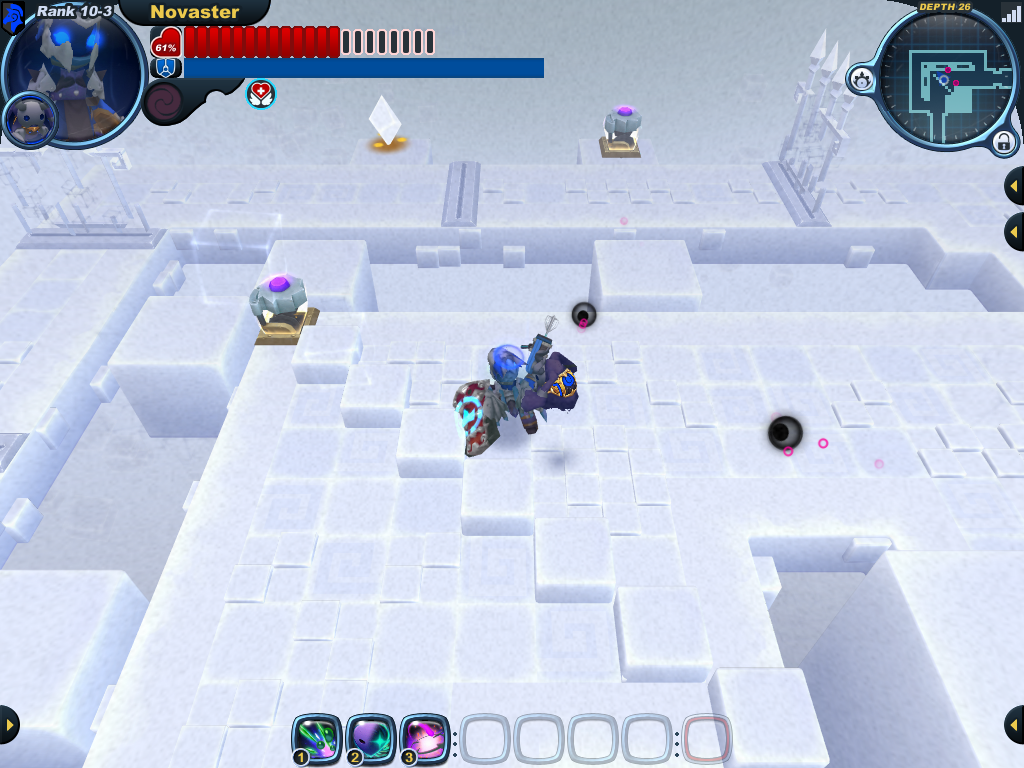
Core | L | Notes:
This example was found in: Dreams and Nightmares: A Step Beyond The path takes a turn through angled terrain. |

|
|
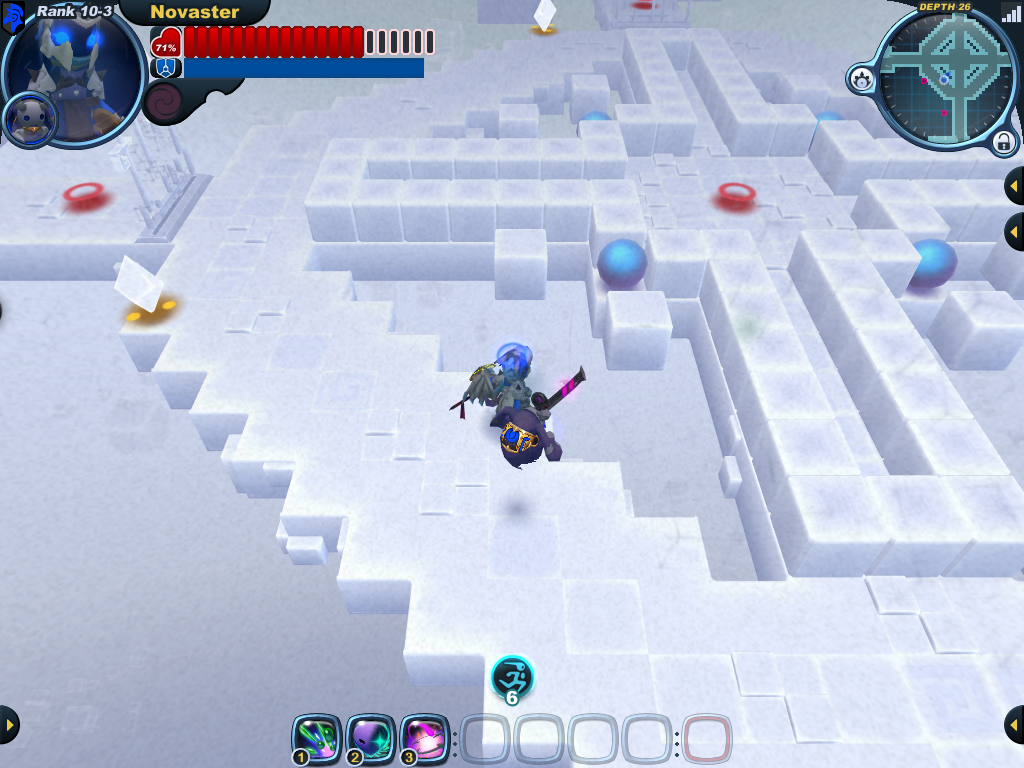
Core | + | Notes:
This example was found in: Dreams and Nightmares: A Step Beyond Four paths meet and split in a diamond formation. |

|
No official description for this area. | Core | + | Notes:
This example was found in: Dreams and Nightmares: A Step Beyond Four paths meet in a large flat area and lead elsewhere. |

|

|
Core | L | Notes:
This example was found in: Dreams and Nightmares: A Step Beyond pending |

|
No official description for this area. | Core | L | Notes:
This example was found in: Dreams and Nightmares: A Step Beyond pending |

|
No official description for this area. | Core | L | Notes:
This example was found in: Dreams and Nightmares: A Step Beyond pending |

|
|
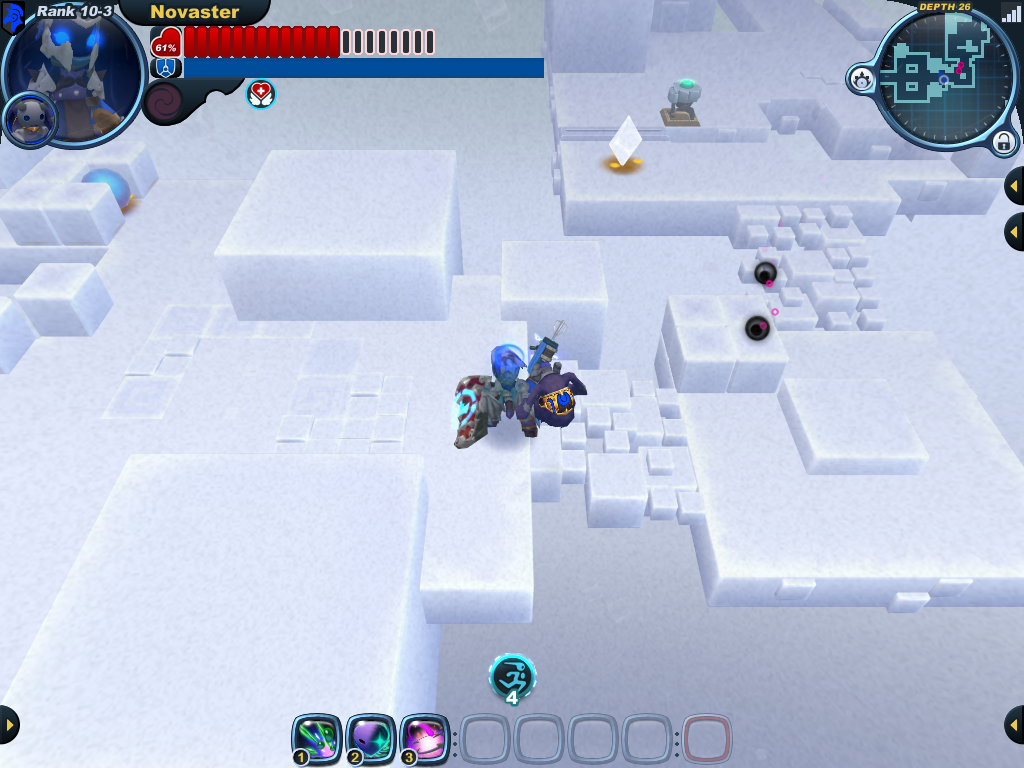
Core | L | Notes:
This example was found in: Dreams and Nightmares: A Step Beyond The path takes a turn through some stairs and platforms. |

|
No official description for this area. | Core | L | Notes:
This example was found in: Dreams and Nightmares: A Step Beyond pending |

|
No official description for this area. | Core | L | Notes:
This example was found in: Dreams and Nightmares: A Step Beyond pending |

|
|
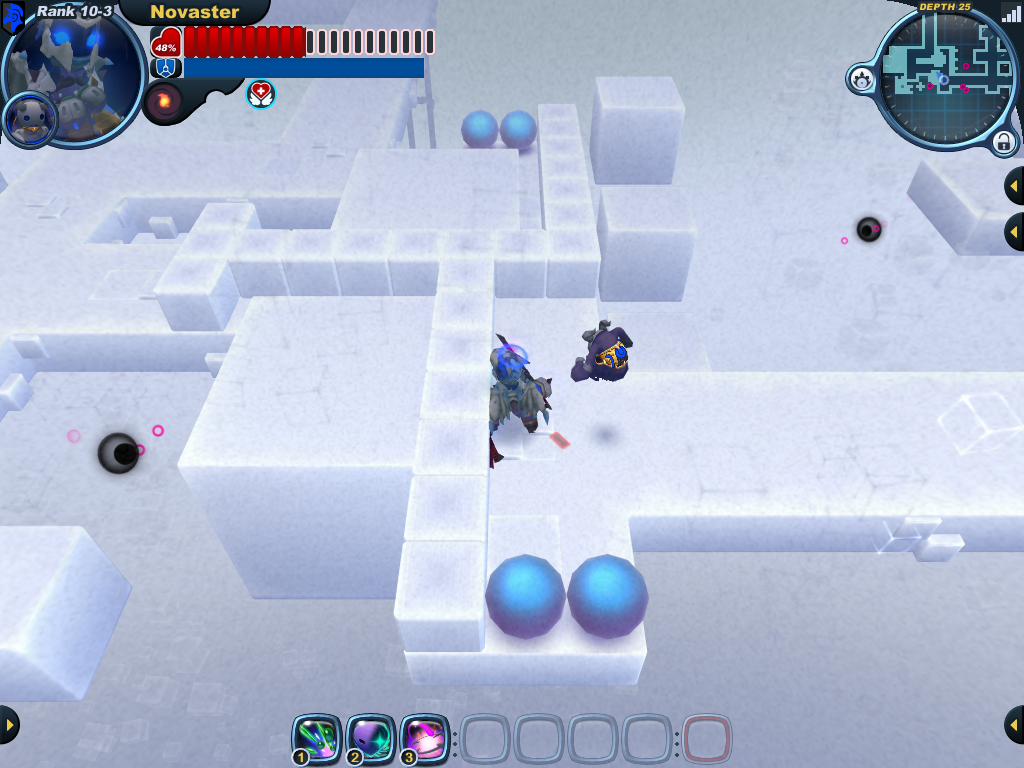
Core | L | Notes:
This example was found in: Dreams and Nightmares: A Step Beyond pending |

|
|
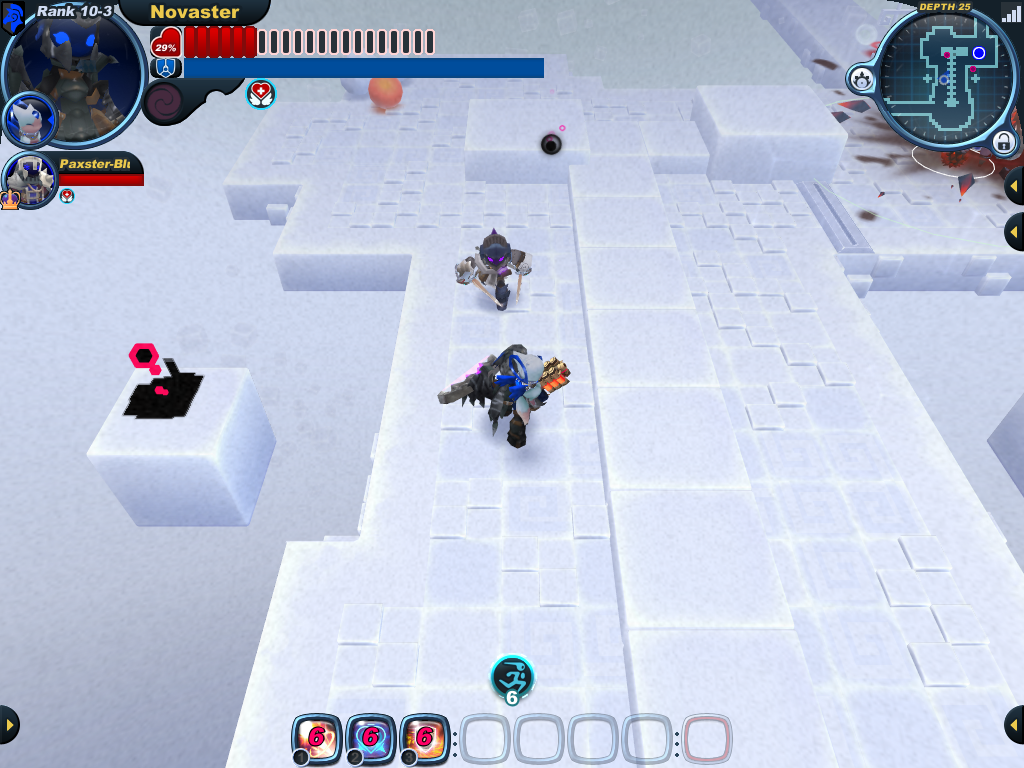
Core | L | Notes:
This example was found in: Dreams and Nightmares: A Step Beyond Two monster fights triggered by party buttons at either end. |
| |
|
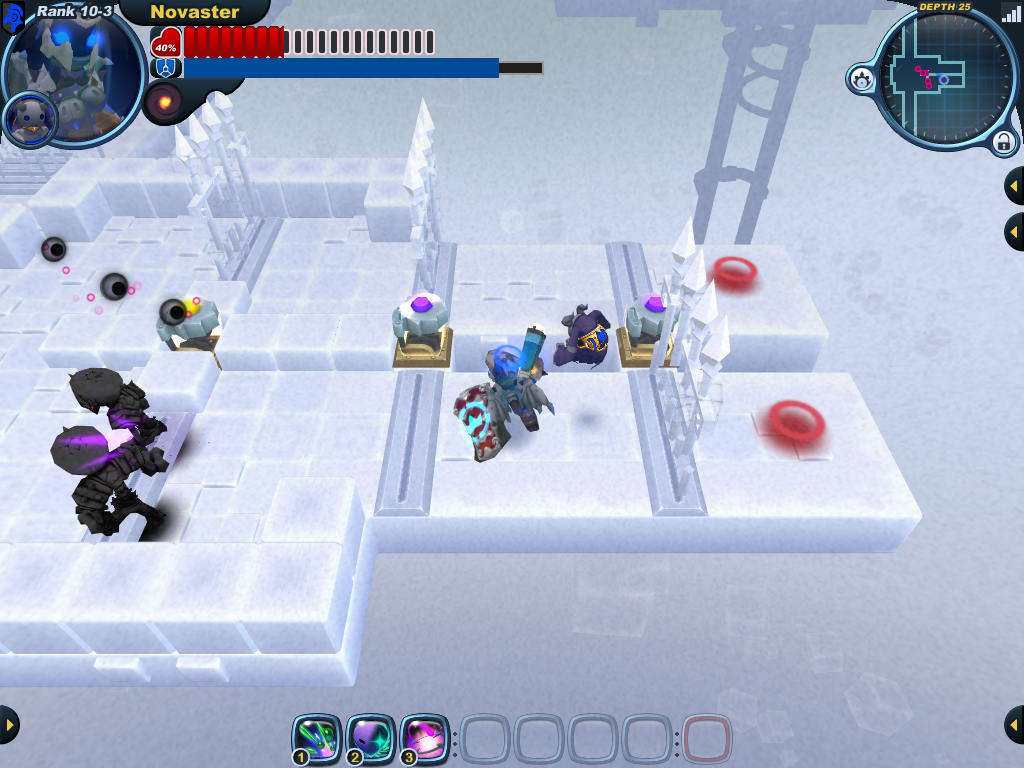
Core | I | Notes:
This example was found in: Dreams and Nightmares: A Step Beyond The path goes through a puzzle involving buttons and switches. Monsters spawn to hinder progress. |

|
No official description for this area. | Core | I | Notes:
This example was found in: Dreams and Nightmares: A Step Beyond pending |

|
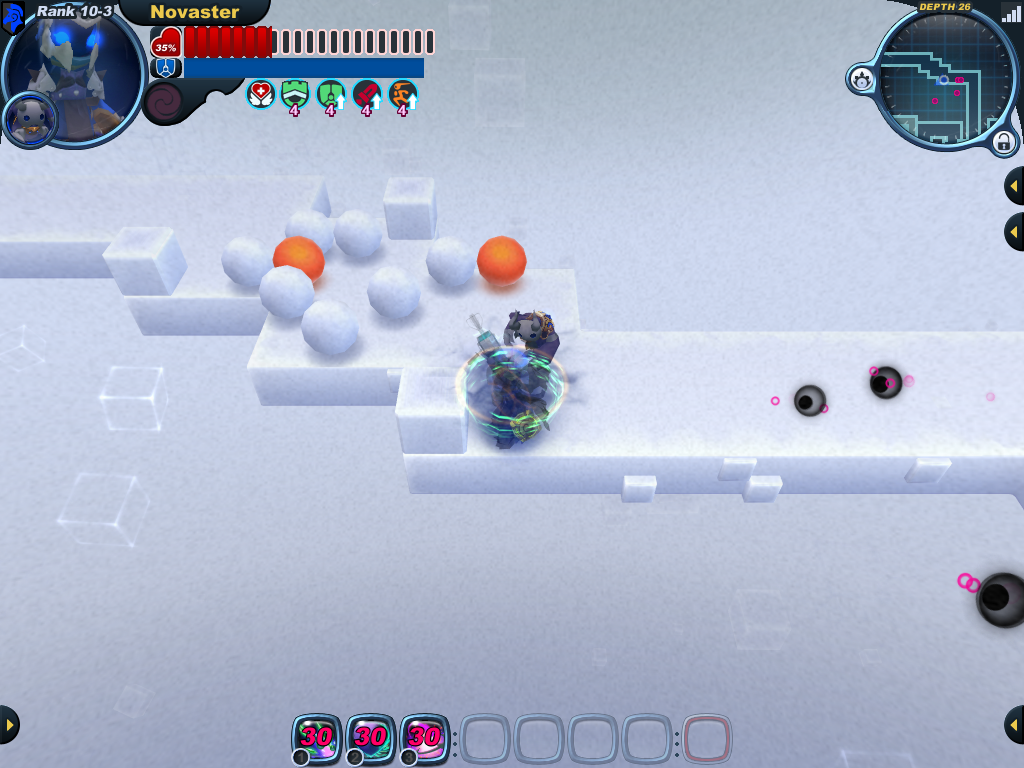
|
Core | I | Notes:
This example was found in: Dreams and Nightmares: A Step Beyond pending |

|
No official description for this area. | Core | I | Notes:
This example was found in: Dreams and Nightmares: A Step Beyond pending |

|
No official description for this area. | Core | I | Notes:
This example was found in: Dreams and Nightmares: A Step Beyond pending |

|
No official description for this area. | Core | I | Notes:
This example was found in: Dreams and Nightmares: A Step Beyond Several switches allow progress through gates. Potential mandatory battles. |
Ah, it would be "Clockwork Tunnels," not "clockworks tunnel." I think I need to make a bunch of redirects for exploration entities (button) etc. If you look at the discussion page of the exploration page, you can see another project growing there. Unless you did that "clockworks tunnel" to be clever so it's not the actual thing when we publish :P -Novaster 13:49, 14 March 2015 (UTC)
- No, it was unintentional. It's late here. --HexZyle 14:23, 14 March 2015 (UTC)